
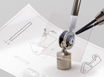
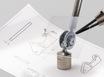
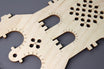
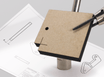
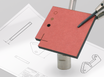
The possibilities with laser cutting are endless, but this can sometimes make it difficult to find a starting point. In addition, it can be confusing to take into account all the design rules. To help you with this, we have put together a few tips for you.
Ready to get started? Here's how.
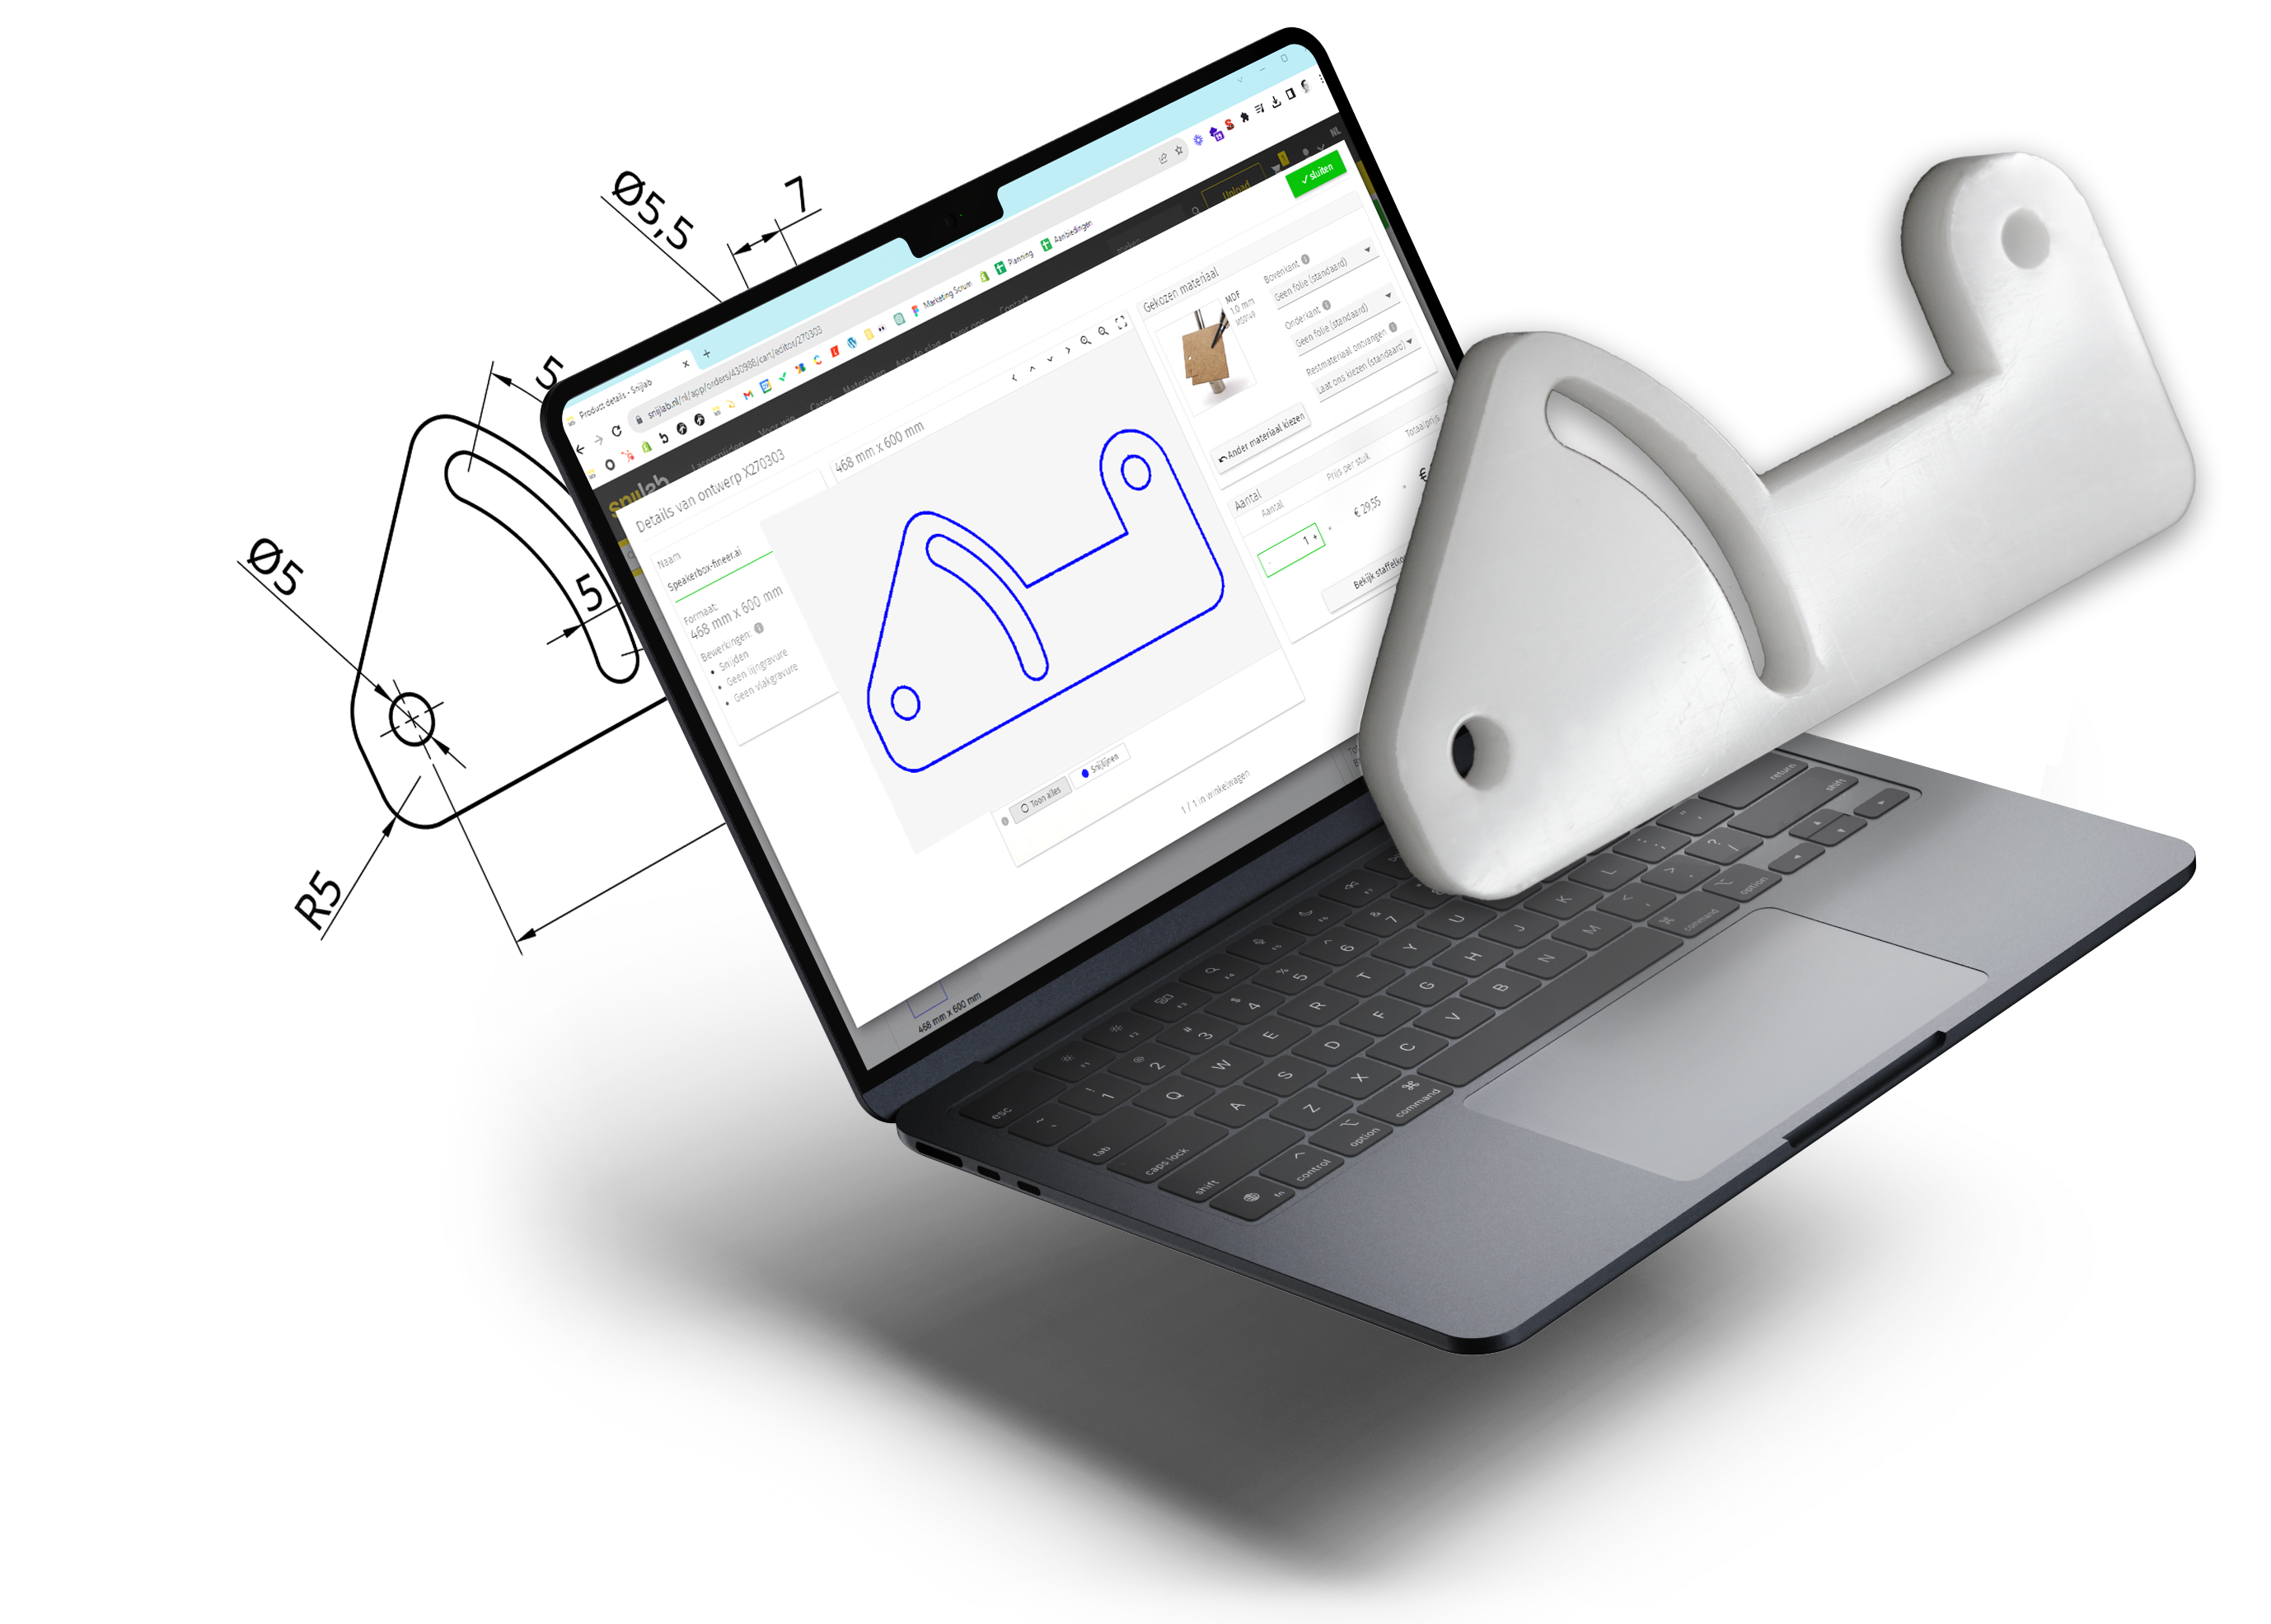
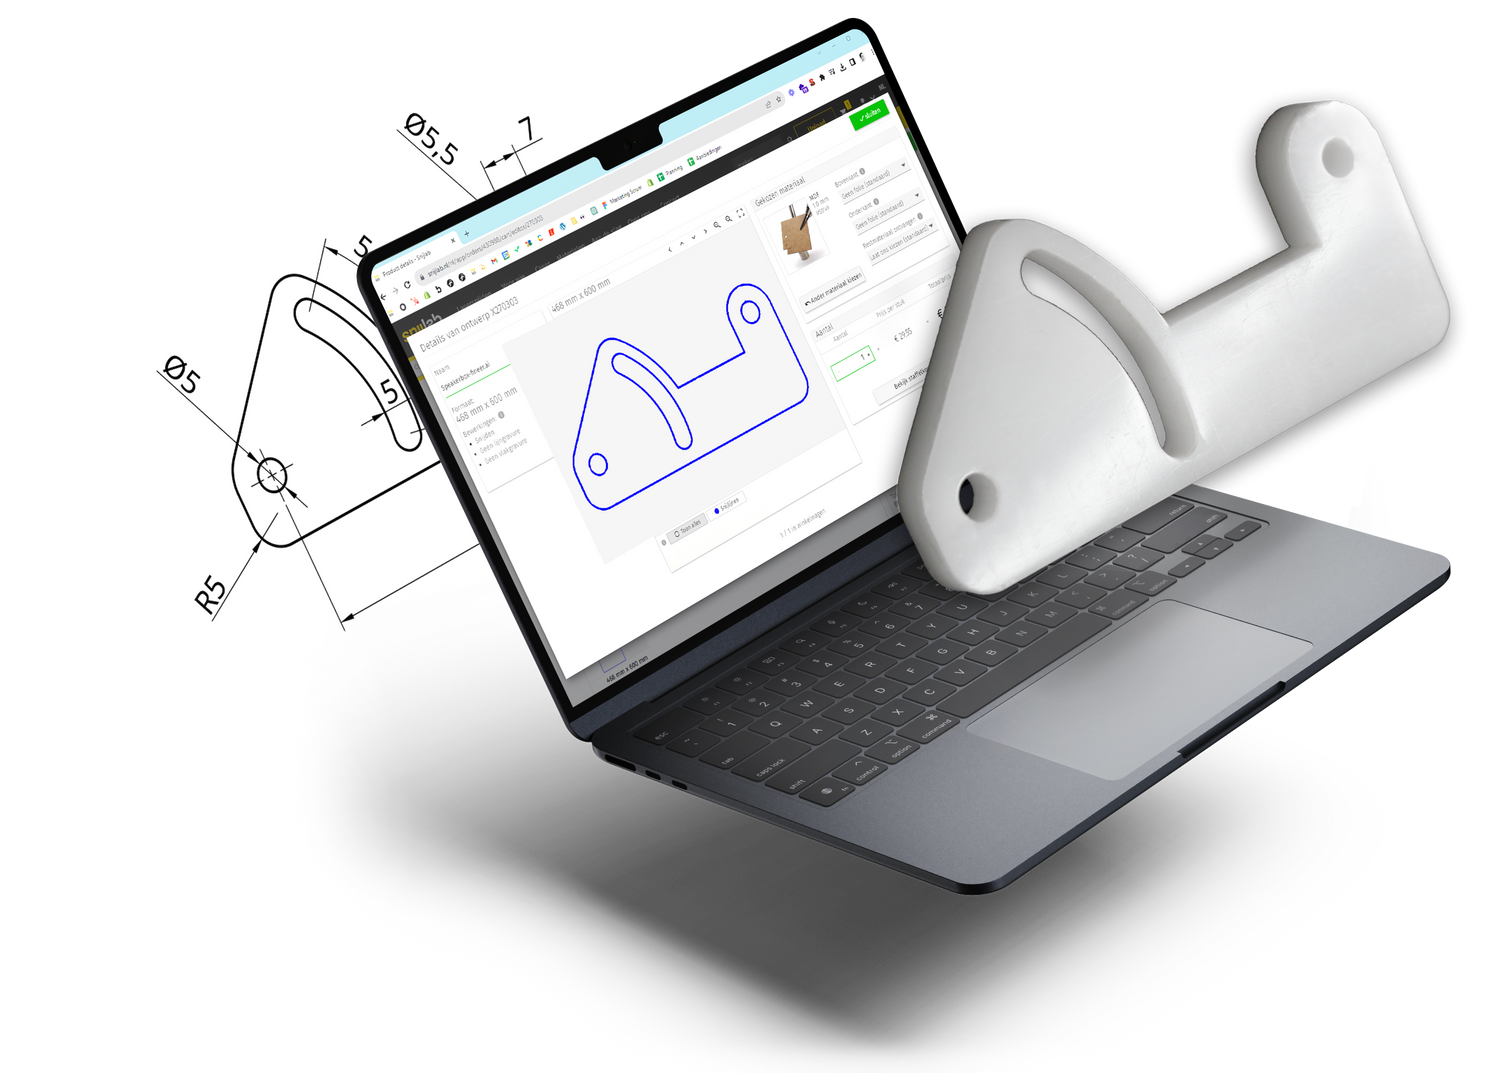
Start with an idea. First, decide what you want to make, then elaborate it into a vector file or 3D model. You can create a vector file in one of the following programmes: Illustrator, Autocad, Rhinoceros, Inkscape, Solidworks, Onshape, SketchUp, Vectorworks. Use the correct line colours and layer names (read the design rules). Export your design as .dxf, .dwg, .ai, .pdf, .svg or .step. Now you have a design you can order.
Design Rules
Follow the design rules so your design is read correctly. Create your design at actual size (scale 1:1), and no larger than the sheet size of your material: for most materials 1200 x 600 mm, for large-format materials up to 2400 x 1200 mm. Convert text to vector lines (outlines), and remove all unnecessary lines that are not cut or engraved.
Set lines in:
- Blue for cutting (rgb 0,0,255)
- Red for line engraving (rgb 255,0,0)
- Magenta for area engraving (rgb 255,0,255)
Templates
Templates are example projects for which we make the designs available. You can download and adjust the designs to fit your own project. We hope this gives you a push to start your design.
Tutorials
View the tutorials for in-depth documentation on creating a design.
Tutorials on creating a design:
- How to create a stencil or paint template?
- How to create an engraving?
- How can I fill an engraving with ink?
- How do I engrave text?
- How do I nest my parts?
- How do I add tabs to a laser design?
- How to make a reveal lamp in thin wood?
- How to make a No screw no glue hammer joint?
- How to make an inlay for my Systainer?
- How to make a laser-cut sheet?
- How does laser cutting small parts work?
- How can I mill away laser-cut edges?
- How do I tap screw thread myself in laser-cut parts?
Tutorials on creating a laser design per programme:
- Laser Cutting with Adobe Illustrator
- Laser Cutting with SketchUp Pro
- Laser Cutting with Vectorworks
- Laser Cutting with Inkscape
- Laser Cutting with Solidworks
- Laser Cutting with Onshape
Create a Box
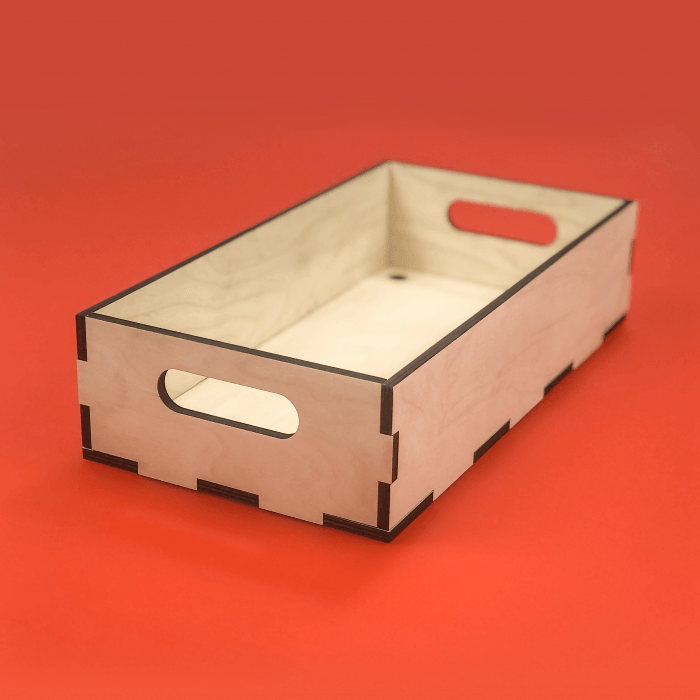
Want to create a box? You can easily generate one online using one of these two free tools. Enter your dimensions and the site will create a ready-to-use cutting design for you.