
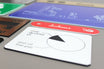
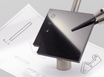
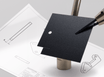
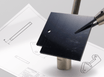
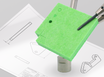
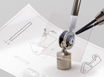
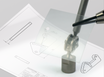
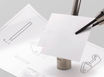
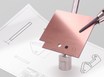
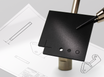
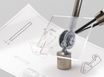
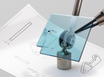
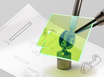
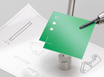
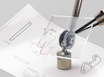
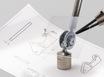
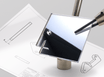
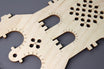
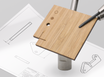
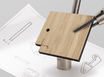
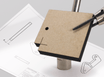
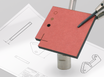
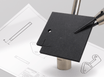
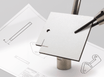
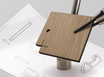
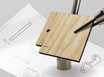
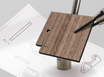
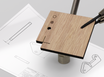
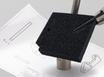
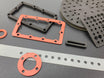
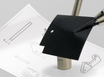
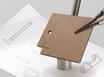
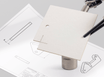
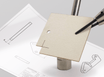
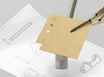
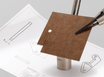
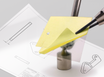
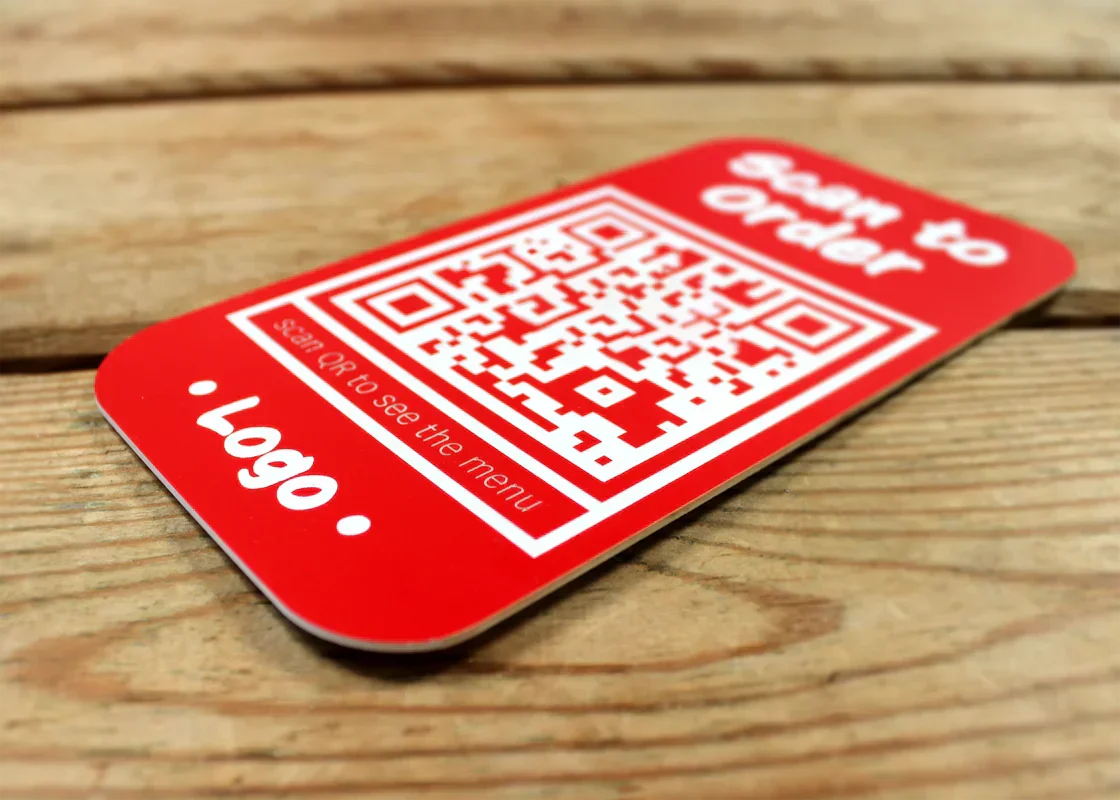
Do you want to mark text, shapes, or lines on your laser-cut parts? You can do this with an engraving. In the laser drawing, you can distinguish between cutting and engraving.
Laser engravings are a superficial marking; the result is consistent, and the level of detail is high. The engraving result varies per material; on the material pages, you can find the effect of engraving for each material.
What is the difference between line and fill engravings?
Line engravings are created with a single thin line, where the laser beam follows the drawn line. Fill engraving is the complete filling of the shape between these lines; the laser creates many lines close together, making it appear as one solid area.

Line engravings are sharp and thin, while fill engravings are a smooth surface. Both techniques offer a high level of detail.

In your drawing, indicate which are line engravings and which are fill engravings using the correct line colors and layer names.
1. Create a drawing
When creating a drawing, use the correct line colors and layers. View the drawing rules.
| Color (.ai, .pdf) | Layer name (.dxf, .dwf) | |
|---|---|---|
| Cut | Blue (RGB 0, 0, 255) | cut |
| Line Engrave | Red (RGB 255, 0, 0) | lineengrave |
| Fill Engrave | Magenta (RGB 255, 0, 255) | fillengrave |
Note that every drawing must contain a cut line. Do you only want an engraving? Then still draw a frame around your design.
2. Draw vector lines
Draw line engravings as lines; the start and end points of your line do not matter.
Draw fill engravings with closed shapes; it's important that there is no start and end point. You can overlap shapes, and the outermost contour will be used.
Do you want to omit something within your engraved area? Then you need to draw another shape inside it.
If you want to fill engrave thickened lines, you must first convert them into a shape. Read on to learn how to do that.
Rhino
Are you using a hatch as an indication for a fill engraving in your drawing? Hatches are not recognized by the web app. To convert the hatch into a curve, use the following commands:
Select the hatch with > selhatch
Add an outline with > dubborder
Remove the hatch with > selhatch > delete
The hatch has now been removed and consists only of a curve.

Illustrator
Are you using a stroke in your drawing? These are not recognized; convert your lines to Outlines.
Select your line and go to Object > Path > Outline Stroke

If you want to merge shapes, use Pathfinder > Merge or the Shapebuilder tool
3. Text
Convert text to vector lines, otherwise it will not be recognized.
Rhino
To ensure that text in your design is recognized by the web app, convert the text to outlines / curves.
You create text in Rhino with the command > Text
After choosing the correct font, you can select the text with > SelText

Now you can convert the text to curves with > Explode
You will currently only see an outline; the file is ready to be uploaded.

Illustrator
In Illustrator, you convert text to vector lines using the 'Create Outlines' function. You can find this in the Toolbar under Type or by selecting your text and right-clicking.
Select your text and go to Type > Create Outlines
Or right-click > Create Outlines

If your text is within an area and you want to omit the text from that area, you need to merge both shapes into one. You do this by selecting both > Pathfinder > Exclude


4. Upload your drawing
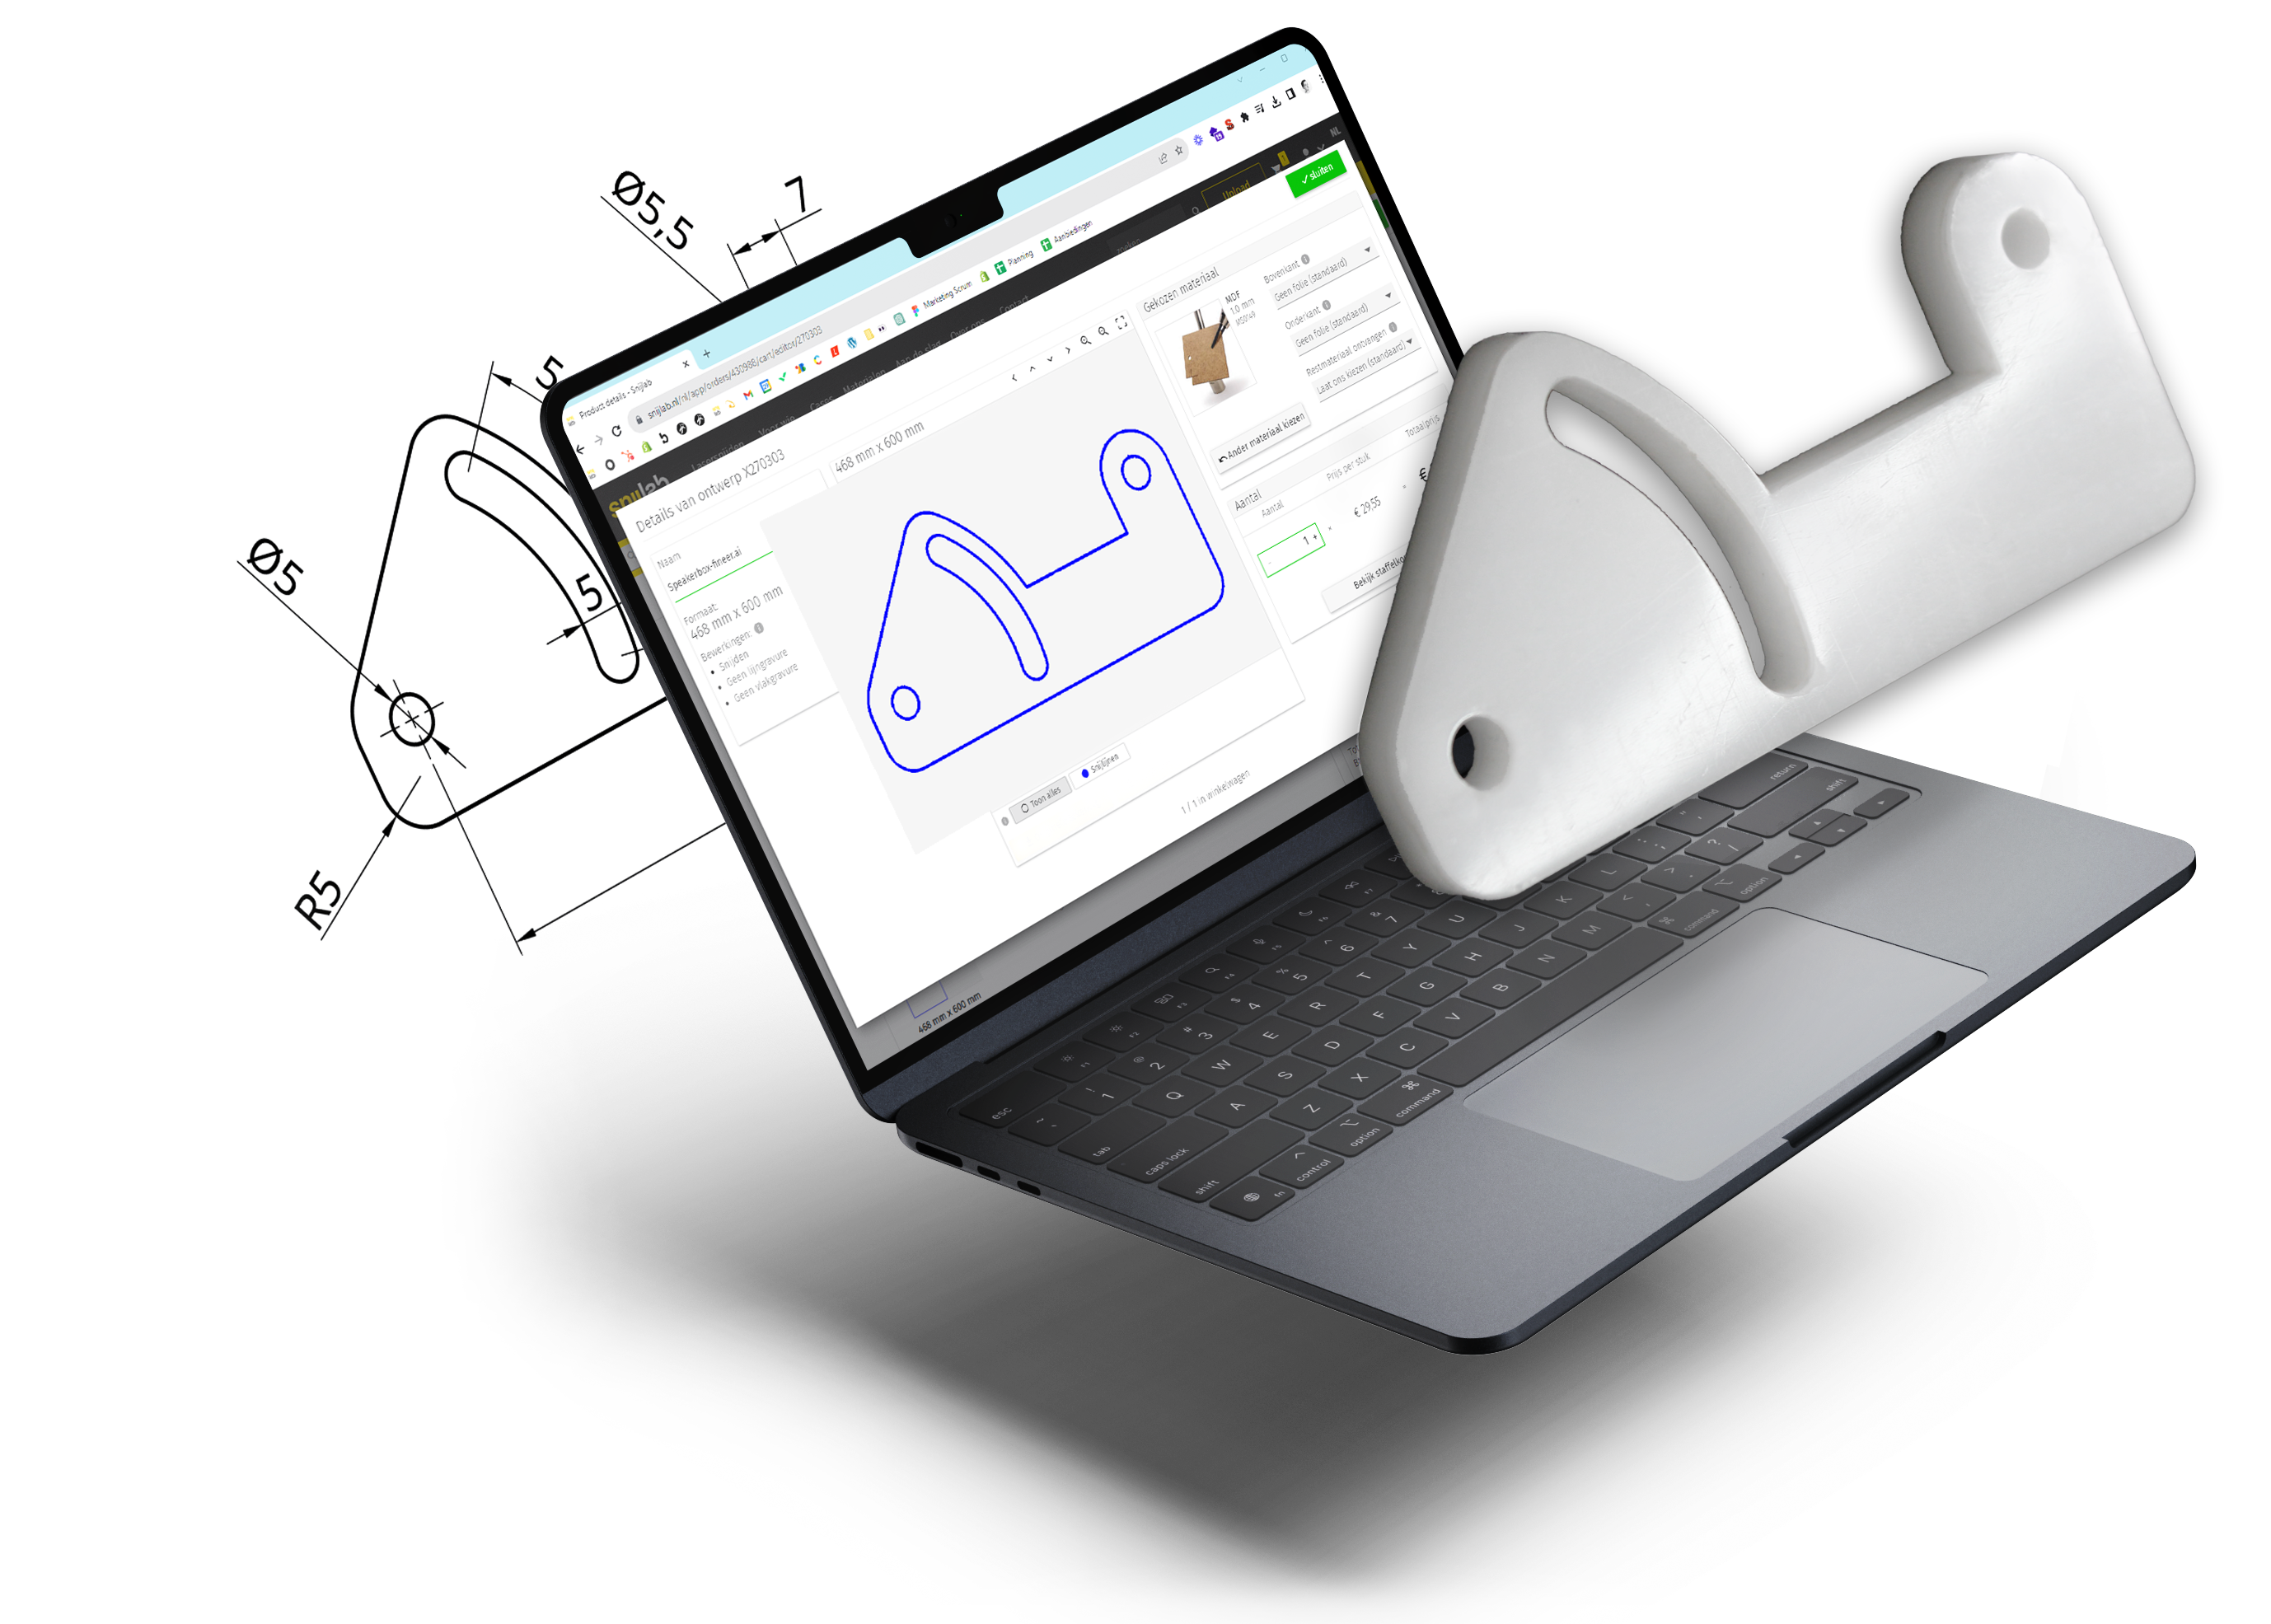
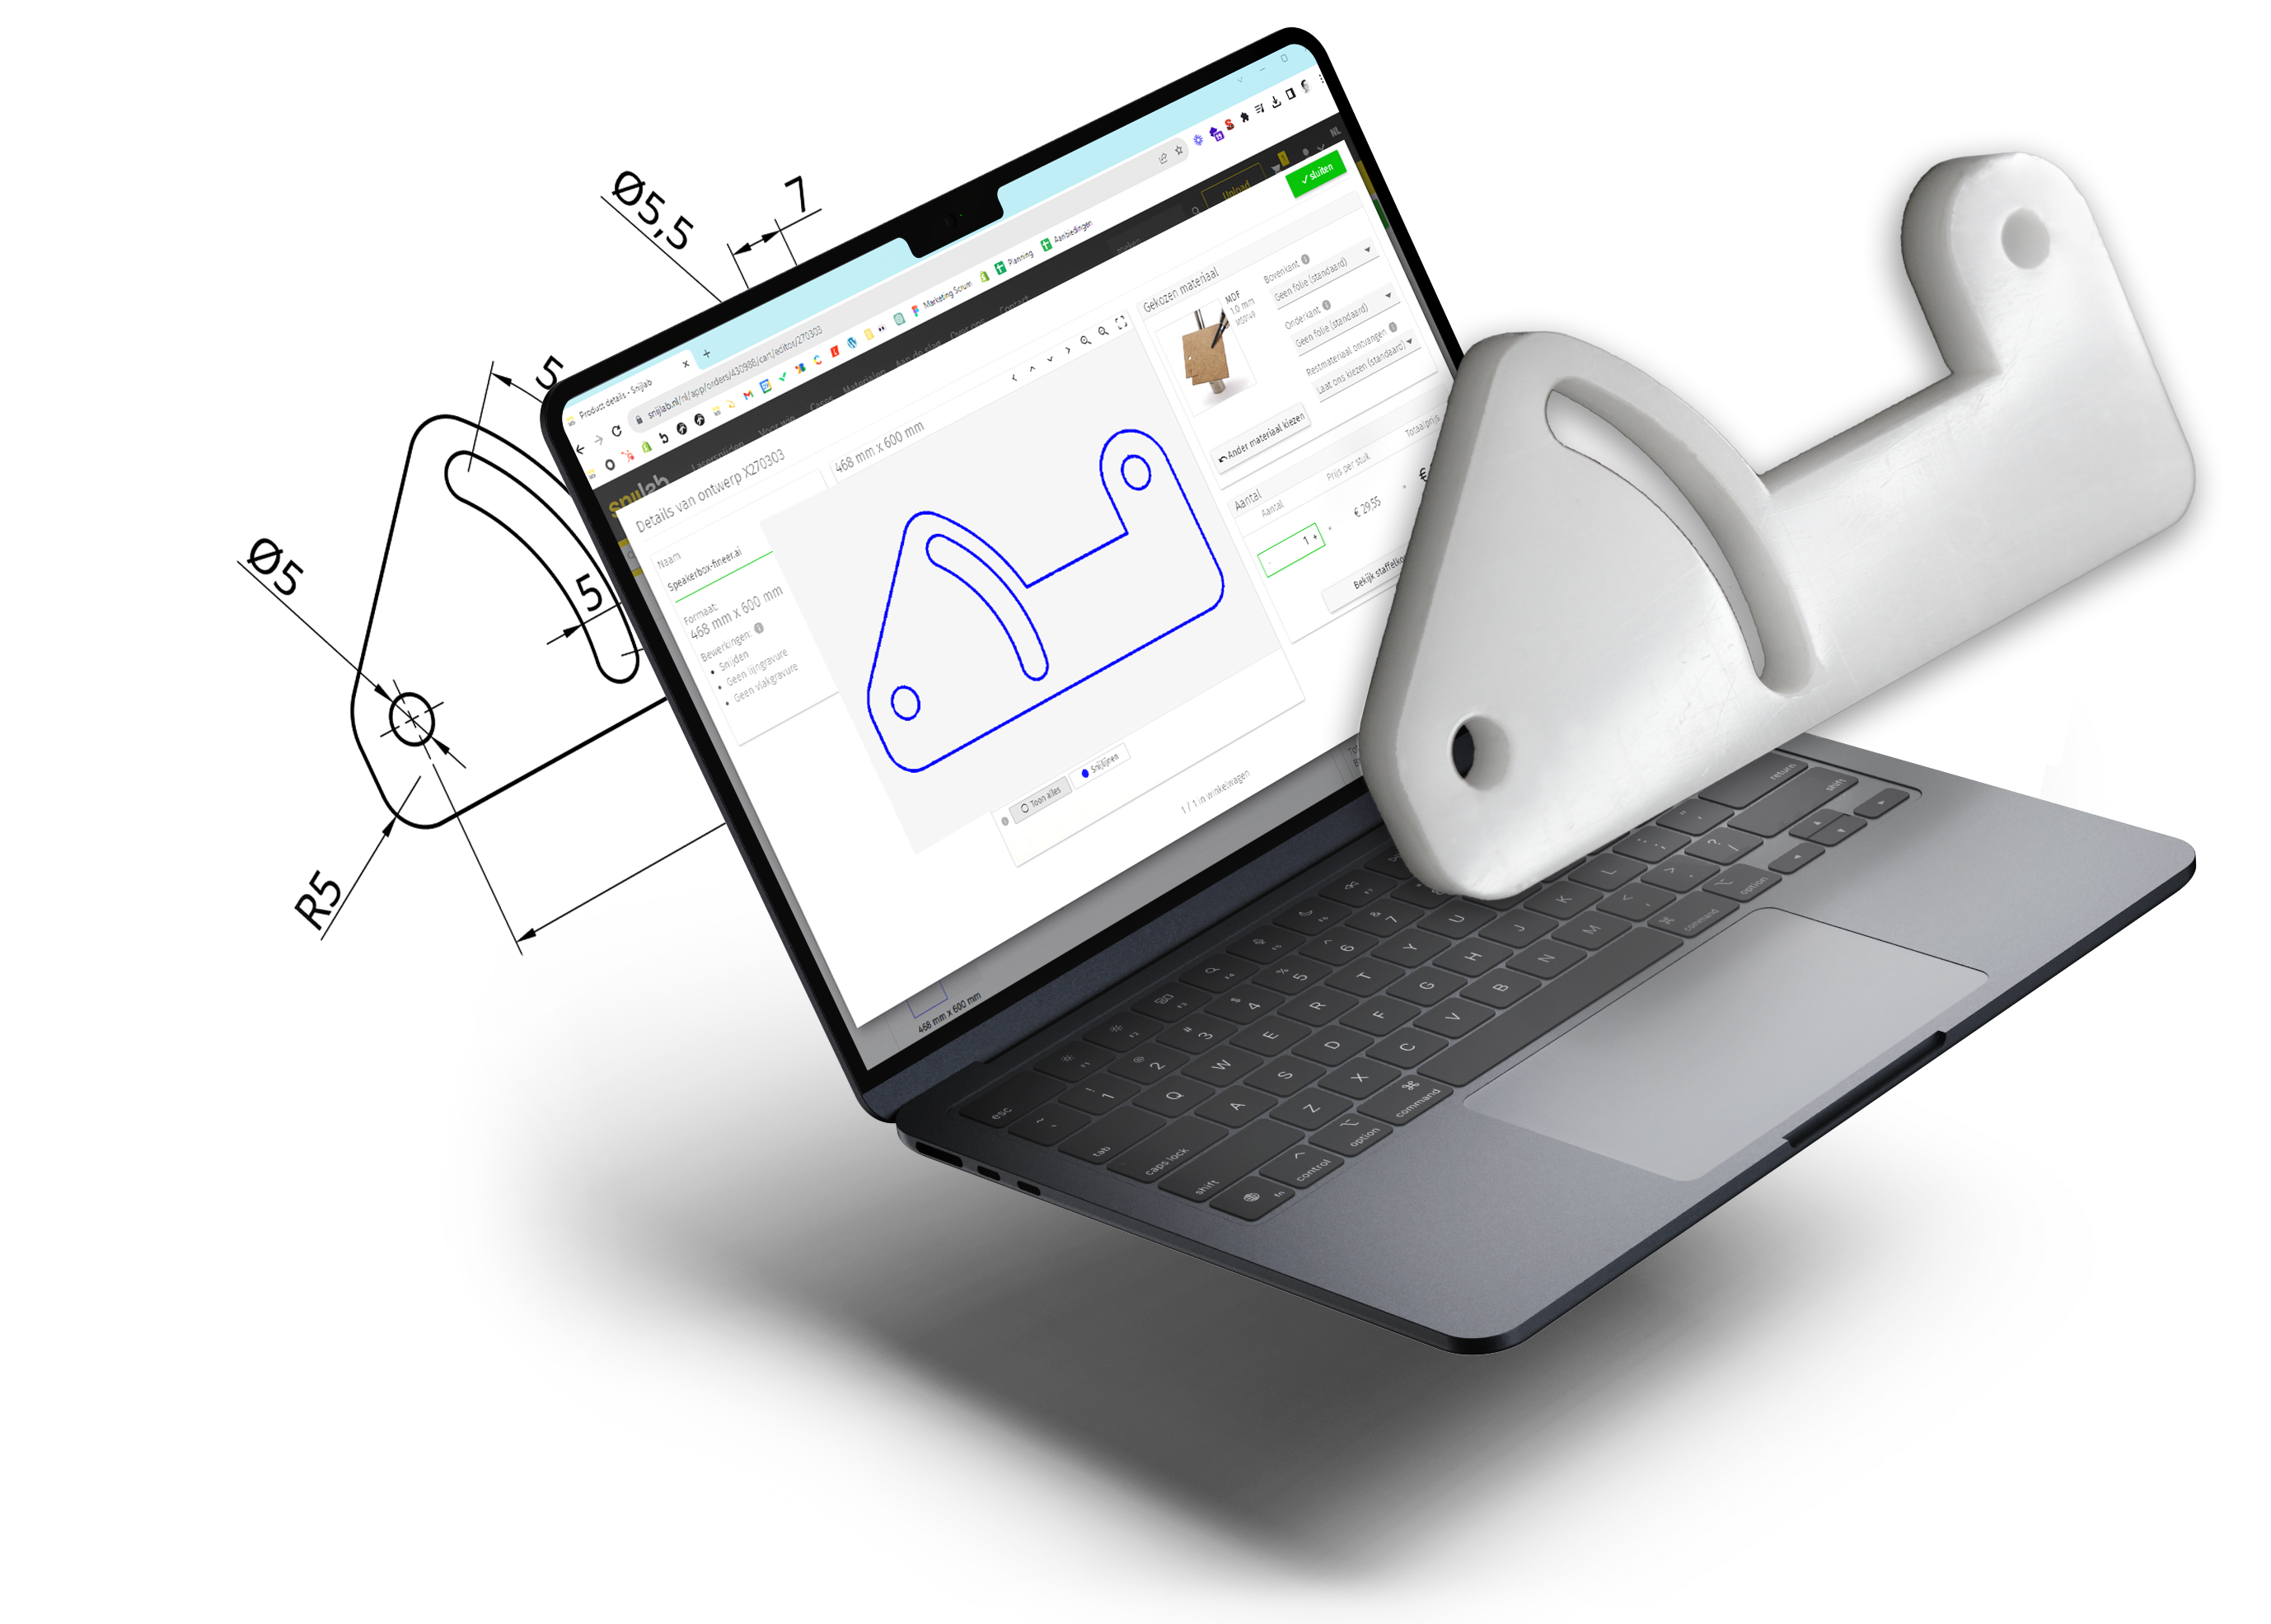
Upload your drawing on snijlab.nl and check your drawing in the preview.
In the preview, you will see
- Cut lines in blue lines
- Line engravings in red lines
- Fill engravings in magenta areas
The preview in your shopping cart shows how your drawing is interpreted by our software; this is what we will produce for you. So, check it carefully.