





































A tool inlay you put together in an afternoon often looks different after just a month. The drill shifts, the bits lie loose at the bottom, and the torque wrench is so tight you have to pry it out. The difference with a foam inlay that lasts for years isn't in the foam. It's in a few millimetres.
How much smaller should you design a recess? How wide should the walls be? And how do you create a recess 30 mm deep if the laser always cuts through the entire sheet? In this guide, you'll learn which foam to choose, how to digitise your tools, when pluck foam is good enough, and which eight design rules determine whether your tools are held securely or rattle around.
Custom Tool Inlay: What are the benefits?
A custom inlay protects your tools during transport: each part is secured in its own recess, so nothing can shift or get damaged. You can also see at a glance what's missing. This follows the same principle as a shadow board or tool board on the wall, and within 5S, it's the basis for a workplace where everything has a fixed spot. Design the inlay once and order it for ten service vans or every new colleague. The same rules apply to drawer organisers or a shadow board made of PE rigid foam.
Foam Inlay Material: PE Rigid Foam, Soft Foam, or Pluck Foam?
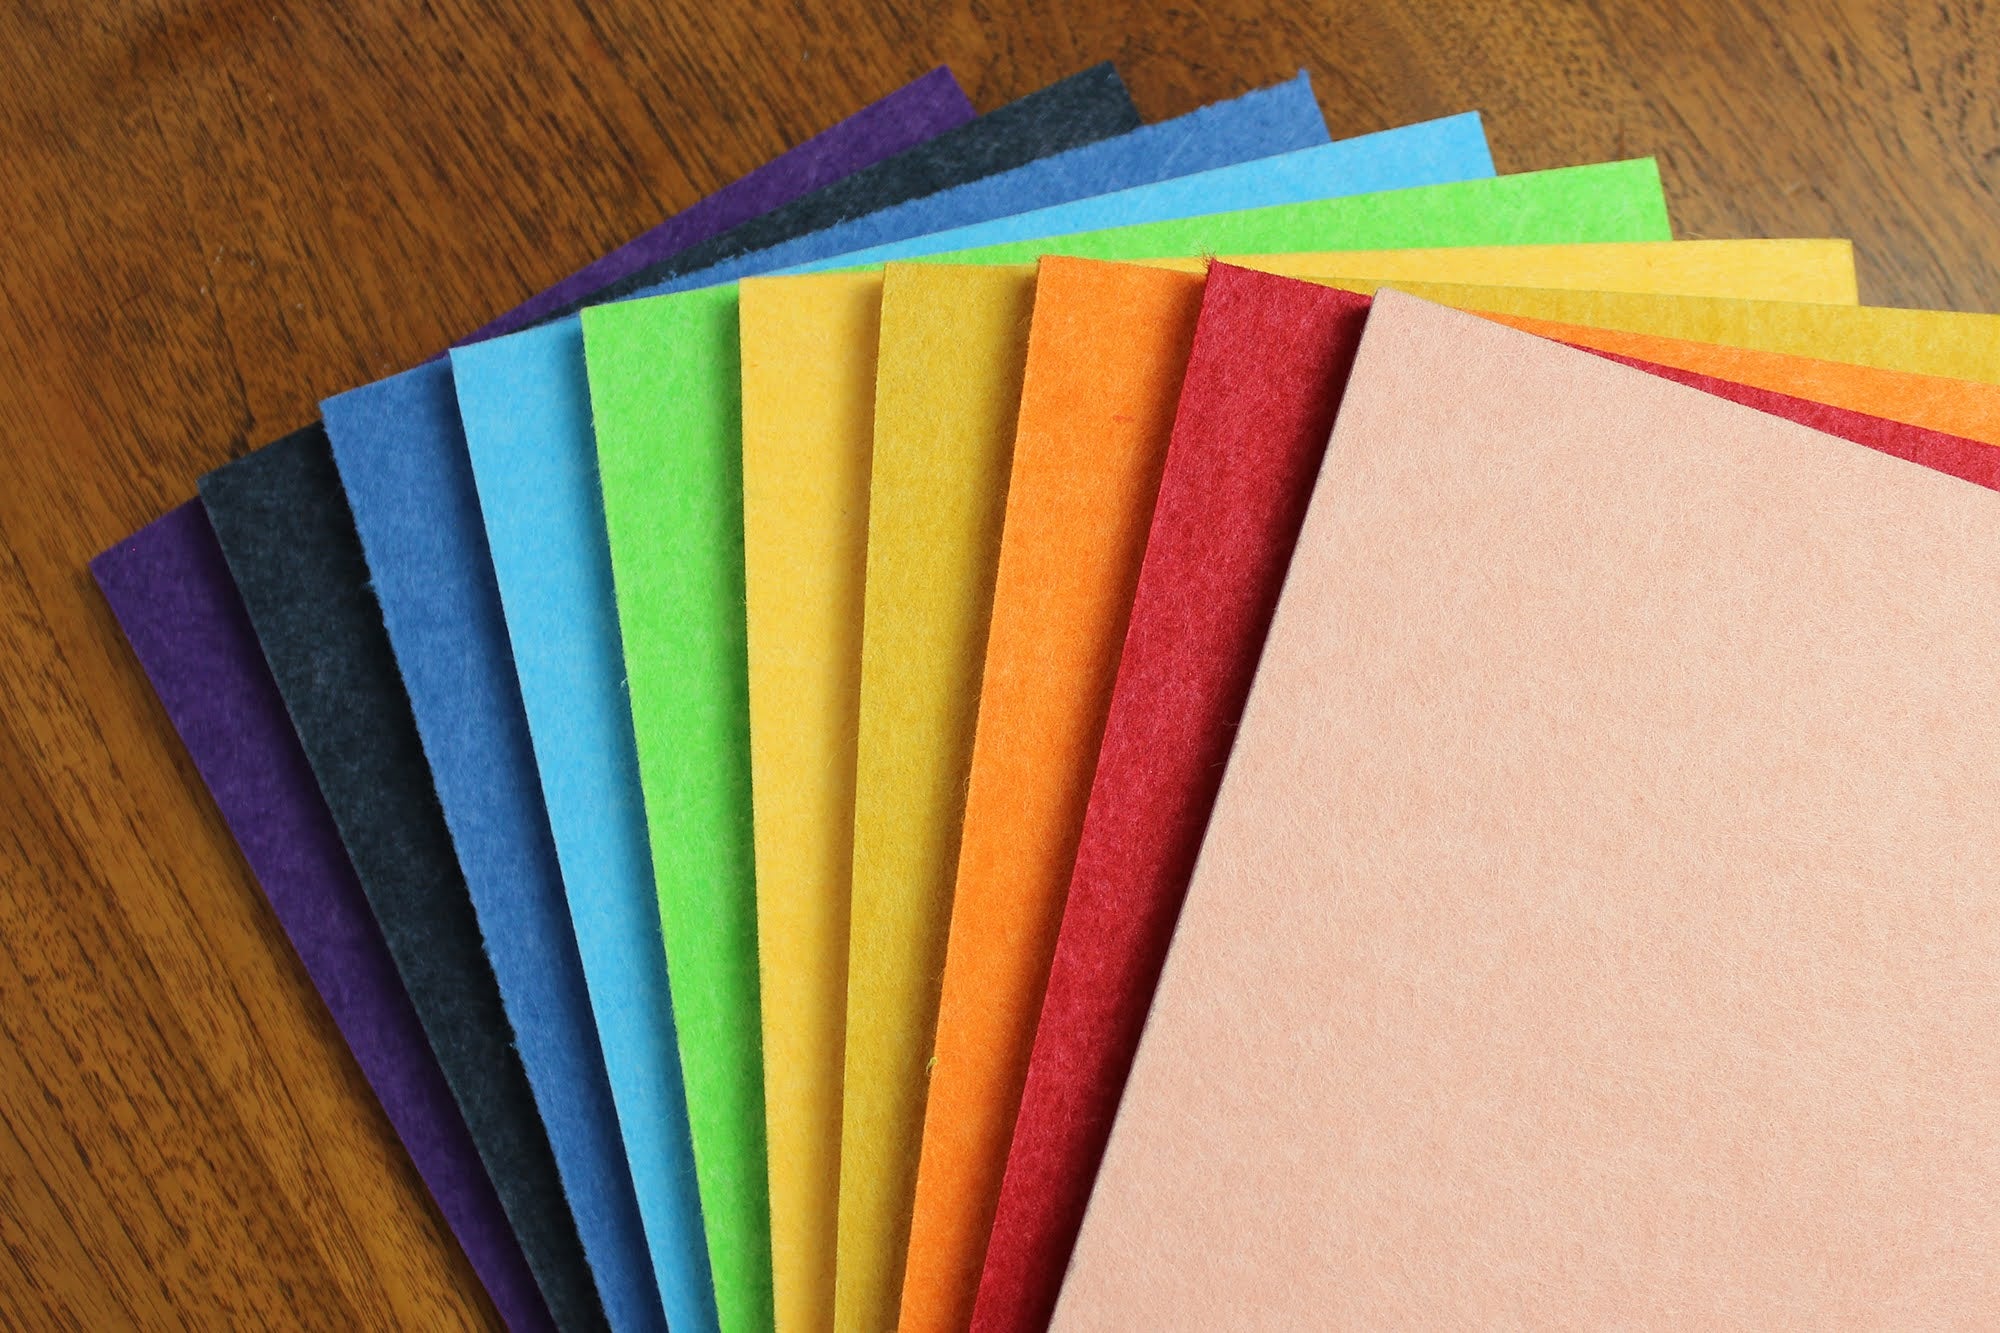
Colloquially, it's all called foam rubber, but for an inlay, the differences matter greatly. For an inlay that lasts for years, choose PE rigid foam: it's sturdy enough to hold tools securely, and it springs back every time you remove them.
| PE Rigid Foam | Soft Foam | Pluck Foam (not at Snijlab) | |
|---|---|---|---|
| Application | Inlays for daily use and heavy objects | Light objects and affordable or temporary inlays | Quick solution without a design |
| Type | Polyethylene, closed cells | Polyether, open cells | Usually PU, pre-cut into blocks |
| Thicknesses | 5, 10, 15, and 20 mm | 20 and 40 mm | Often 50 or 100 mm |
| Moisture and oil | Does not absorb anything | Absorbs liquid | Absorbs liquid |
| Clamps tools | Yes, springs back | Moderate | Hardly |
| Engravable | Yes | No | No |
| Appearance | Smooth, even cut edge | Soft | Stepped edges |
Pluck foam (pick and pluck foam) is a sheet of foam pre-cut into small blocks. You pull out the blocks until your tool fits. You know it from flight cases, for example, the DAP Universal sheets, and from the pluck foam sets for an L-Boxx. Pluck foam is fast and inexpensive, but the edges are stepped, the open foam absorbs oil, and it looks less neat than a custom inlay. We don't sell it ourselves. Do you want your tools to be held precisely, or the same inlay for ten vans? Then design and cut it to size in PE rigid foam or soft foam.
Kaizen foam and shadow foam are trade names for layered PE foam, similar to our PE rigid foam. Cellular rubber neoprene is not suitable for the inlay itself, but it is for finishing, for example, as a thin top layer.
Designing a Tool Inlay: How to Digitise Your Tools
The basis of every inlay is an accurate outline of your tools. There are four ways to achieve this.
1. From Your CAD Model
Are you working in R&D or creating packaging for your own product? Then you already have the 3D model. Project the outline onto the base plane and export to DXF, or upload the layers as a STEP file. This is the most accurate route and ideal for volume runs. See also laser cutting with SolidWorks and laser cutting with Onshape.
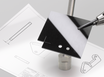
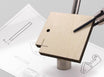
2. Photo with a Tracing Frame, such as Shaper Trace

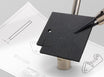
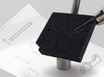
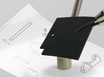
A tracing frame converts a photo into a full-size vector. The best-known example is Shaper Trace from Shaper Tools; we use one in our office. Here's how it works:
- lay your tool on white paper within the frame;
- photograph the frame with the Trace app on your phone;
- the app instantly creates a vector outline, which you export as SVG and finalise in your vector program.
Preferably place your tool directly in the frame; this is the most accurate method. A drawn outline is useful for shiny tools, as reflections can distort the outline, and for thick or round objects, as the camera might capture the side, making the outline too large. In such cases, draw the outline with a thin, dark marker and then import that design.
It's fast, but the capture area is 263 x 173 mm, and it's an additional purchase. It primarily pays off if you regularly design inlays.
3. Pencil, Paper, and Scanner

Place the object on an A4 sheet, trace the shape with a pencil, scan the paper, and convert the line to a vector using Image Trace in Adobe Illustrator or Trace Bitmap in Inkscape. It's possible, but less convenient, less precise, and slow: a pencil tip always runs slightly alongside the object. Hold your pencil perpendicular and check two dimensions with callipers. Is your tool flat and smaller than A4? Then place it directly on the scanner.
4. Measuring with Callipers
For block-shaped objects, such as a battery or a calibrator, measuring works perfectly. For free-form shapes, like pliers, designing from scratch quickly goes wrong. Use one of the methods above for those.
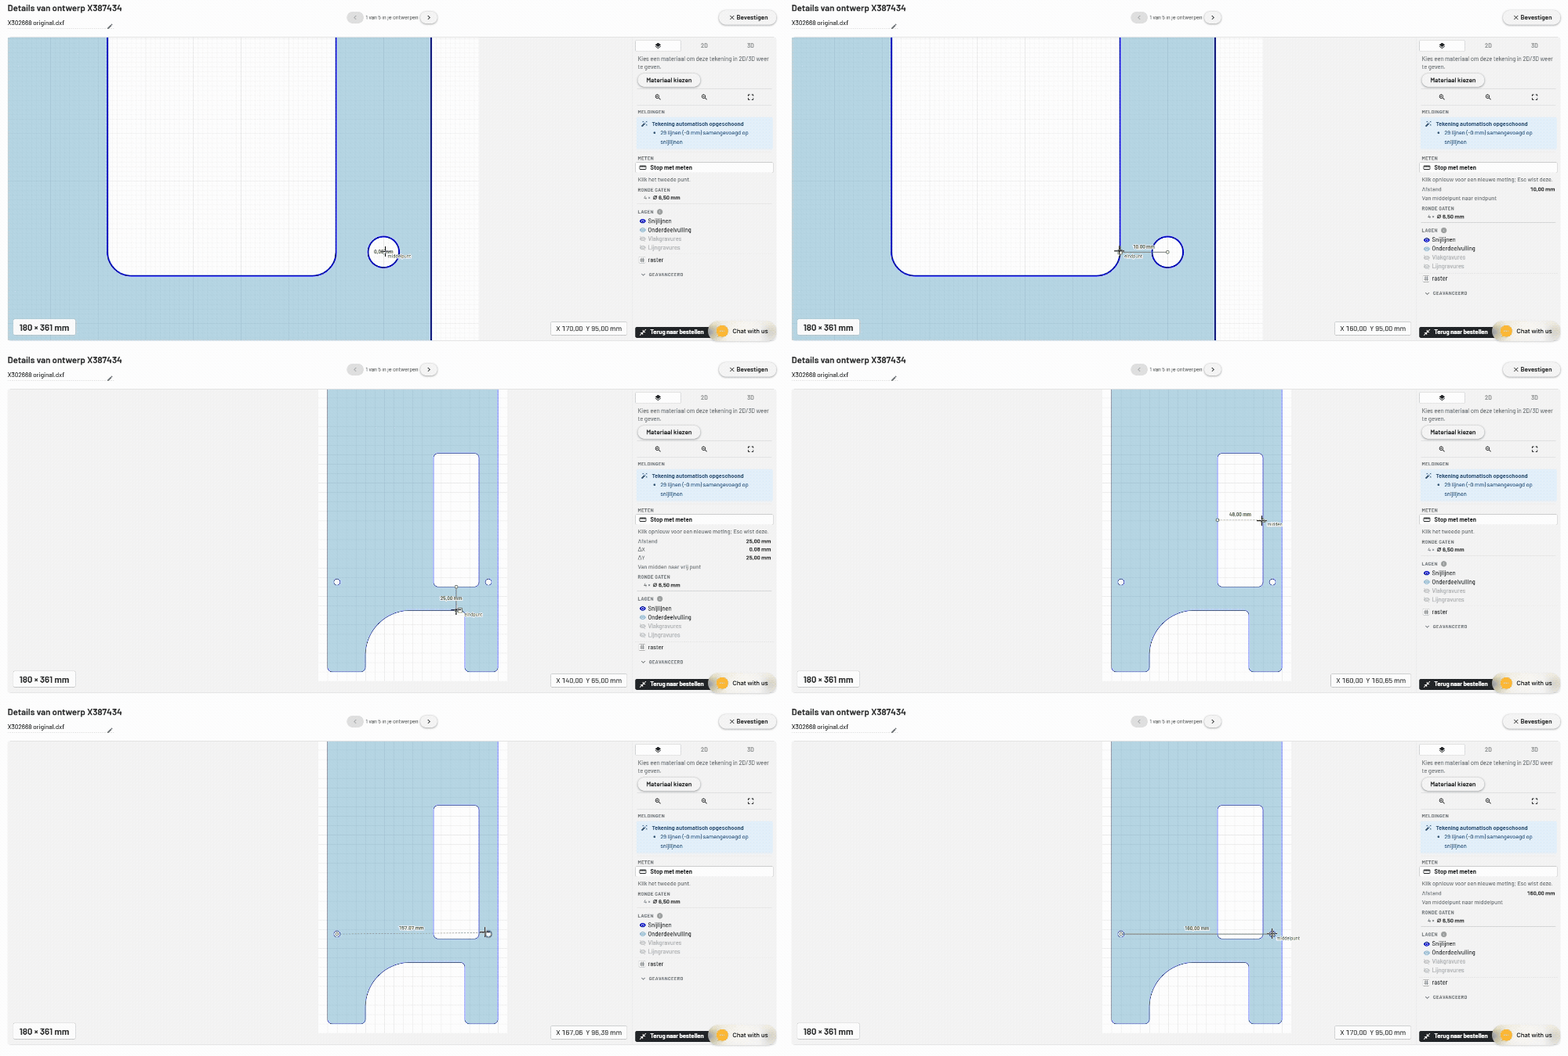
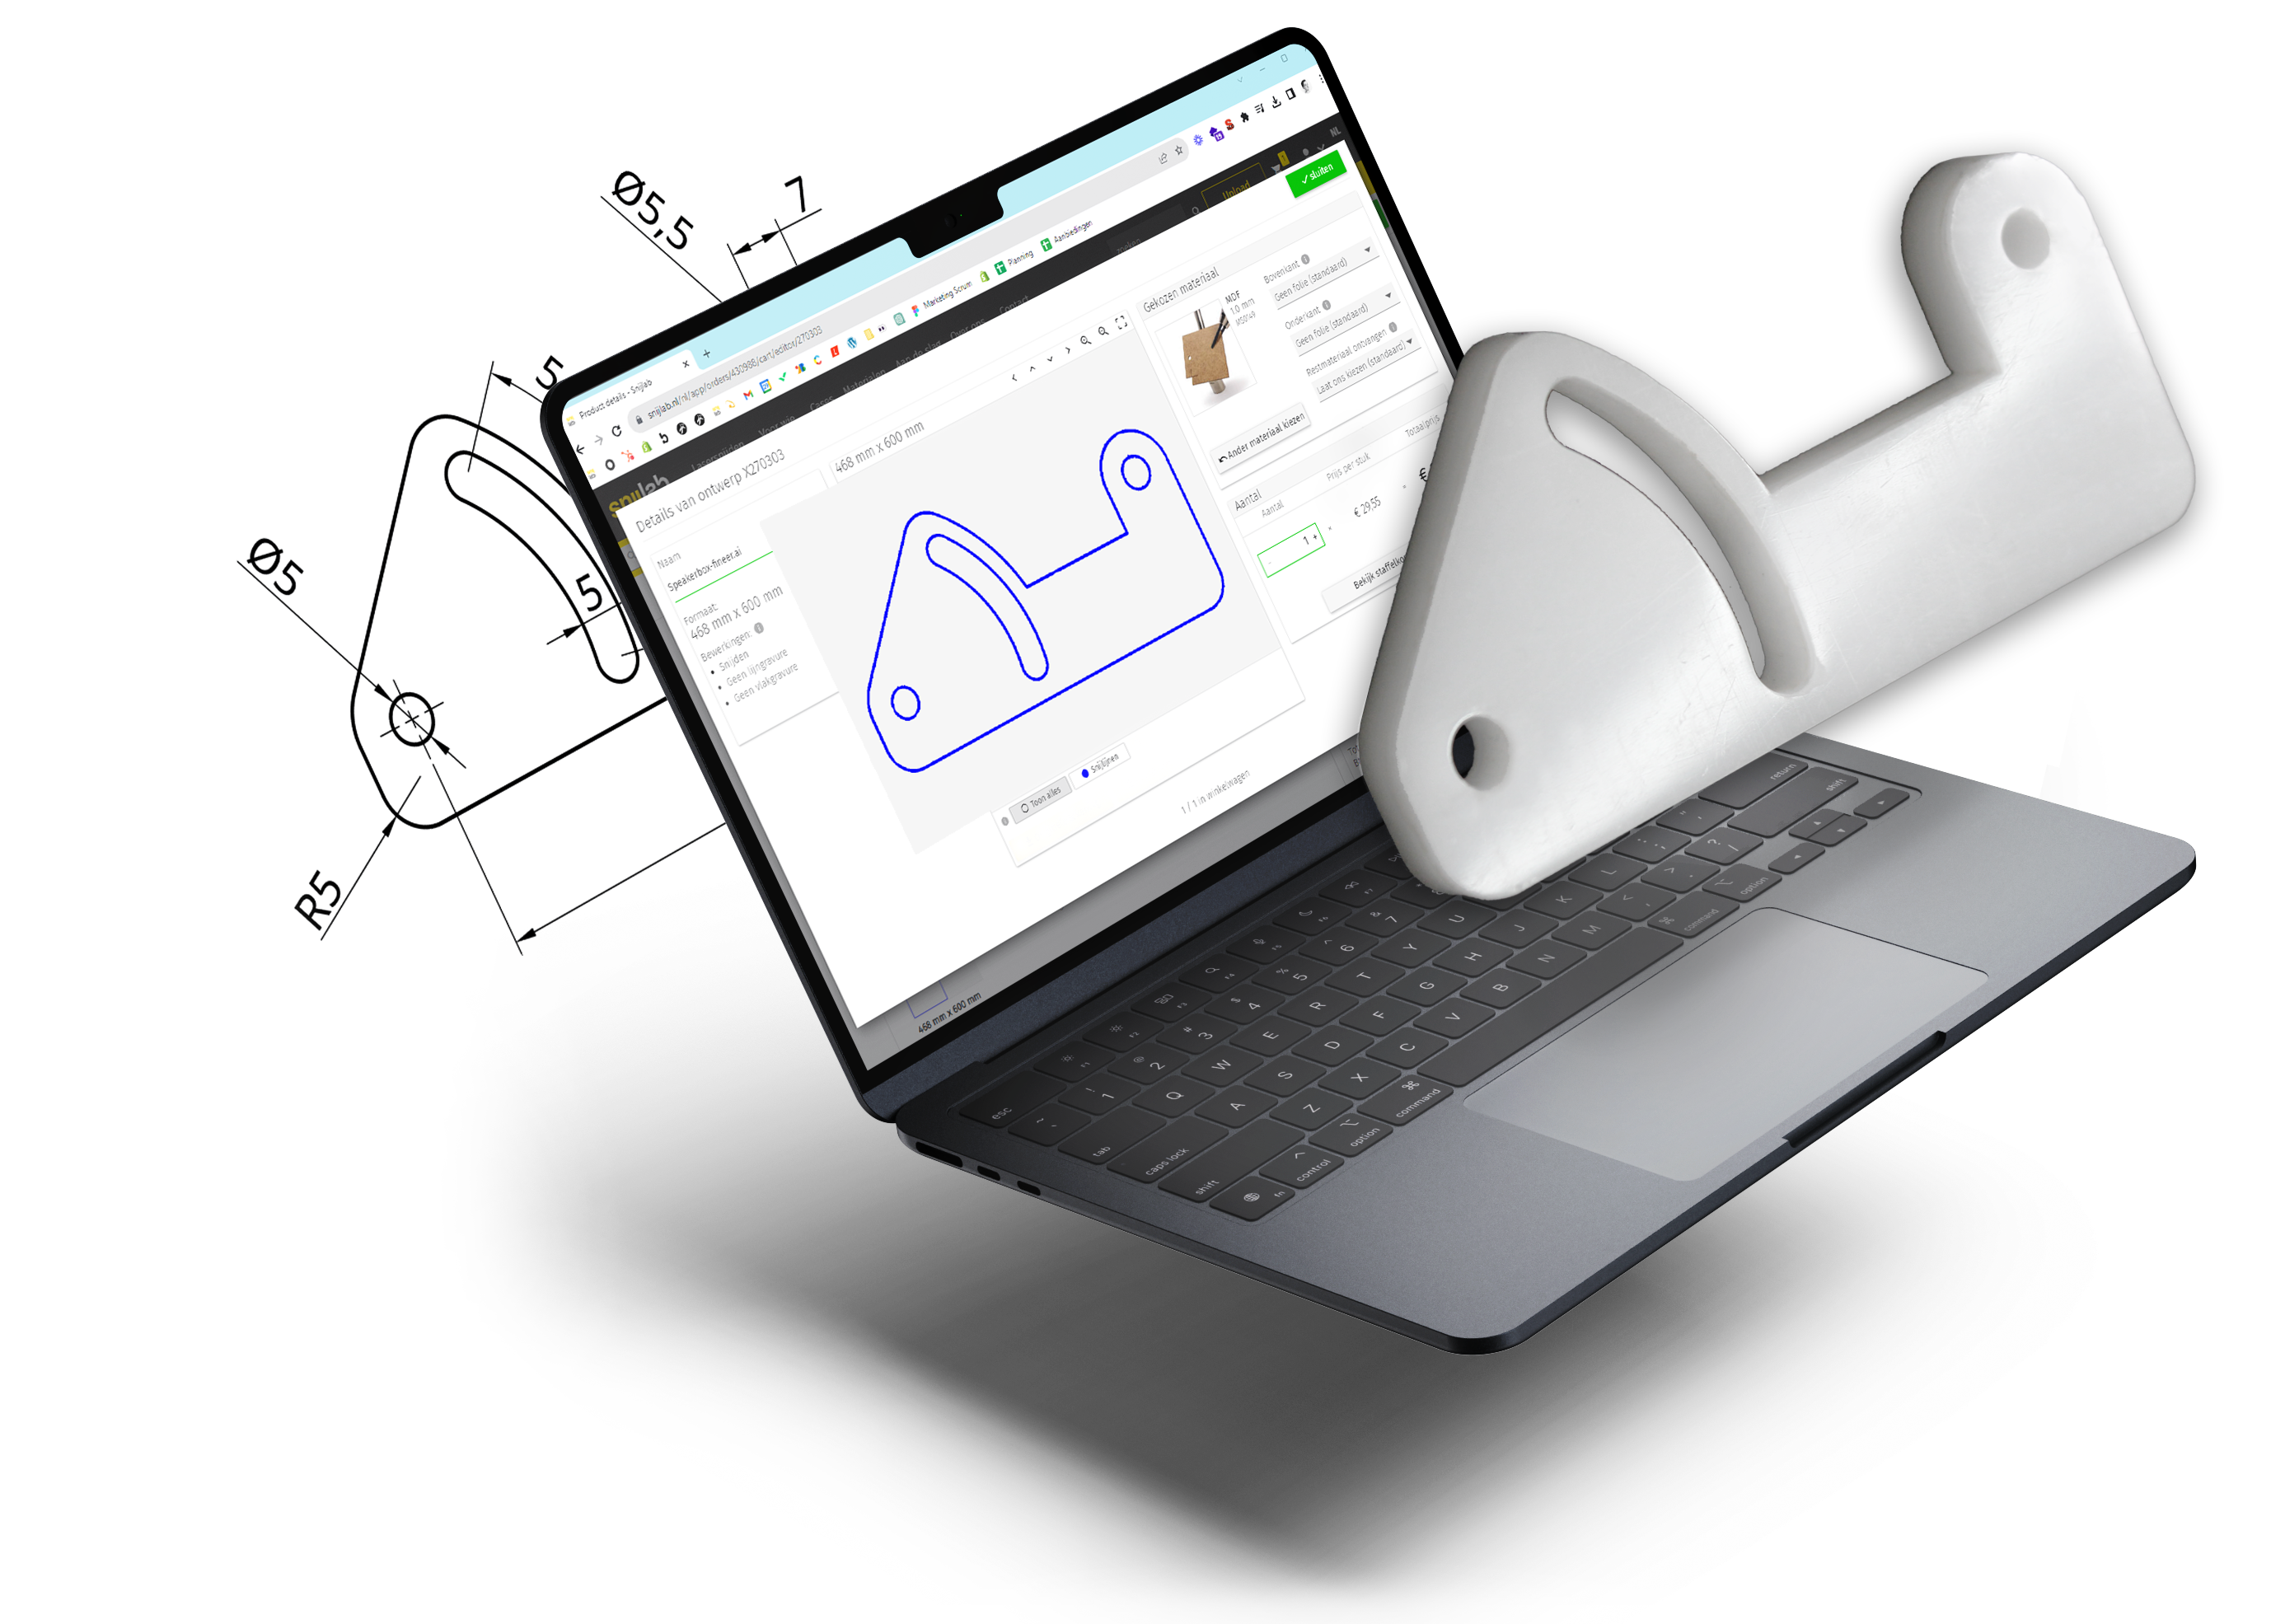
Whichever method you choose: you can upload SVG, DXF, and STEP files directly to our editor; loose line segments from your design are automatically cleaned up and merged into a single contour.
Inlay per Case Type: Systainer, L-Boxx, Packout, or Tool Case
The outer contour of your inlay should match the internal dimensions of your case. Pay attention to three things:
- Tapered walls: injection-moulded cases are narrower at the bottom than at the top, so measure both bottom and top;
- Corners and base: adopt the corner radius and accommodate ribs in the base with a thin underlay;
- Kerf width: the laser cuts a kerf of approximately 1 mm wide in PE rigid foam, so factor this in when you design your contours.
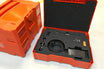
Systainers are universal, stackable tool cases, making them ideal for a custom inlay. Want to make a Systainer inlay yourself? In How do I make an inlay for my Systainer? you can download a template with the outer contour of the case.
Are you making an L-Boxx inlay, Milwaukee Packout inlay, Makita Mbox inlay, or DeWalt TSTAK inlay? Then you'll need to measure the internal dimensions yourself. The number of layers you need depends on the height of your tools. A tool trolley drawer is usually shallow; often, one layer on a base layer is sufficient there.
Designing a Foam Inlay: Eight Rules for a Secure Inlay
Design a separate vector file for each layer, 1:1 in millimetres, and adhere to these rules:
- Recess 1 mm smaller than the object, all around. For large or organic shapes, make it 2 mm. The foam pushes back and holds the object securely.
- Walls at least 4 mm wide. For heavy objects, preferably 10 mm.
- Round inner corners. Foam is most likely to tear at a sharp corner.
- Finger hole of 25 to 35 mm at the edge of each recess, only in the top layers.
- Build depth with layers. The laser always cuts through the entire sheet. A recess with a base is therefore built up from layers: a solid base layer topped with layers containing the recess. For a 30 mm deep recess, for example, you stack a 10 mm layer and a 20 mm layer on top of the base layer. When ordering, choose adhesive film on the underside, then you can stick the layers together in one go.
- Follow profile per layer. Give each layer the contour of the object at that height.
- Alignment holes in each layer, so you can stick the layers together straight.
- Use remaining space for bits, cables, or a spare battery.
Use the colours from our design rules: blue for cutting, red and magenta for engraving.
Cutting Foam Inlays: By Hand, with a Foam Cutter, or with a Laser
By hand. Cutting foam rubber with a knife can be done with a utility knife with a new blade. Cut perpendicularly, in multiple light passes, layer by layer. Straight shapes work well, but curves become ragged.
With a foam cutter. A foam inlay cutter with a hot wire or hot knife melts through the foam, giving a smoother edge. Work in a ventilated area. Achieving small radii and perpendicular finger holes remains difficult.
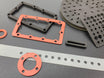
With a laser. The laser follows your design down to the smallest radius, even with twenty identical recesses. In PE rigid foam, the edge melts smoothly and seamlessly closed. You upload a design for each layer and receive the layers loose, ready for bonding. You can read which foam suits your case at tool inlay laser cutting; how to order is explained on how it works.
Engraving and Labelling Foam Inlays
In PE rigid foam, you can engrave text and logos directly into the surface: the name or size next to a recess, a fleet number, or your company logo. An outline around a recess makes an empty spot even more noticeable. Make letters at least 5 mm high and 10 mm for labels you read at arm's length.
Foam Inlay Applications: For Whom and For What?
Wherever valuable or fragile items are transported or stored, the same principle applies.
| Application | For Whom |
|---|---|
| Storing tools in cases and drawers | Service technicians, installers, maintenance teams |
| Shadow boards and tool control (5S) | Production, workshops, aircraft maintenance |
| Measuring instruments and test equipment | Quality departments, calibration labs, R&D departments |
| Medical and laboratory equipment | Medical technicians, labs, product specialists |
| Photography cases for camera and accessories | Photographers, videographers, film crews |
| Storing drones | Inspection, survey, and media pilots |
| Flight cases for light and sound | Stage technicians, AV companies, rental companies |
| Electronics and prototypes | Hardware engineers, R&D |
| Packaging fragile items and protecting custom products | Product designers, small manufacturers |
| Demo and sales kits | Account managers, product specialists |
| Reusable return packaging | Logistics, supply chain |
For electronics sensitive to static discharge, antistatic foam may be necessary; check this beforehand.
Foam Inlay: Frequently Asked Questions
How do you cut foam?
With a utility knife and a new blade, in multiple light, perpendicular passes, or with a hot-wire foam cutter. For free-form shapes and volume runs, the laser is the most accurate.
How do I make custom foam?
Design the outer contour and the recesses, then have them cut from individual foam layers. This is how you make custom foam rubber for a case, drawer, or packaging.
How can I glue foam together?
You can glue PE rigid foam with contact, spray, or plastic adhesive. The easiest method is using adhesive film on the underside of each layer: peel off the protective film, stack the layers, and you're done.
Does Shaper Trace also work for tools?
Yes, as long as the object fits within the capture area of 263 x 173 mm and contrasts well against white paper. For larger objects, pencil and paper are a good alternative.
Making a Tool Inlay: The Steps at a Glance
- Digitise your tools using your CAD model, a tracing frame, or pencil and scanner.
- Measure the internal dimensions of your case, both bottom and top.
- Design recesses 1 mm smaller, walls at least 4 mm wide, and finger holes.
- Distribute the depth across layers from 5 to 20 mm, with alignment holes.
- Cut the layers and bond them.
An inlay you've designed once is just as easy to order for ten vans as for one. As a business customer, you can order on account, and you can read more about large quantities in laser cutting in larger volumes.
Is your design ready? View PE rigid foam for thicknesses, specifications, and a sample.