


























Fast, precise, and affordable
Tool inlay laser cutting
Info about tool inlay laser cutting
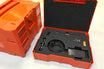
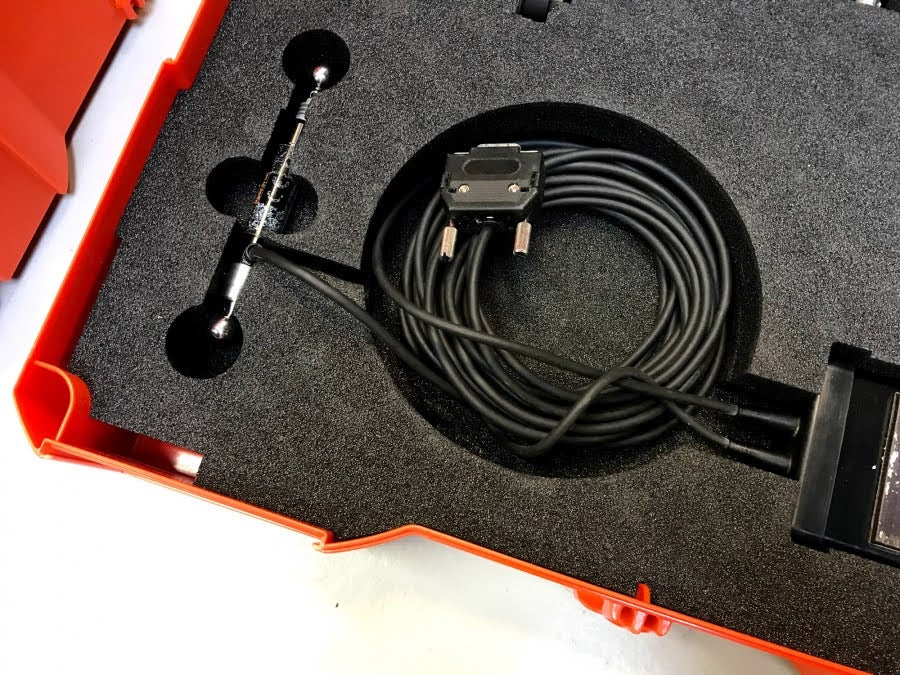
A tool inlay ensures your valuable items are organized and well-protected. Whether it's tools, measuring instruments, cameras, or other equipment, a custom foam inlay ensures everything stays securely in place.
At Snijlab, you create a foam inlay exactly to your specifications, using laser cutting. This way, you get an inlay precisely cut with a laser, entirely to your own design. But how do you create a custom tool inlay with laser cutting, and which material should you choose? Read on and we'll explain.
Materials for a custom inlay
Filters
3 products
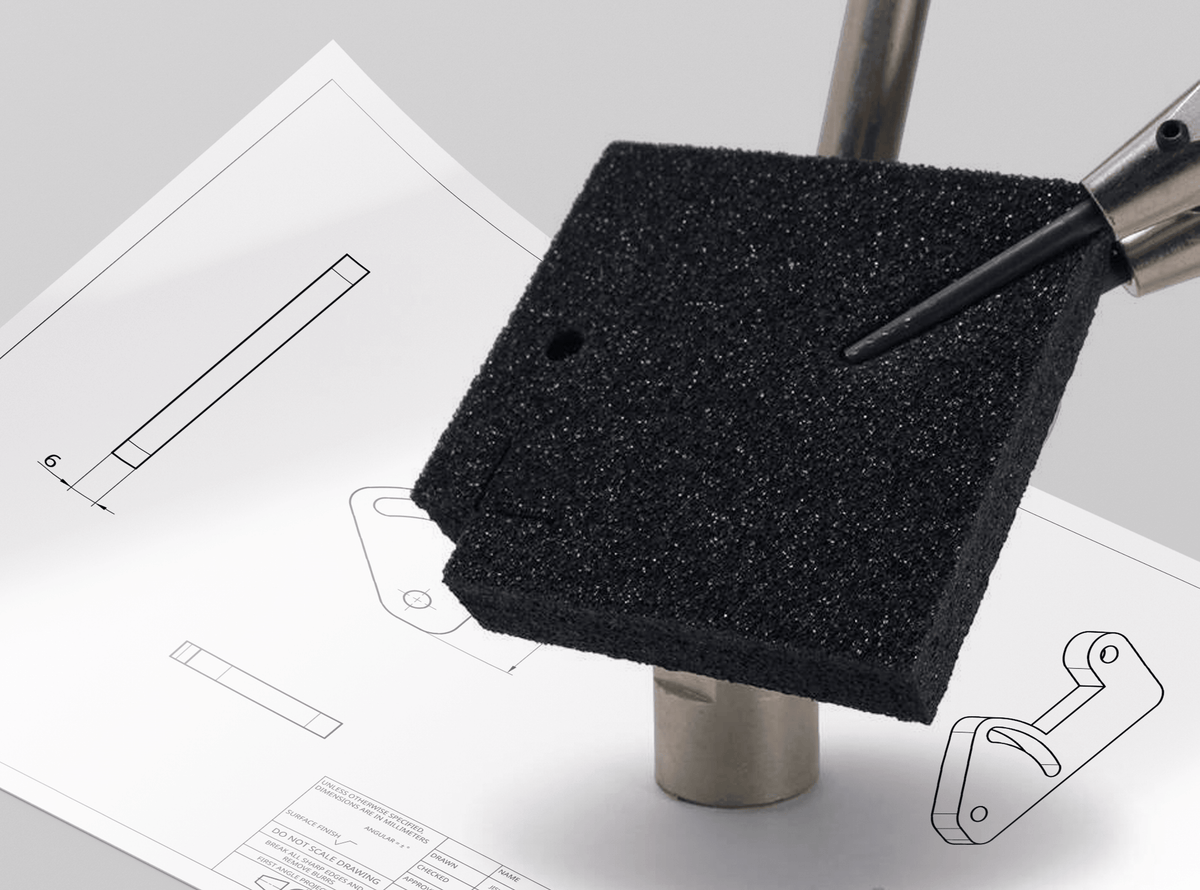
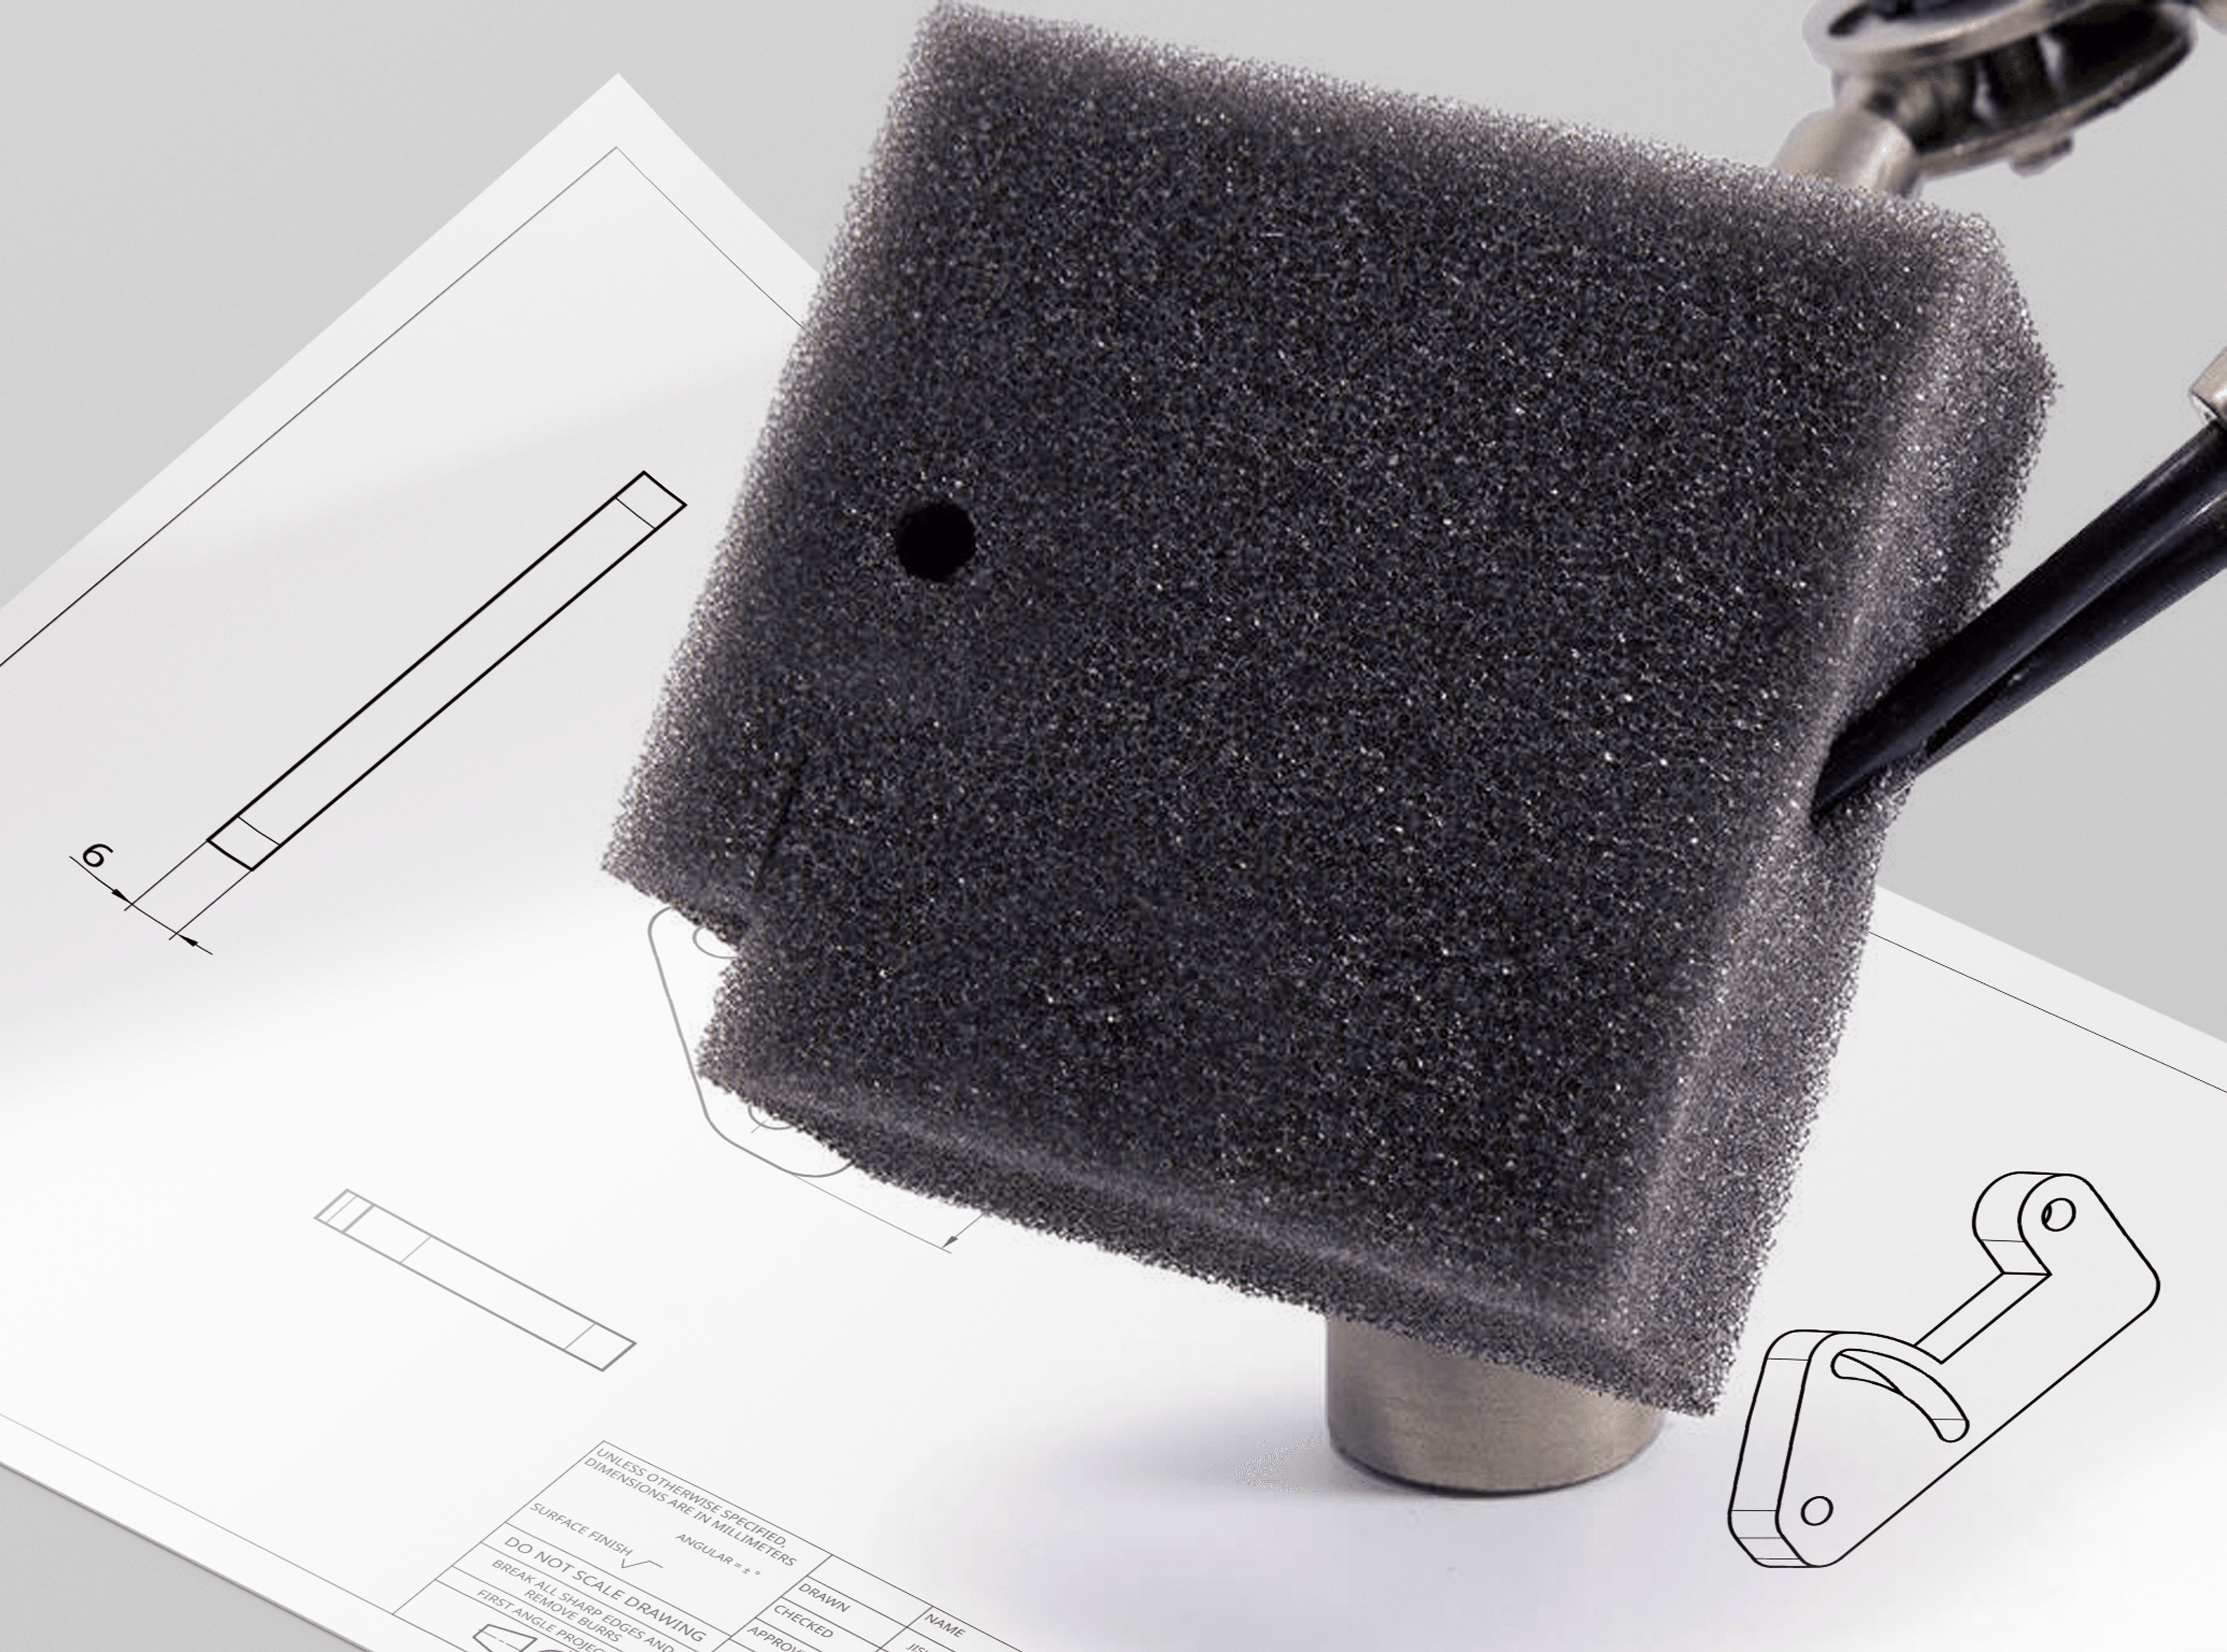
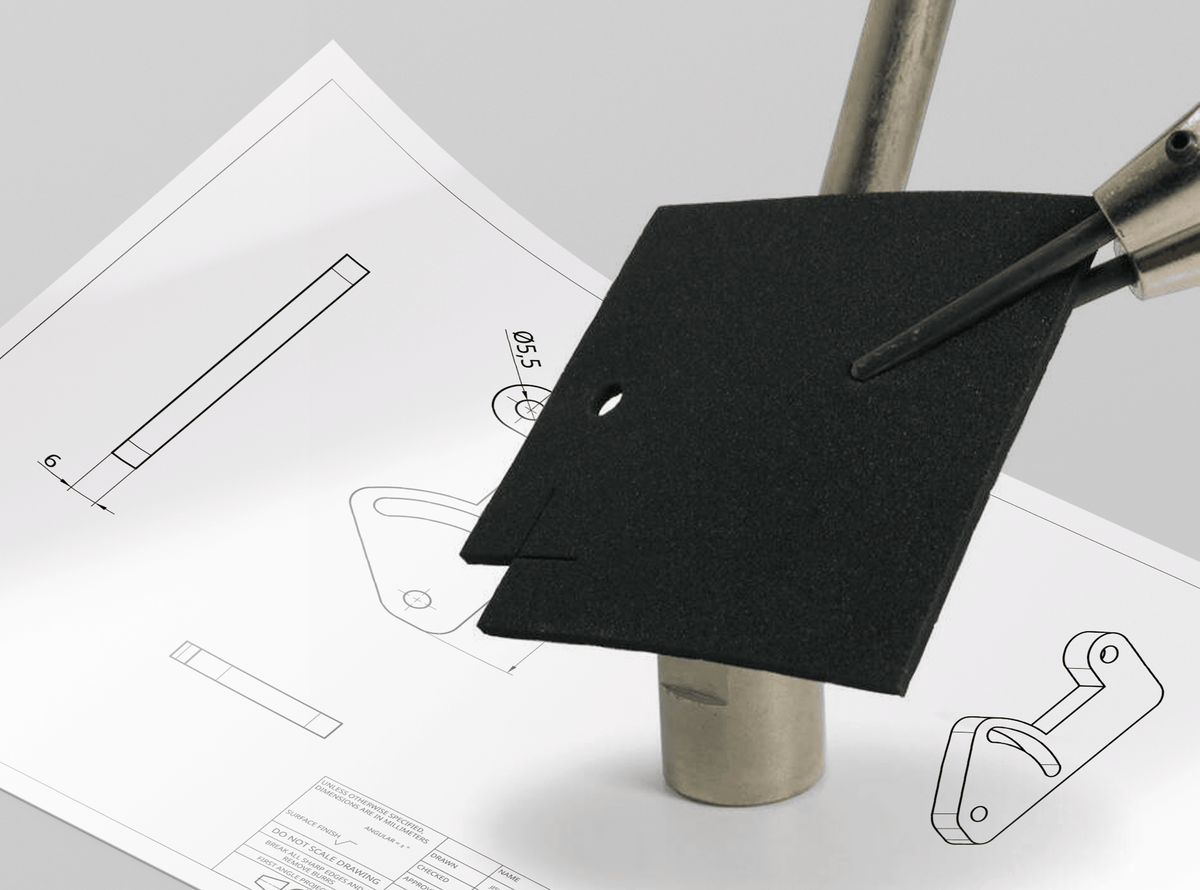
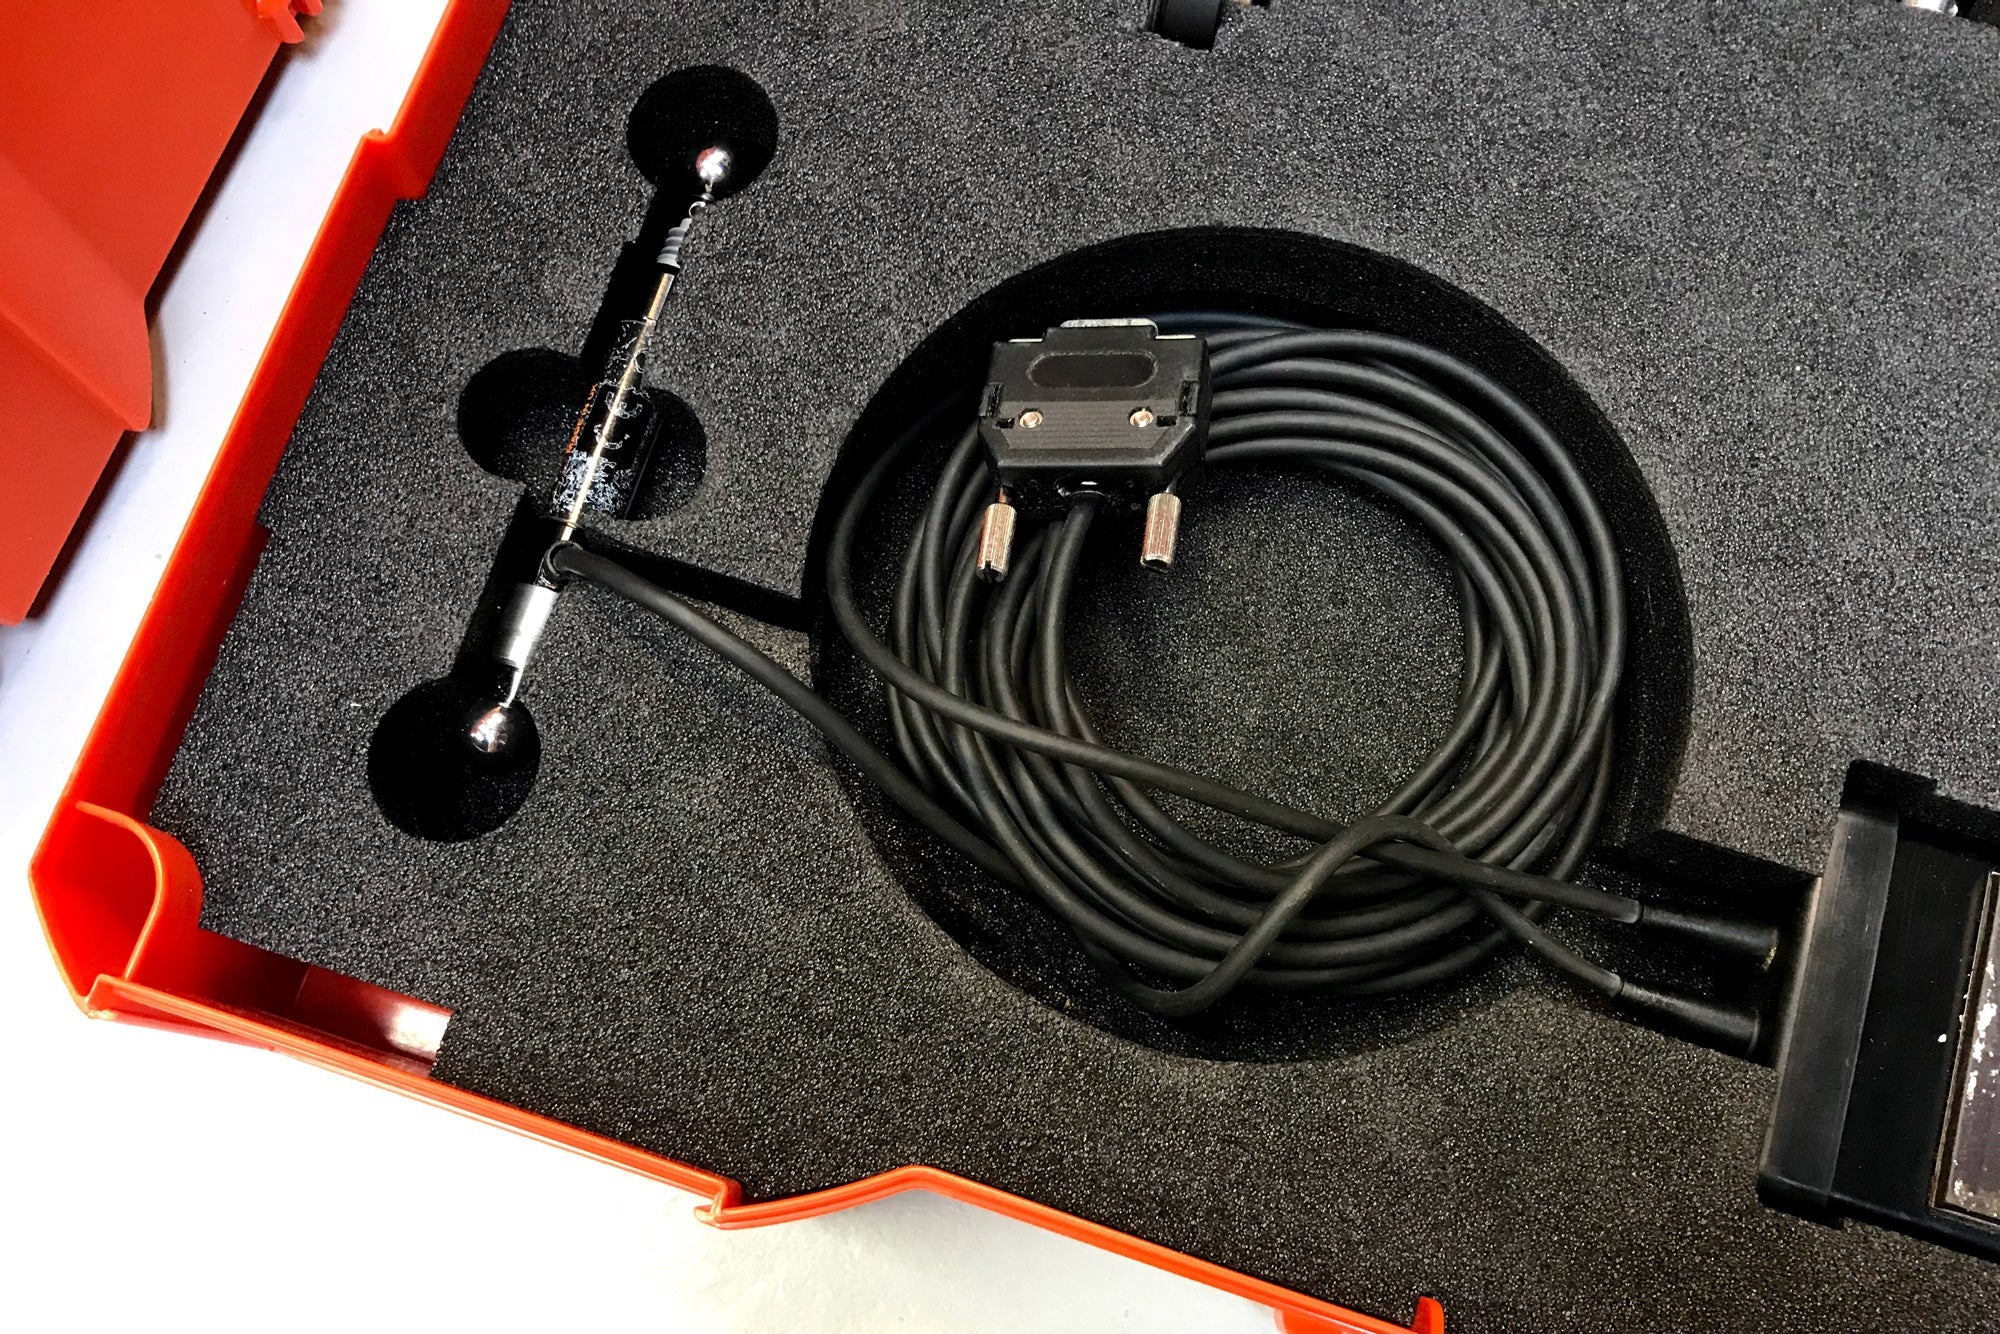
Why laser cut a custom tool inlay?
- Protects tools and equipment during transport
- Organized and professional tool case
- Easily custom-made with laser cutting
Fully customizable foam inlays, order affordably from a single piece. Precisely tailored to your needs, cut from high-quality material.
Read on to discover which material we recommend.
How to create your own custom tool inlay?
Create a design for your ideal tool case, so your equipment fits perfectly according to your own layout. Add text engravings for markings and neatly adhere the layers together with self-adhesive film.
Step-by-step: Designing your inlay
- Use a vector drawing program, such as Adobe Illustrator, AutoCAD, or Rhinoceros
- Draw the outline to fit your case, or download a template
- Create outlines of your tools. Make the shapes 1 mm smaller so everything fits snugly. Add finger cutouts to easily remove items.
- Upload your drawing
- Choose a material and delivery time
- See an instant price and order
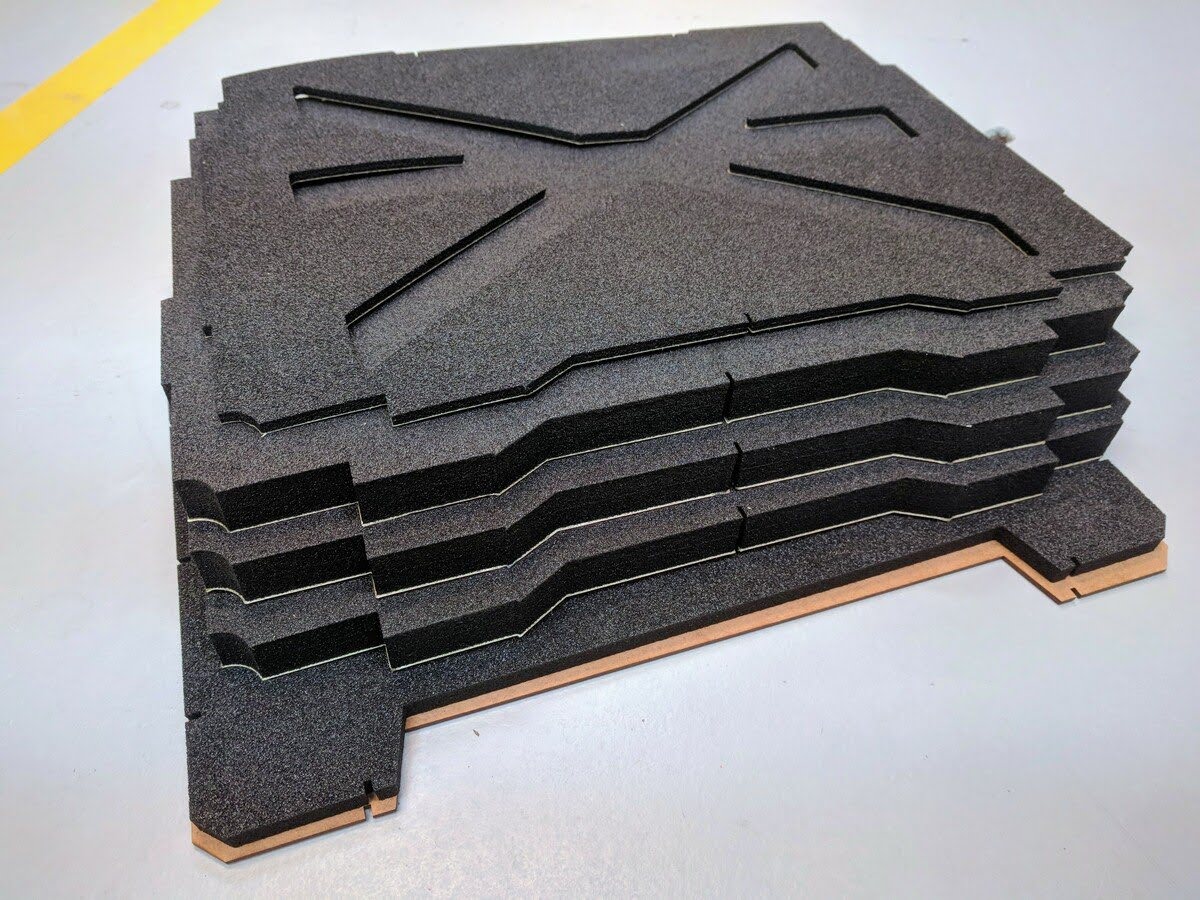
For a foam tool inlay, multiple layers are often used. Always use a base layer and build up from there to the desired height. To securely fasten the layers together, opt for self-adhesive film on the bottom. Working with spray adhesive is also possible.
Tip: Struggling to draw your tools? Carefully trace the outline of your objects on paper. Scan your paper drawing and trace it in your vector program. This way, you'll always have the correct size.

Template for Systainer foam inlays
Systainers are ideal for custom inlays. They are robust, stackable, and available from brands like Festool, Makita, and Metabo. We recommend the following layer structure for the different Systainer heights:
- Type I (105 mm): 1 base layer of 5 mm + 3 foam layers of 20 mm.
- Type II (157.5 mm): 1 base layer of 5 mm + 2 layers of 20 mm and 1 layer of 15 mm.
- Type III (210 mm): 1 base layer of 5 mm + 5 foam layers of 20 mm.
Do you want more information about creating a custom Systainer inlay? In our tutorial, you'll learn all about it. You'll also find a free template drawing for a Systainer case here.
Go to the tutorial: How do I make an inlay for my Systainer?
Extra options
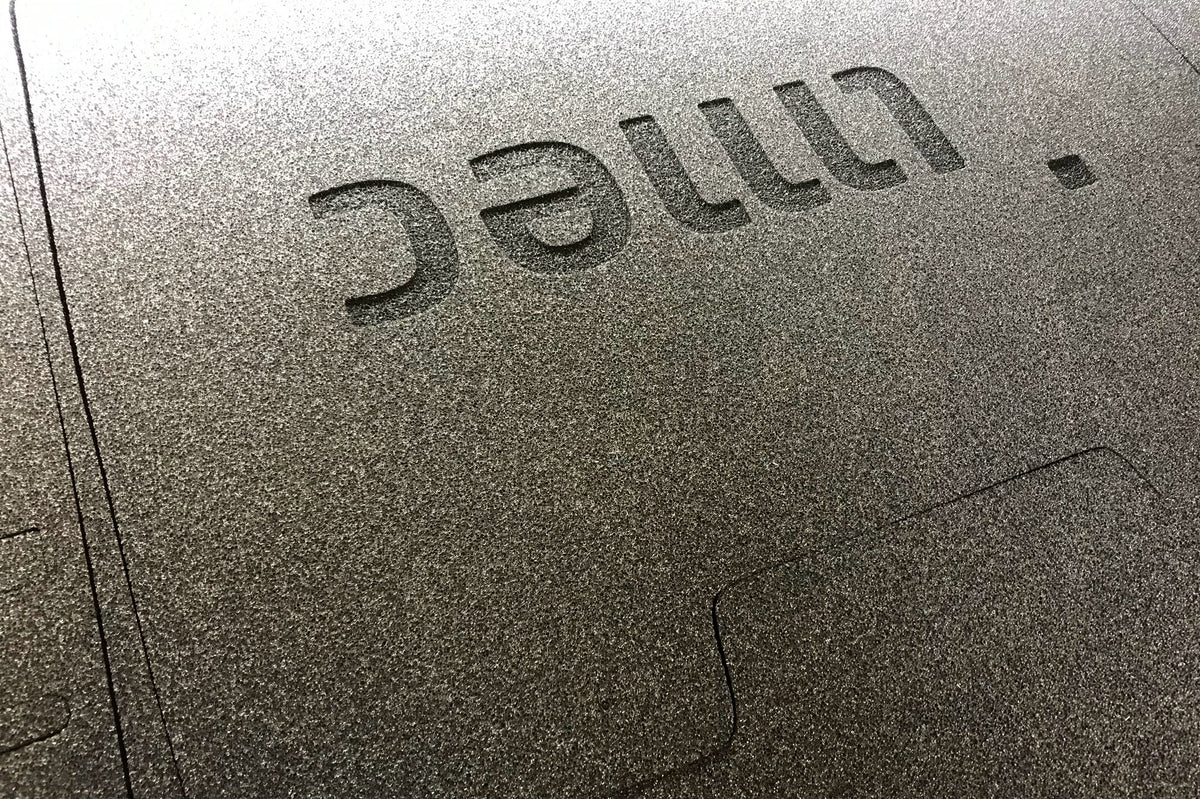
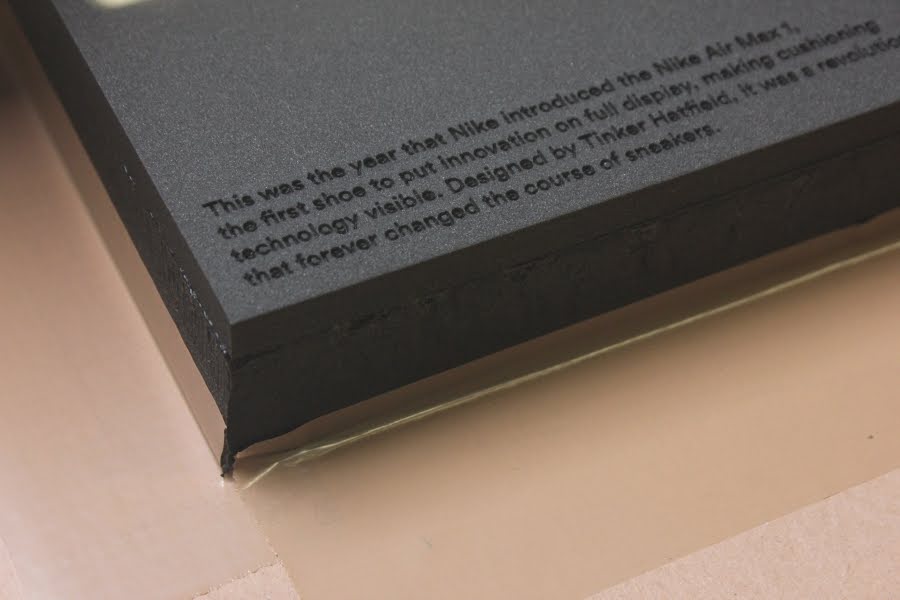
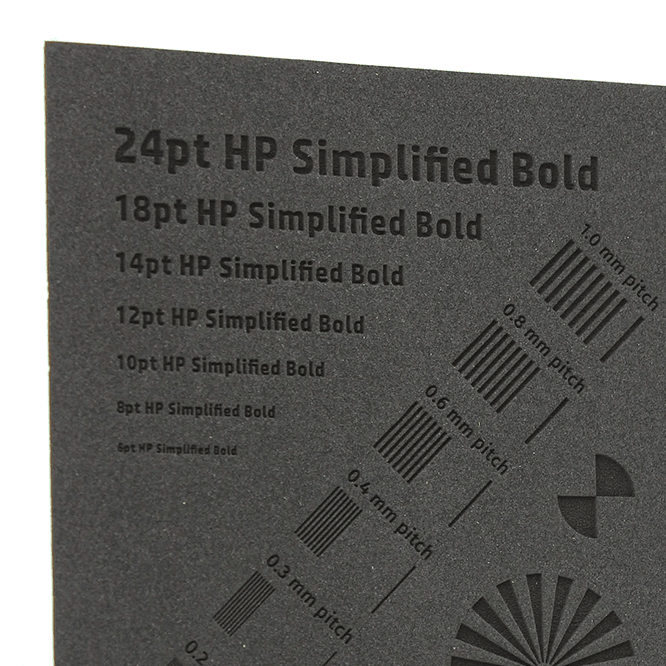
With laser cutting, more is possible than just cutting out. You can also flat engrave in PE foam. This way, you can add a logo or text to your tool inlay foam – handy for branding or identification.
Below you see an example of a detailed text engraving in PE hard foam.
How to create your own custom tool inlay?
Create a design for your ideal tool case, so your equipment fits perfectly according to your own layout. Add text engravings for markings and neatly adhere the layers together with self-adhesive film.
Step-by-step: Designing your inlay
- Use a vector drawing program, such as Adobe Illustrator, AutoCAD, or Rhinoceros
- Draw the outline to fit your case, or download a template
- Create outlines of your tools. Make the shapes 1 mm smaller so everything fits snugly. Add finger cutouts to easily remove items.
- Upload your drawing
- Choose a material and delivery time
- See an instant price and order
For a foam tool inlay, multiple layers are often used. Always use a base layer and build up from there to the desired height. To securely fasten the layers together, opt for self-adhesive film on the bottom. Working with spray adhesive is also possible.
Tip: Struggling to draw your tools? Carefully trace the outline of your objects on paper. Scan your paper drawing and trace it in your vector program. This way, you'll always have the correct size.
Template for Systainer foam inlays
Systainers are ideal for custom inlays. They are robust, stackable, and available from brands like Festool, Makita, and Metabo. We recommend the following layer structure for the different Systainer heights:
- Type I (105 mm): 1 base layer of 5 mm + 3 foam layers of 20 mm.
- Type II (157.5 mm): 1 base layer of 5 mm + 2 layers of 20 mm and 1 layer of 15 mm.
- Type III (210 mm): 1 base layer of 5 mm + 5 foam layers of 20 mm.
Do you want more information about creating a custom Systainer inlay? In our tutorial, you'll learn all about it. You'll also find a free template drawing for a Systainer case here.
Go to the tutorial: How do I make an inlay for my Systainer?
Extra options
With laser cutting, more is possible than just cutting out. You can also flat engrave in PE foam. This way, you can add a logo or text to your tool inlay foam – handy for branding or identification.
Below you see an example of a detailed text engraving in PE hard foam.
Which material should you choose for your foam inlay?
There are a number of considerations when creating a foam inlay for tools. Choose the right material for a professional and durable result. Our material recommendations for foam inlays:
1. PE Hard Foam
The ultimate inlay material. It is widely used in the flight case industry. It is harder than a typical mattress.
- Protects well
- Closed cell structure
- Surface and edges look professional
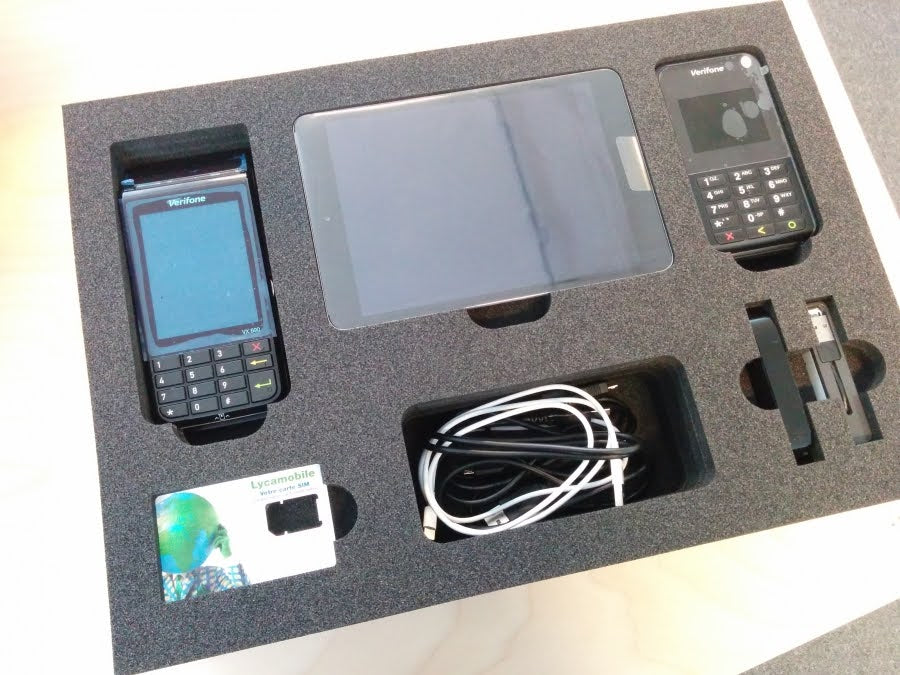
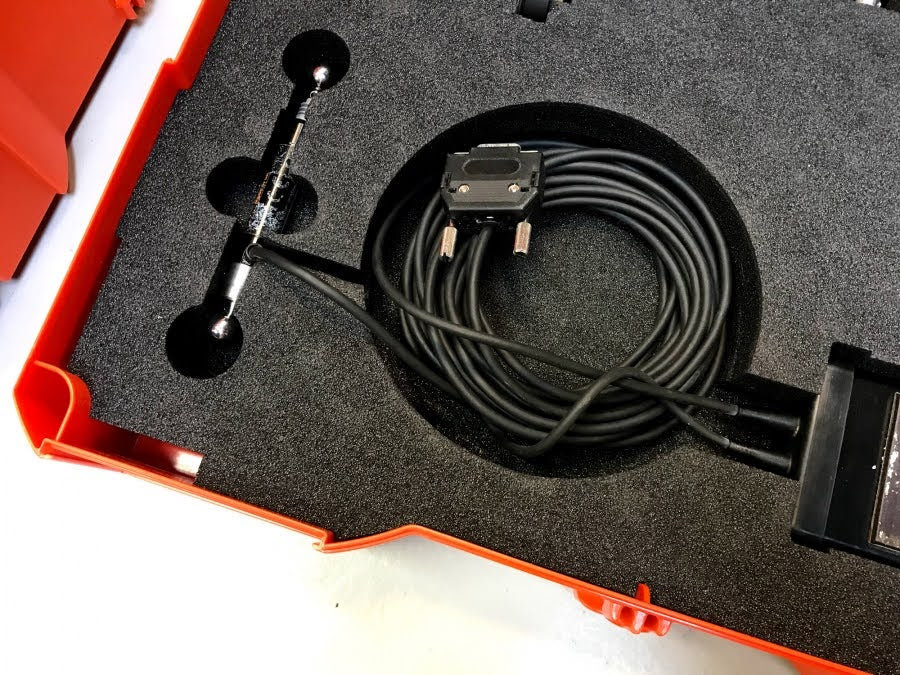
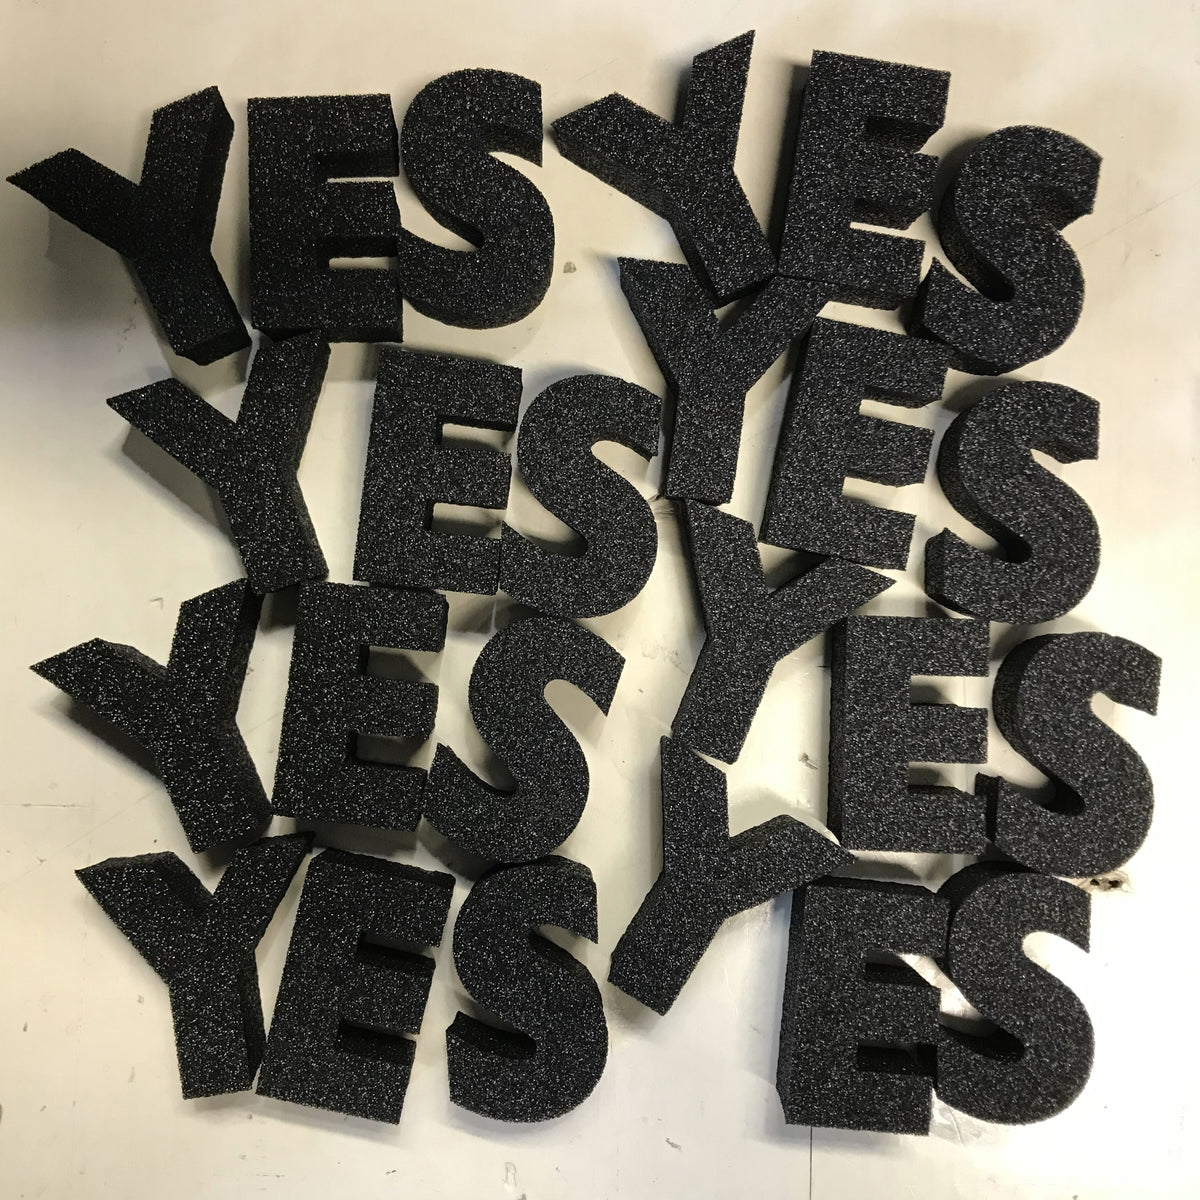
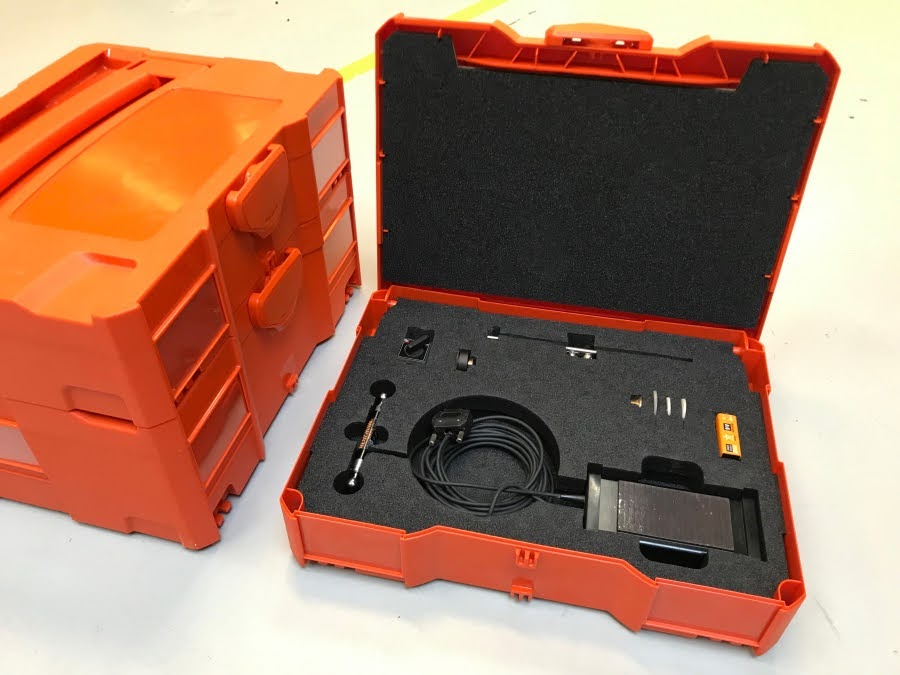
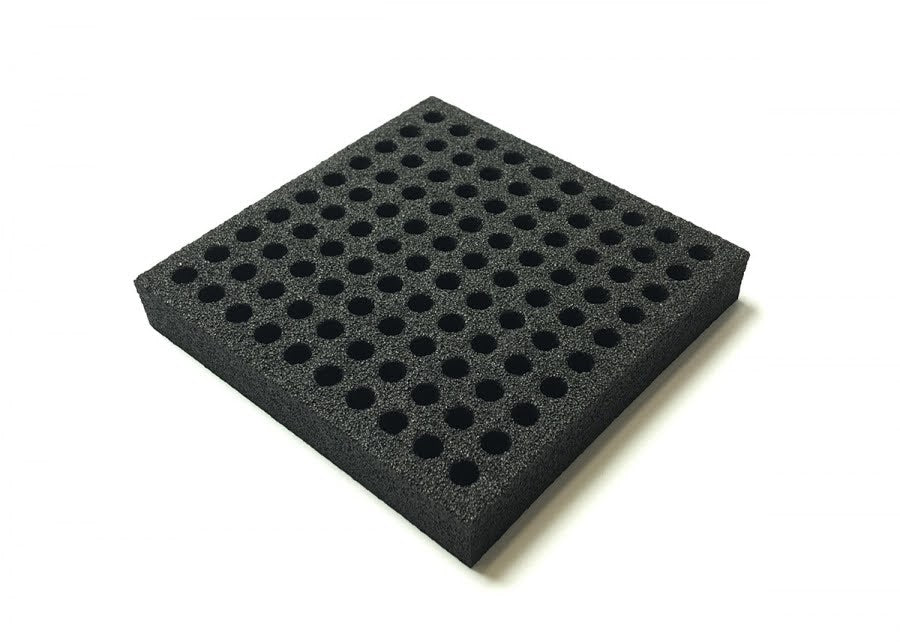
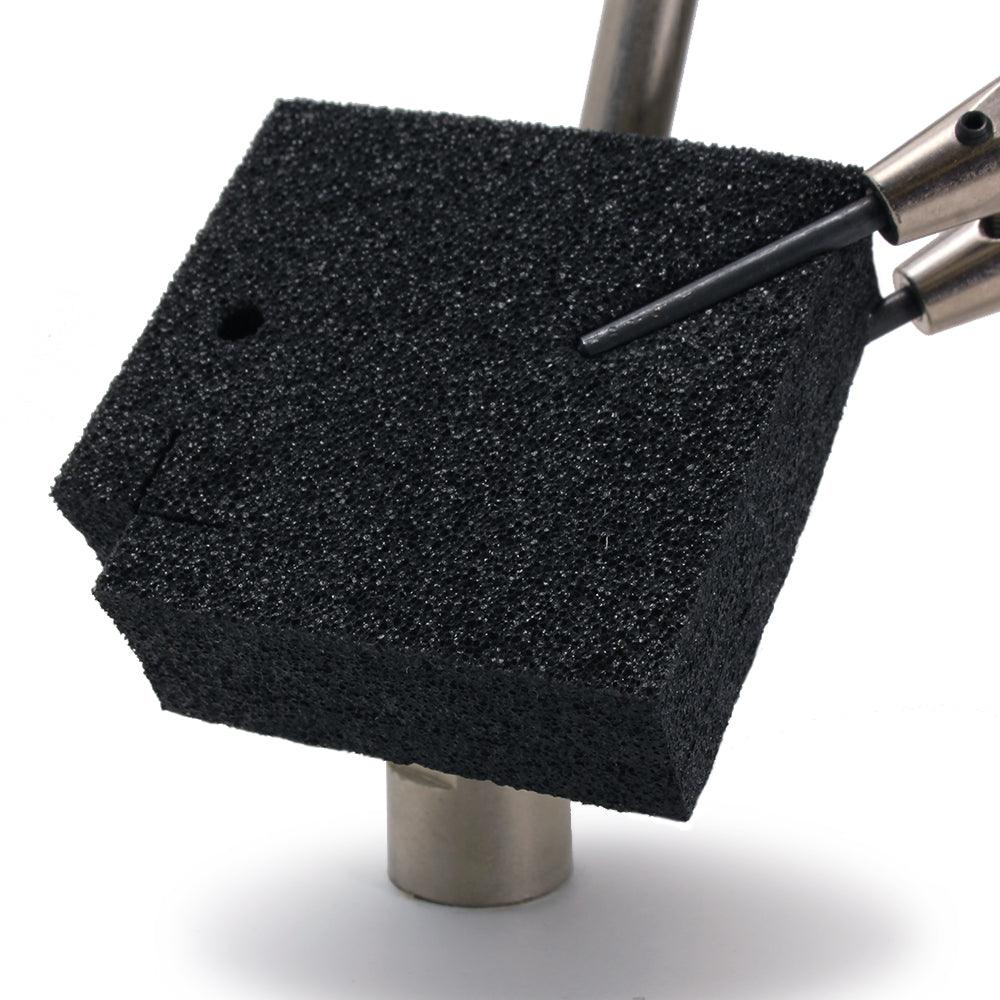
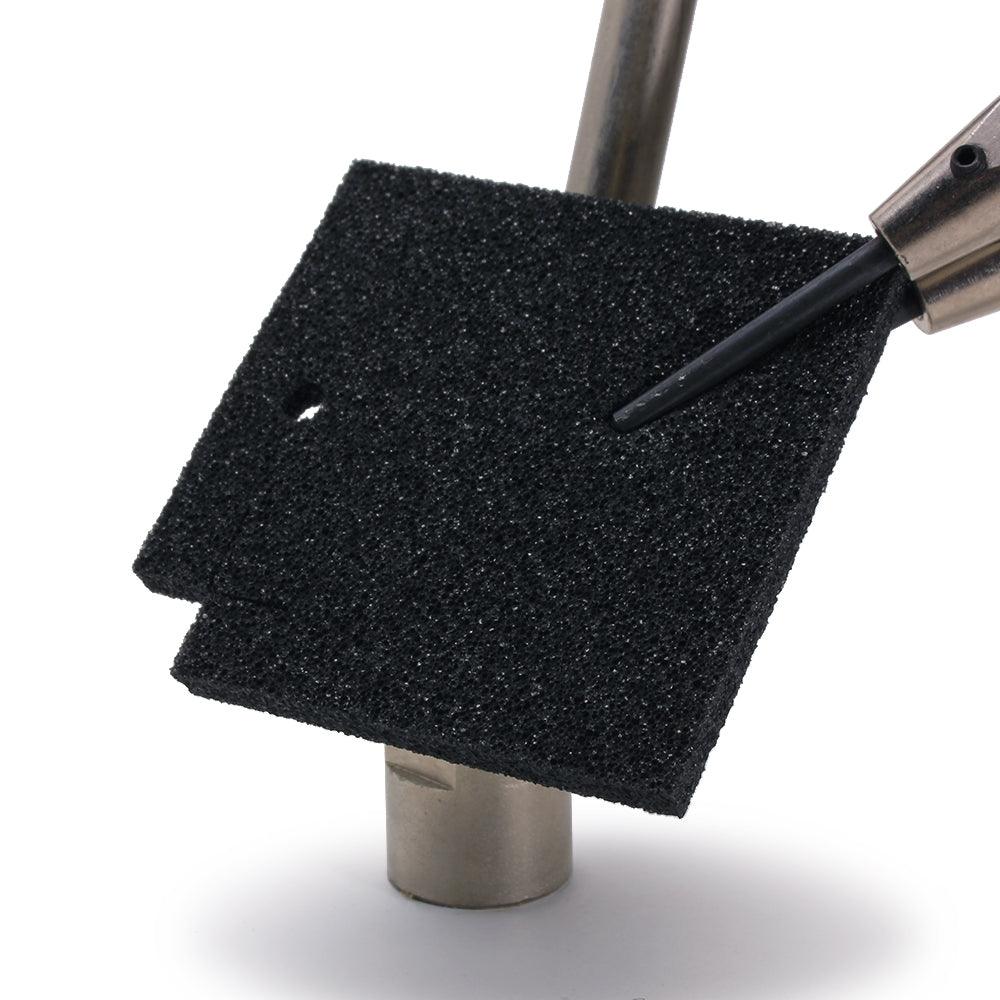
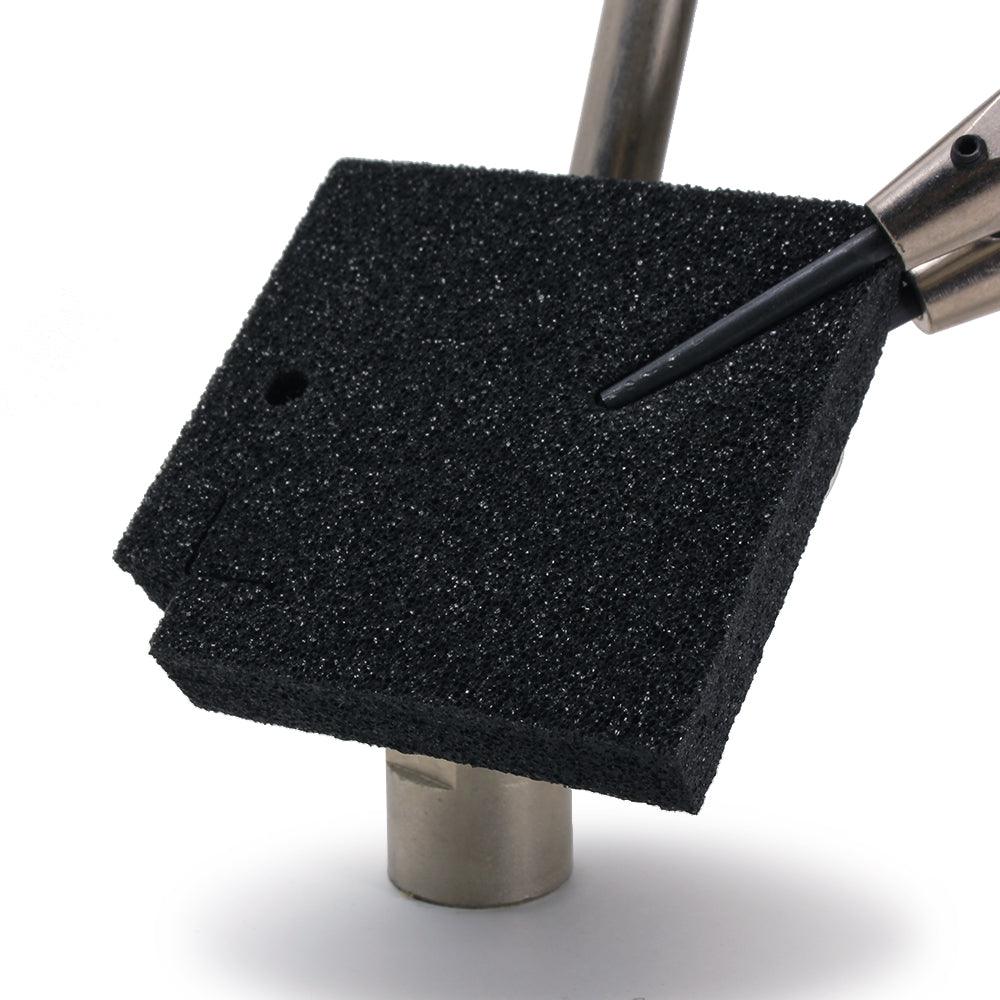
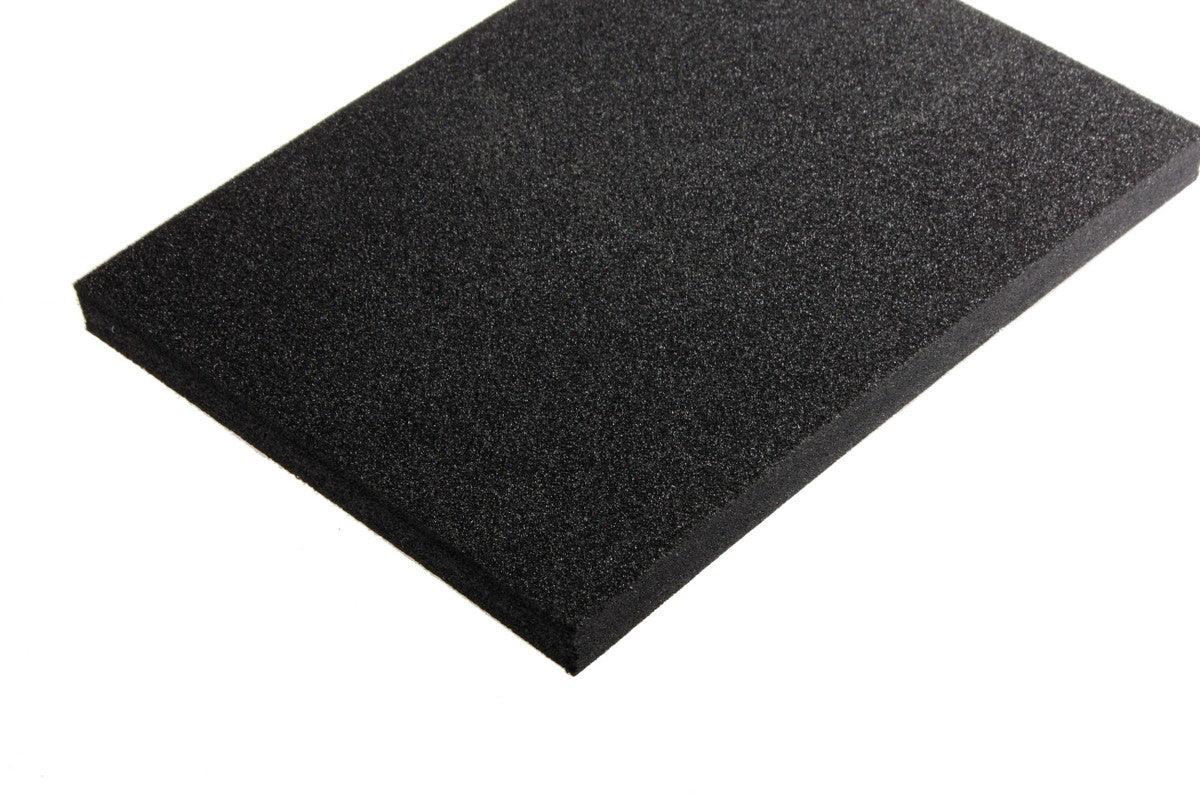
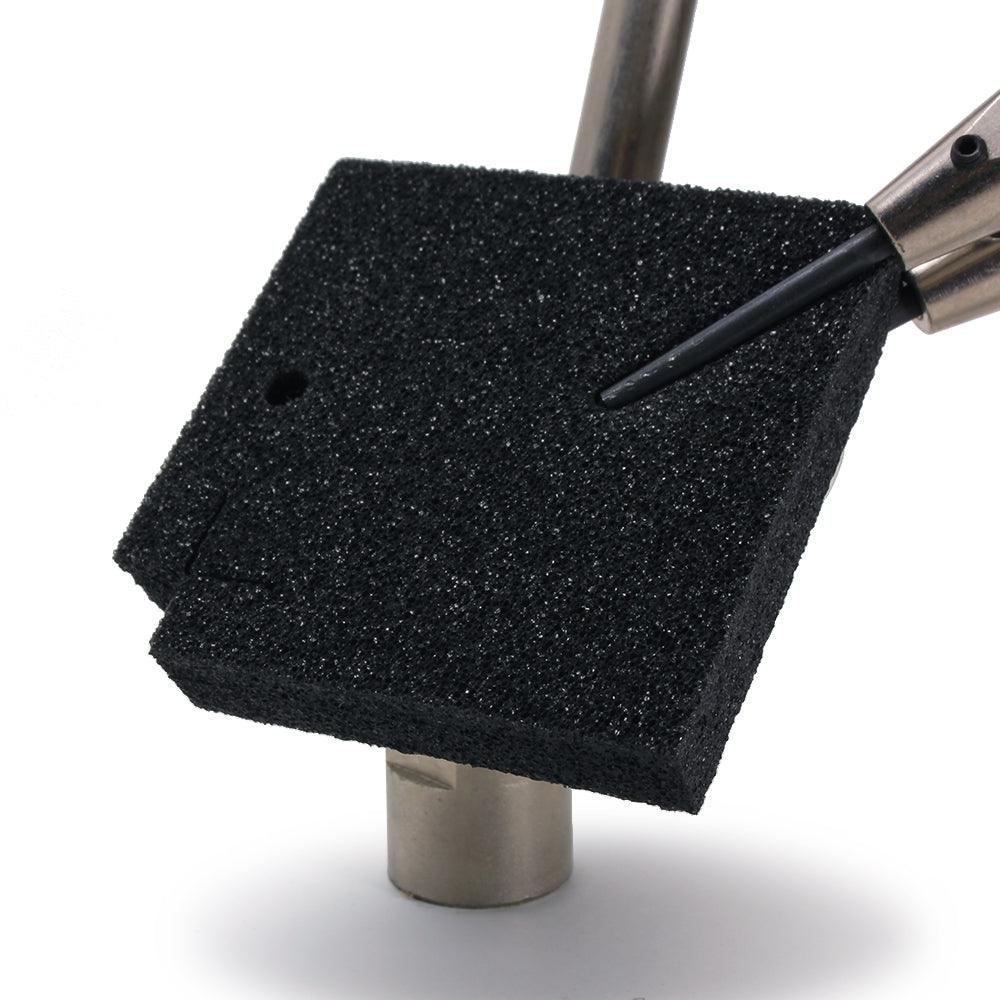
PE foam is a sturdy, resilient closed-cell polyethylene foam, well-known in the flight case industry. Use it to laser cut custom foam inlays: cut-outs that securely hold tools, measuring equipment, or products in place.
When to choose PE foam?
Choose PE foam when a component needs to be secured and protected: inlays for cases and tool drawers, shadowboards, packaging for fragile products, and damping interlayers. Its surface is fine and uniformly black, so an inlay looks finished without post-processing. Thanks to its closed cells, it does not absorb moisture or oil and is easy to clean; black PE foam is also highly resistant to UV light. If a temporary or cheaper inlay is sufficient, consider soft foam. If you are looking for a soft, compressible material for seals, then cellular rubber neoprene is the better choice.
Laser cutting PE foam: what to expect
The laser melts a clean, soft cutting edge in the same colour as the surface. The edge does not rub off and has no odour; at 15 and 20 mm, the underside is slightly wrinkled. The cut is wider than with hard plastics, so bear this in mind for small details. Engrave letters, names, and logos directly into the surface. PE foam can be easily glued with contact, spray, or plastic adhesive, and you can build thick inlays from multiple layers: choose adhesive film for the underside and stick them together in one go. The dimensions that allow an inlay to clamp are included in the design tips.
2. Soft Foam
Soft foam, 20 mm thick. Grey in color with slightly darker laser edges.
- Soft cushioning
- More affordable than PE Hard Foam
- 20 mm thick
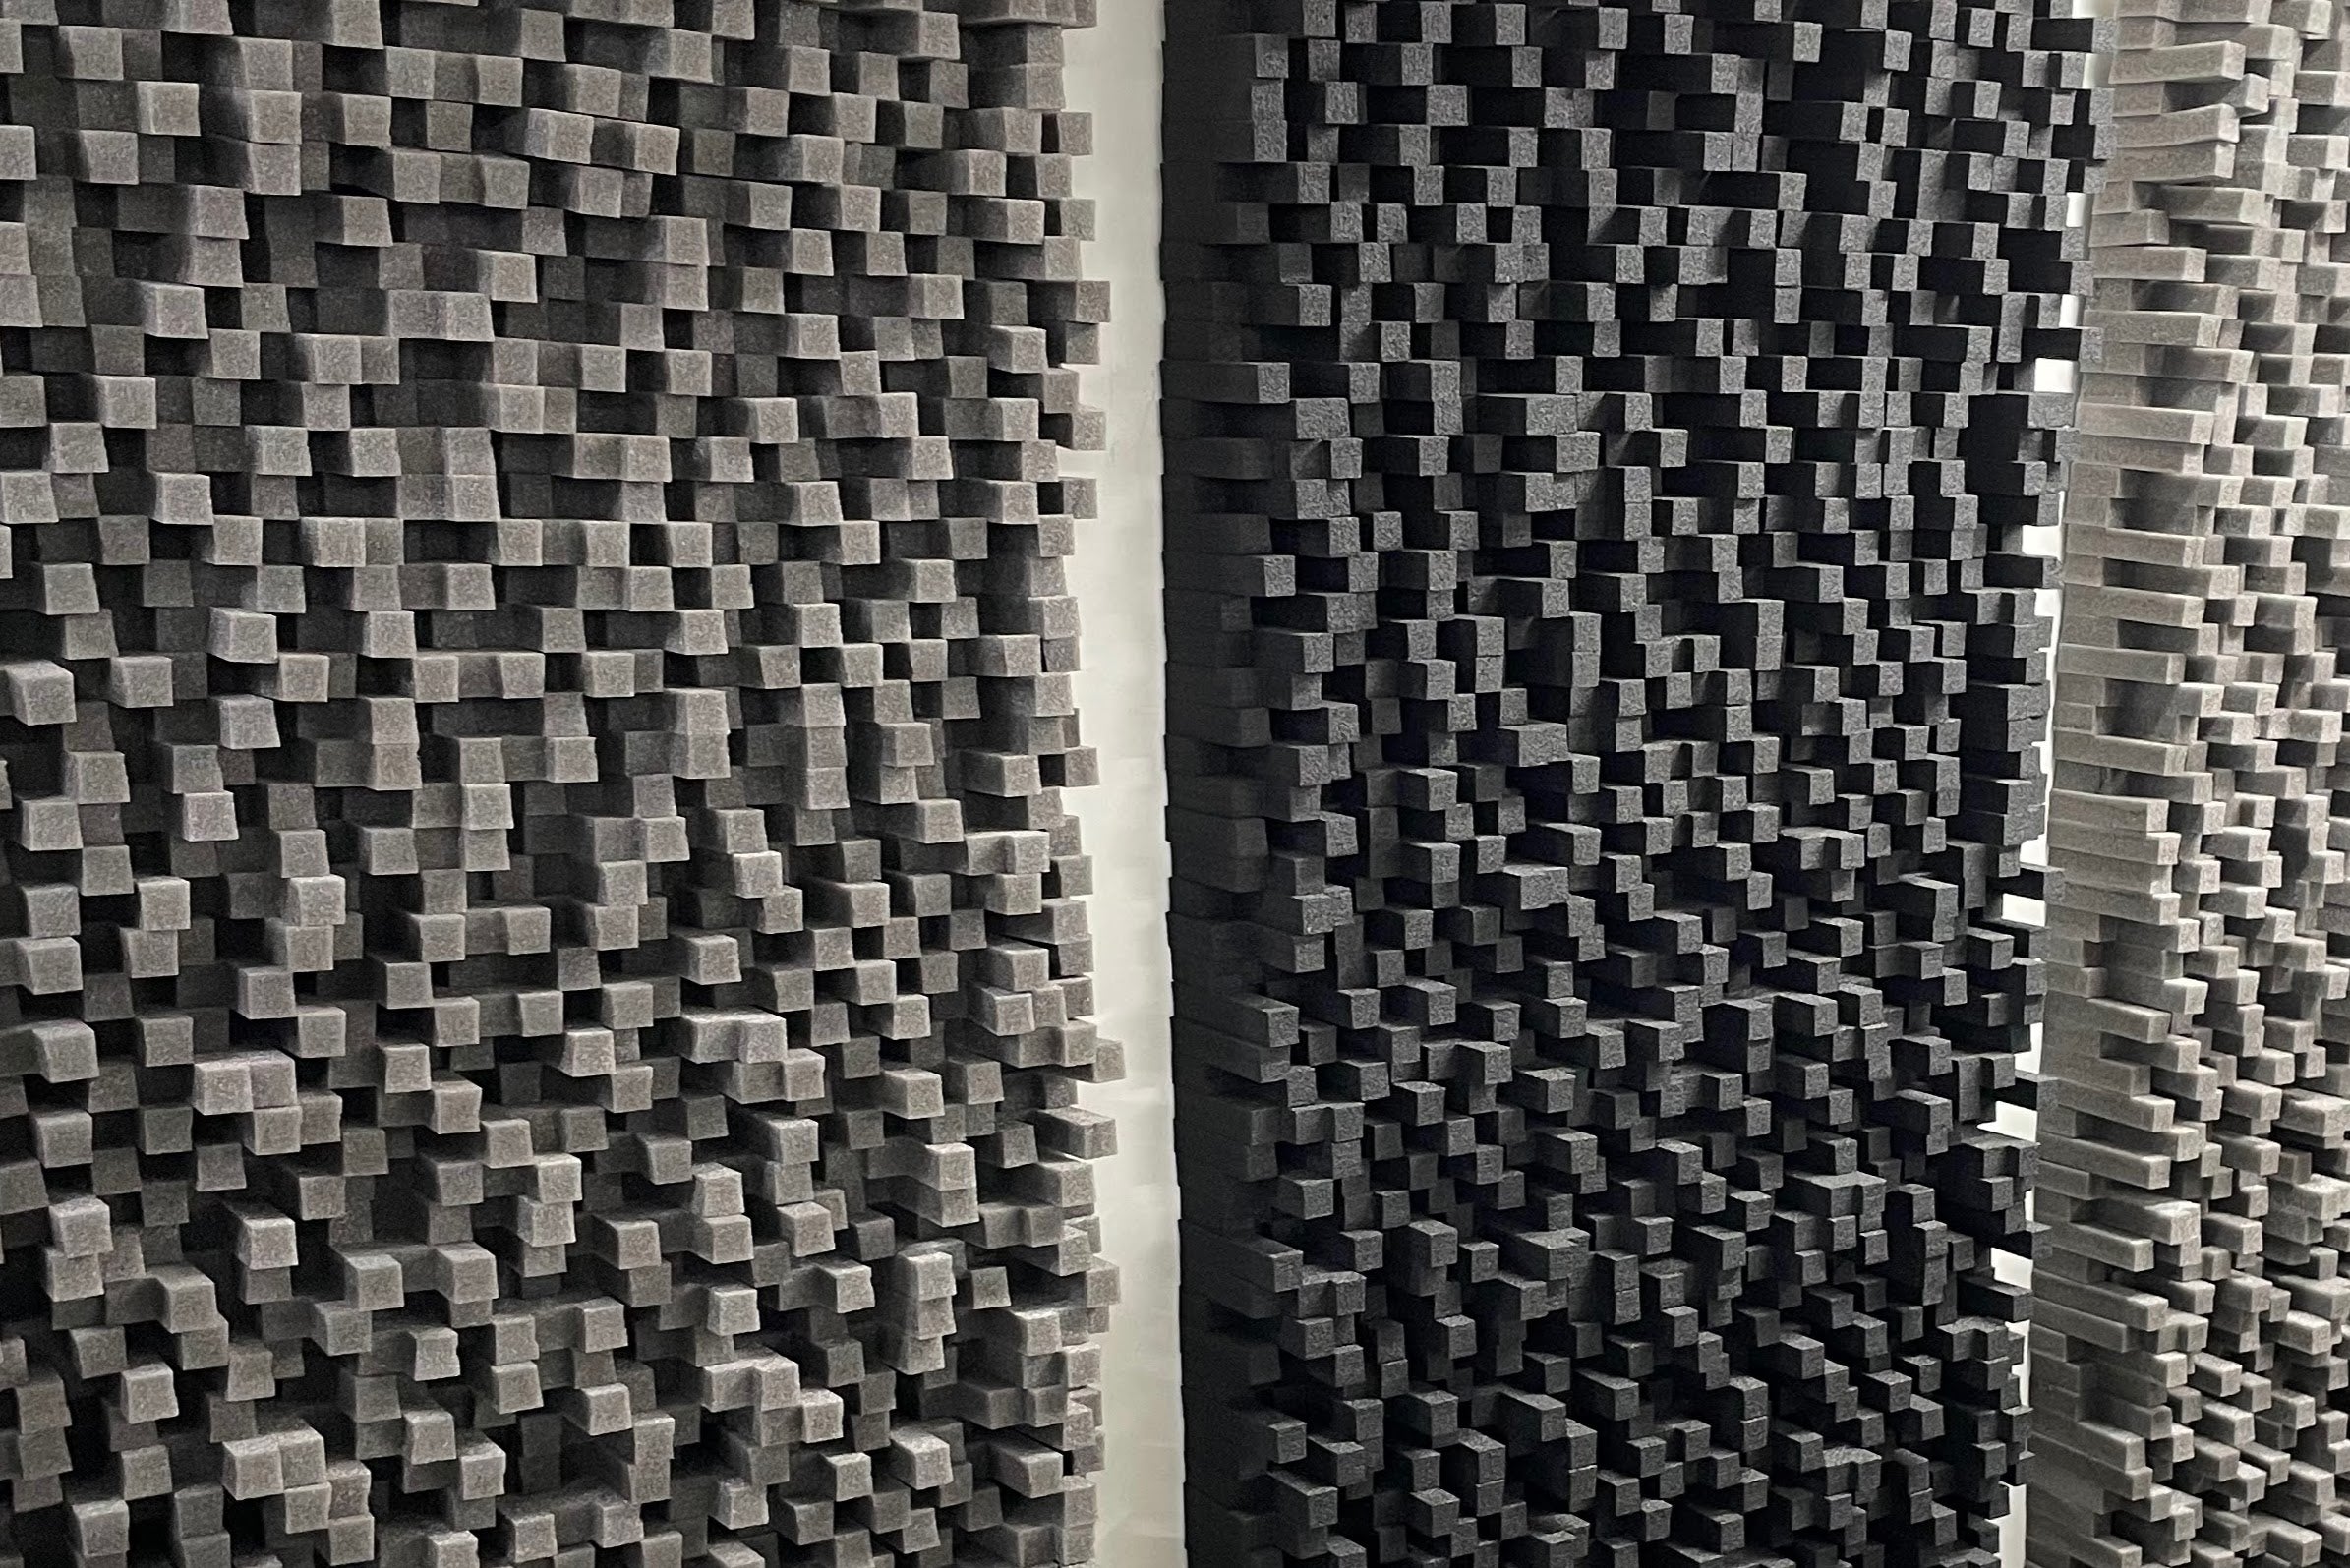
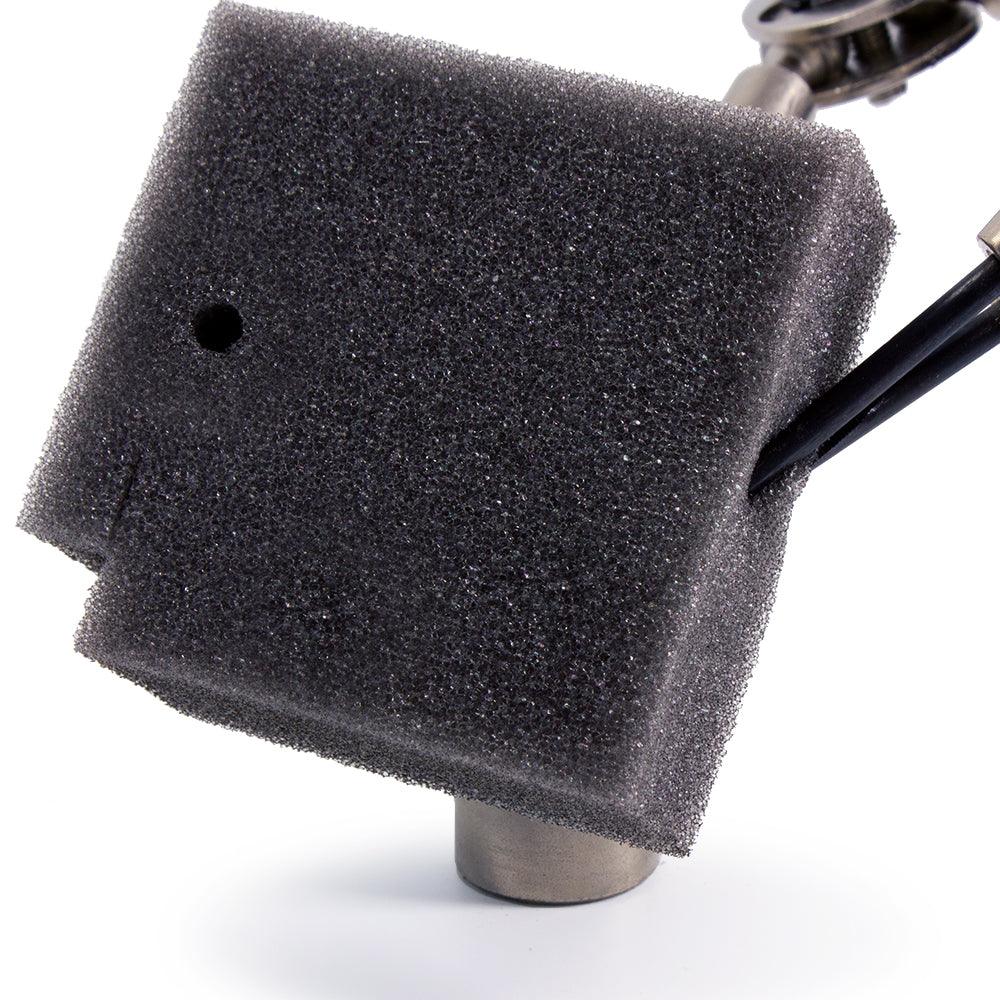
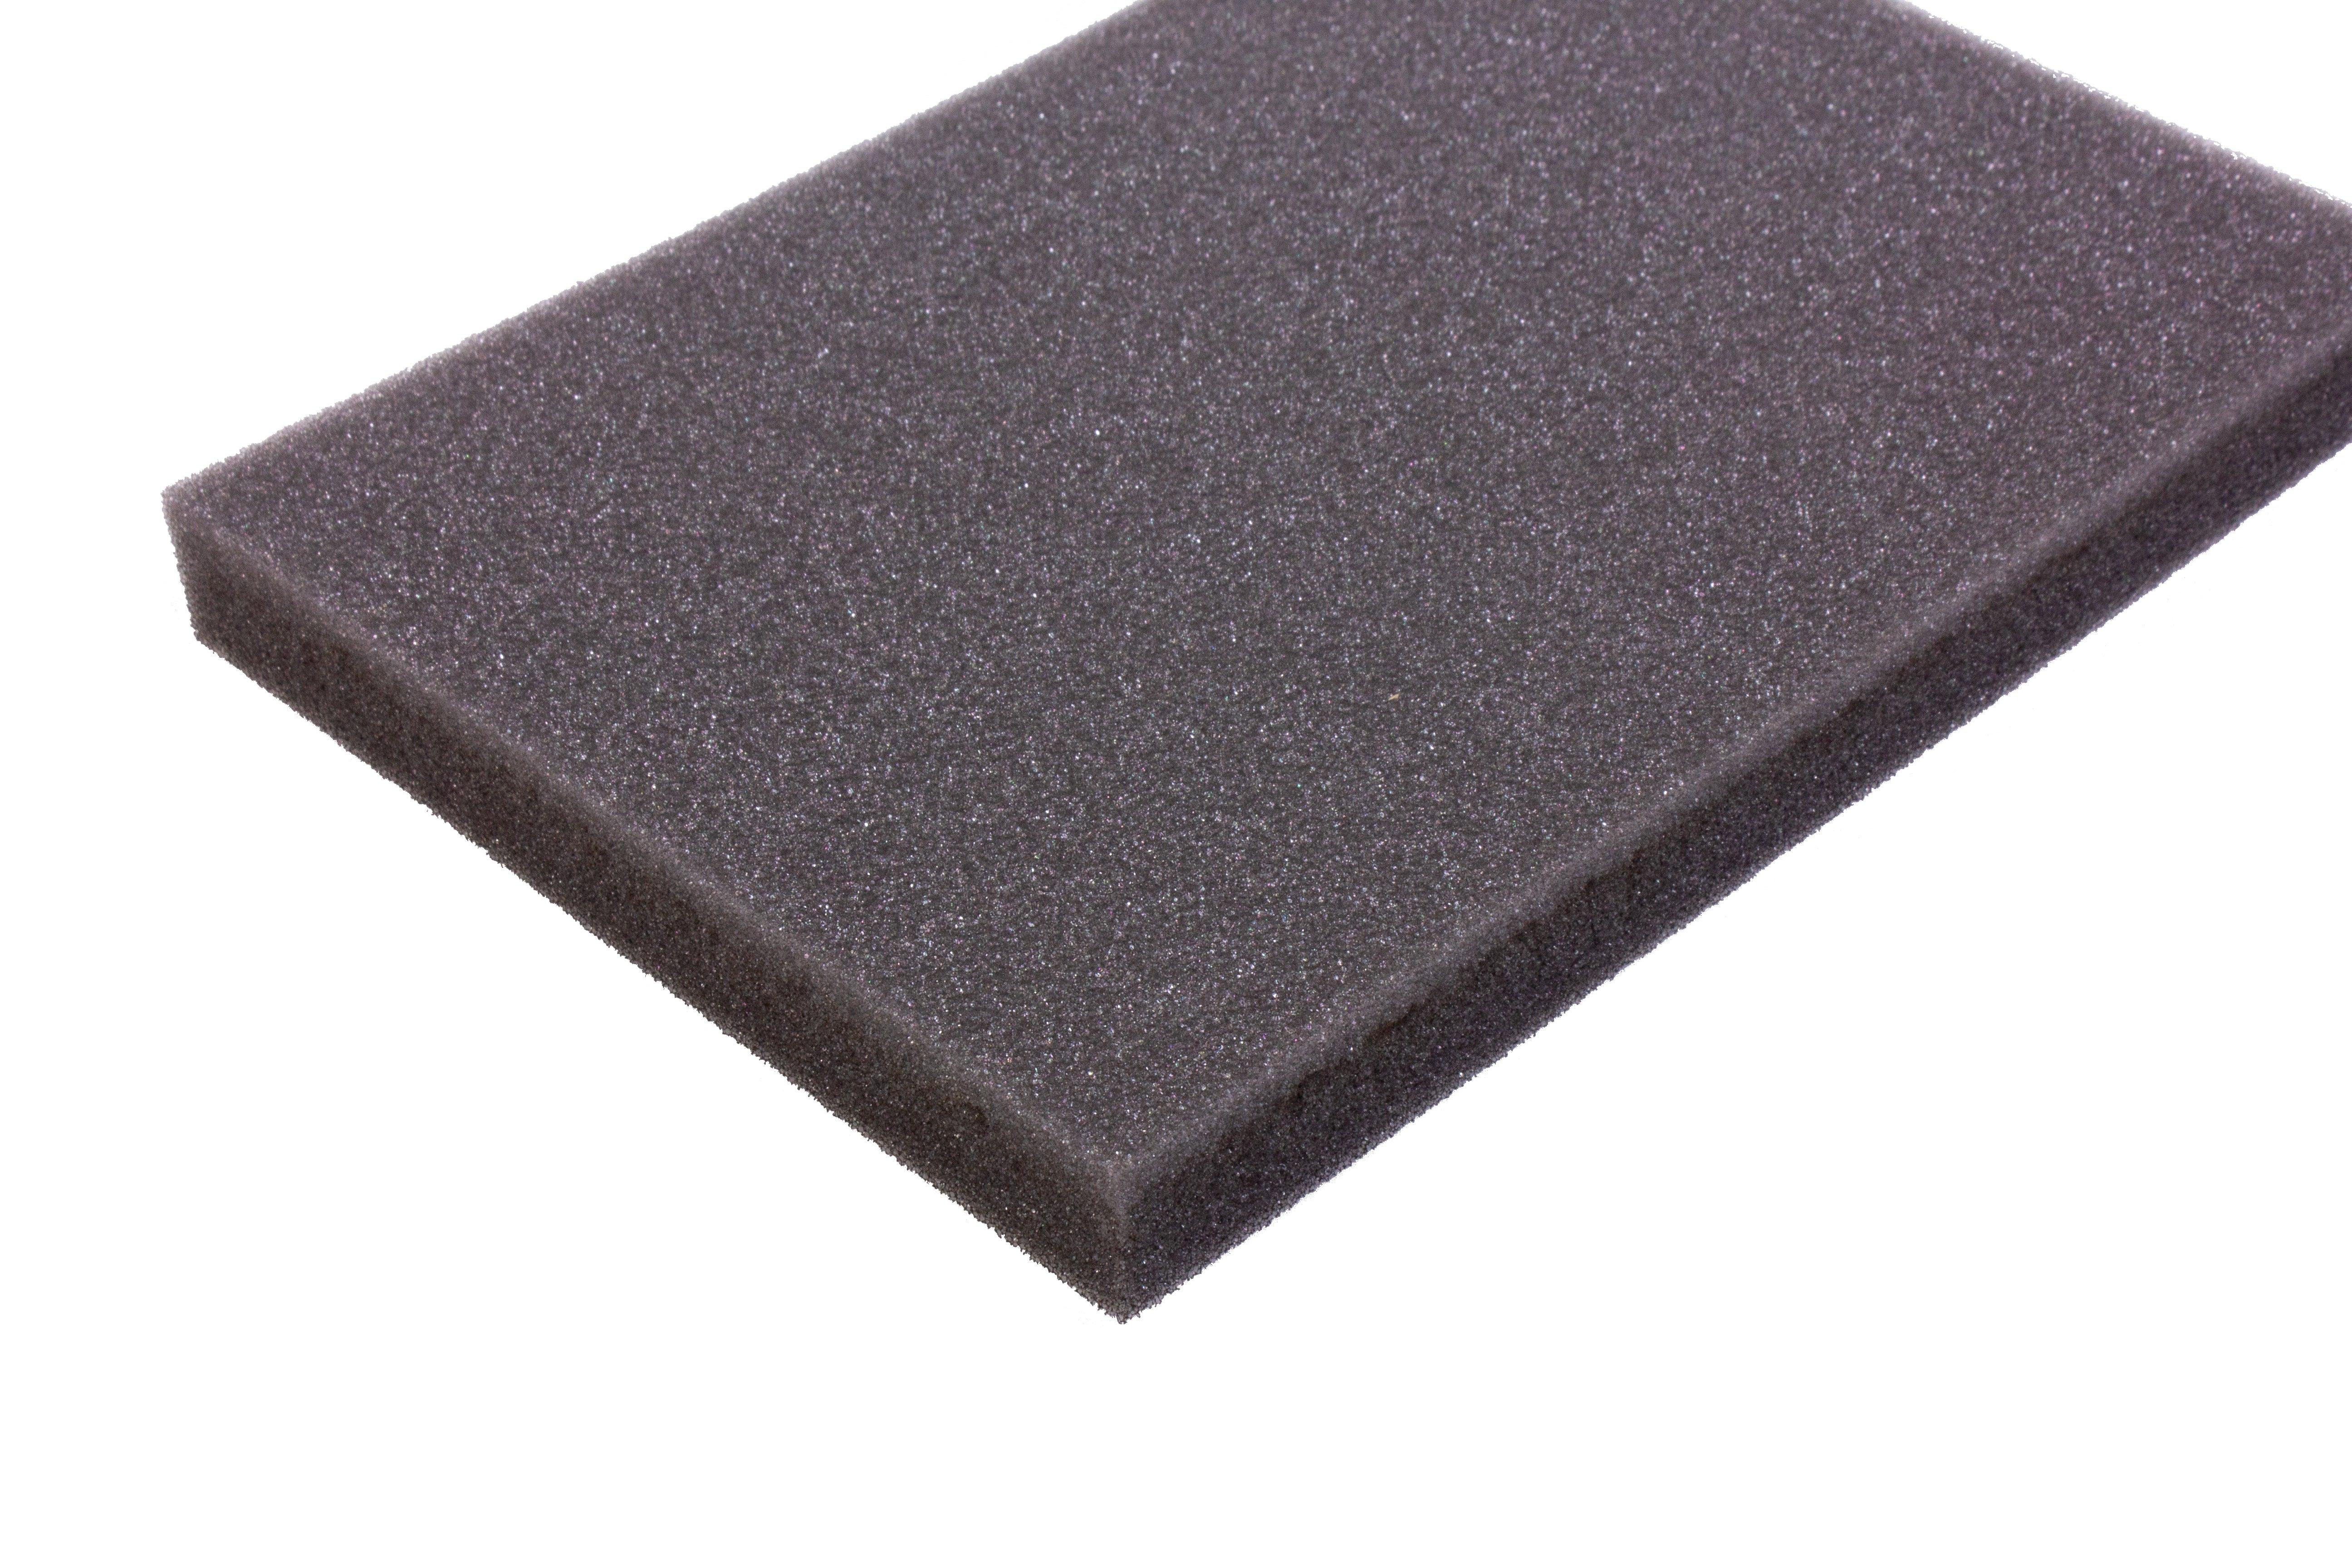
A budget alternative to PE foam
Properties
Polyether foam is known as mattress foam, but you can also laser cut shapes from it. It can in some cases be an economical alternative to PE foam in (temporary) inlays of cases and crates. However, there are some important differences from PE foam. It is less sturdy. It is lighter in weight. It is lighter in color (gray). It has open cells so it absorbs liquid. It is less suitable for detailed shapes
3. Cellular Rubber Neoprene
Technical foam type that insulates well. Its closed cell structure is impervious to moisture. Cellular rubber neoprene is widely used for seals and insulation.
- Closed cell structure
- Many different thicknesses
- Wear-resistant
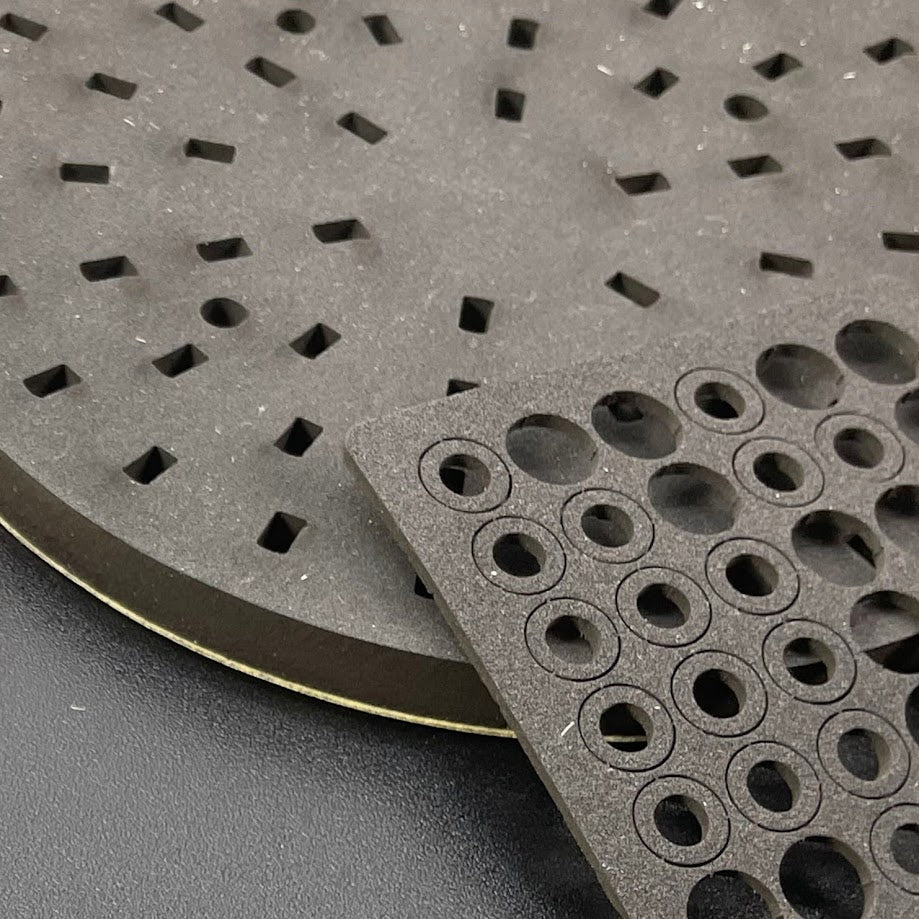
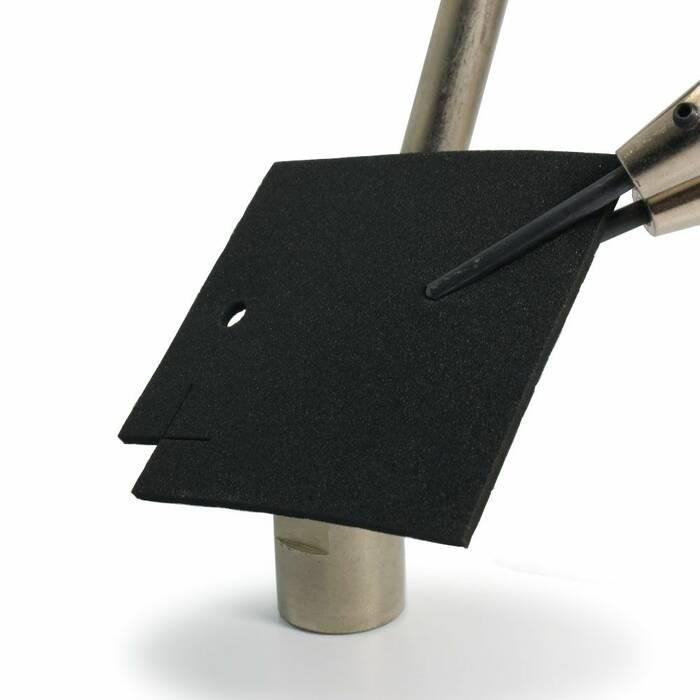
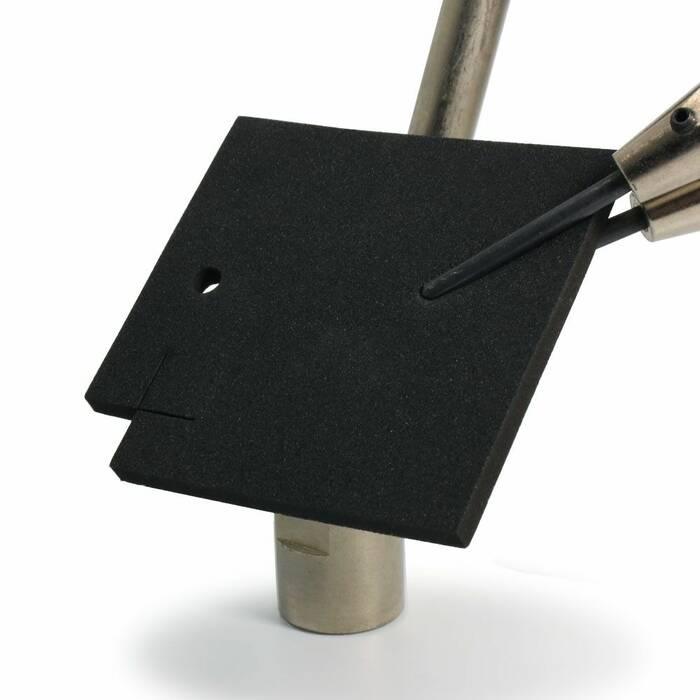
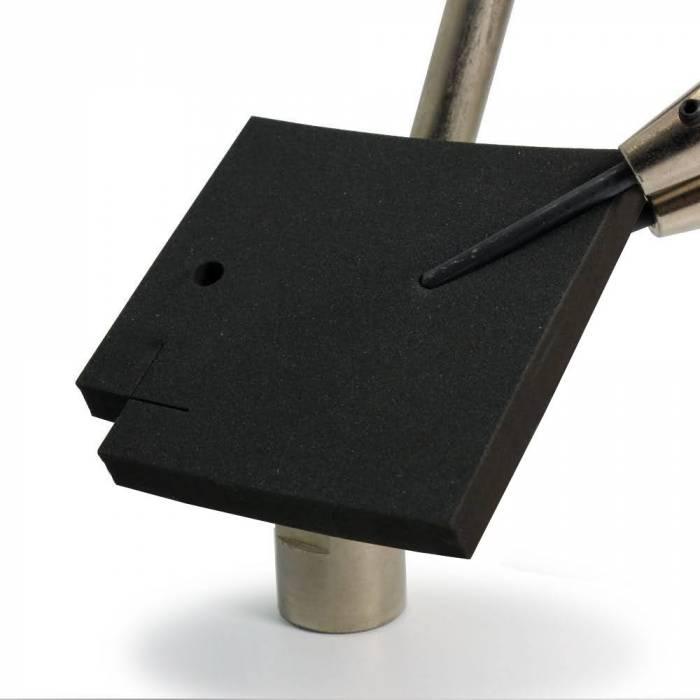
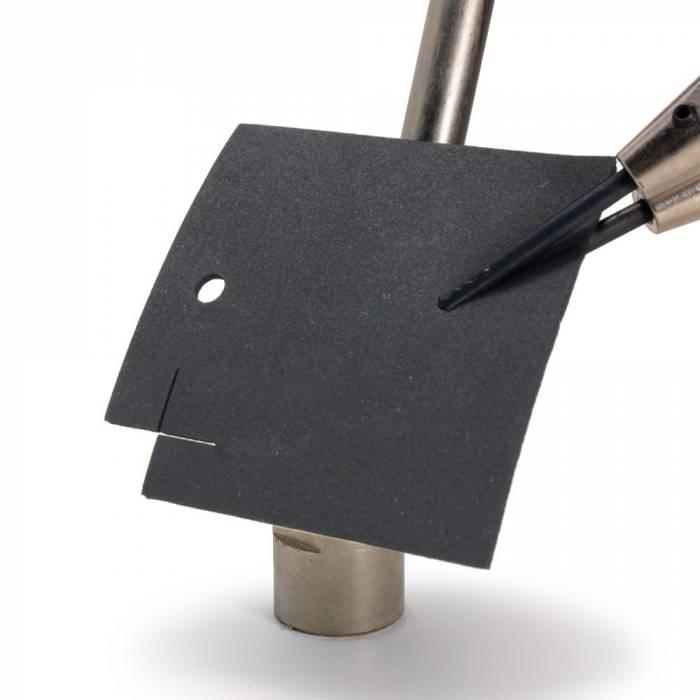
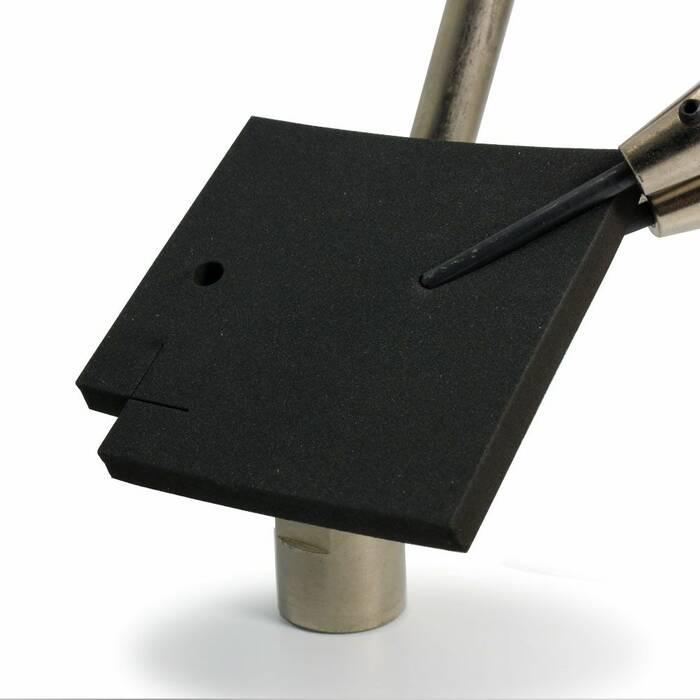
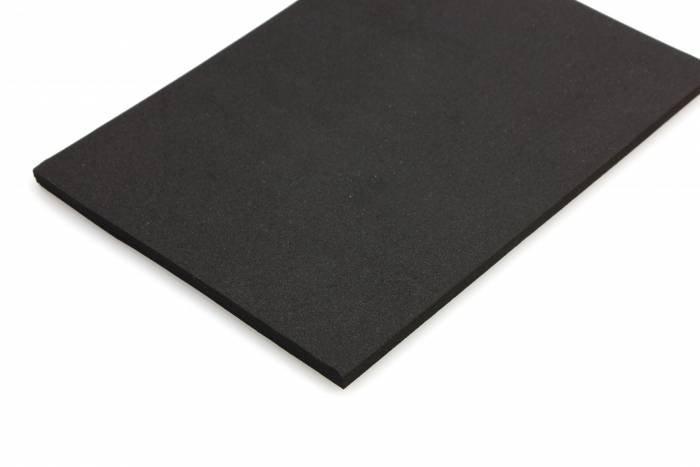
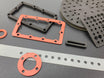
Neoprene closed-cell rubber is a soft foam rubber (CR) with closed cells. Have it custom laser cut for seals, gaskets, vibration dampers, and insulation in enclosures and machinery.
When to choose neoprene closed-cell rubber?
Choose closed-cell rubber if a seal needs to close with low compression force, for example, between a lid and a thin-walled enclosure. The closed cells block water and dust. The material resists oil, fuel, ozone, and UV light, so you can also use it outdoors and in machinery. If the gasket needs to withstand higher pressure or wear, solid CR rubber is the better choice. For firmer inlays, look at PE hard foam.
Laser cutting neoprene closed-cell rubber: what to expect
The laser cuts every contour, including bolt holes and locating pins, without a die-cutter. The cut edge will be slightly darker and may show light black residue. If you want to mount the gasket directly, choose the adhesive layer on the underside: the liner is cut along with it. Because the foam is soft, minimum wall widths apply. You'll find these in the design tips.

Compare foam samples?
Order a sample chain and compare all types of inlay in your own hand. This way, you can make a well-informed decision about your design.
Samples provide a representative impression of the quality Snijlab delivers.
To the samples
24/7 Instant quotes for laser cutting
Start your project today
- Create your design using our drawing guidelines
- Upload it at account.snijlab.co.uk
- Receive your parts on the delivery date of your choice
Learn how it works. Want to talk it over first? Our support team is ready to help!
Create a free account