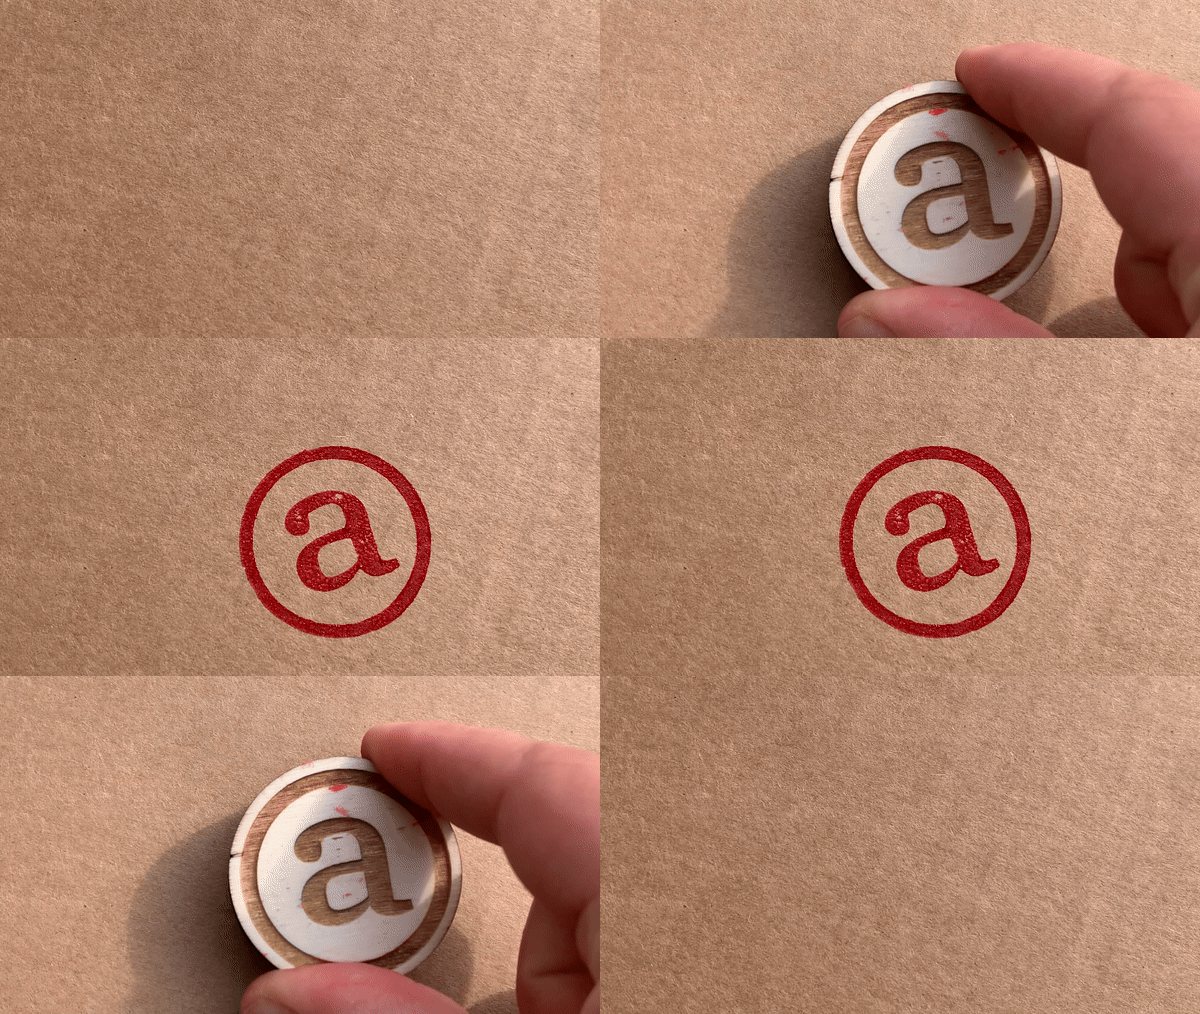
With our new material, stamp rubber, you can easily order your own stamp parts. What would you like to stamp? From logos to drawings and even birthday gifts, you can bring your designs to life.
Stamping rubber is a flexible material with a smooth surface. Detailed stamp designs are created through engraving.
In this tutorial, we'll explain how to create a design for a laser-cut stamp.
Step 1: Design

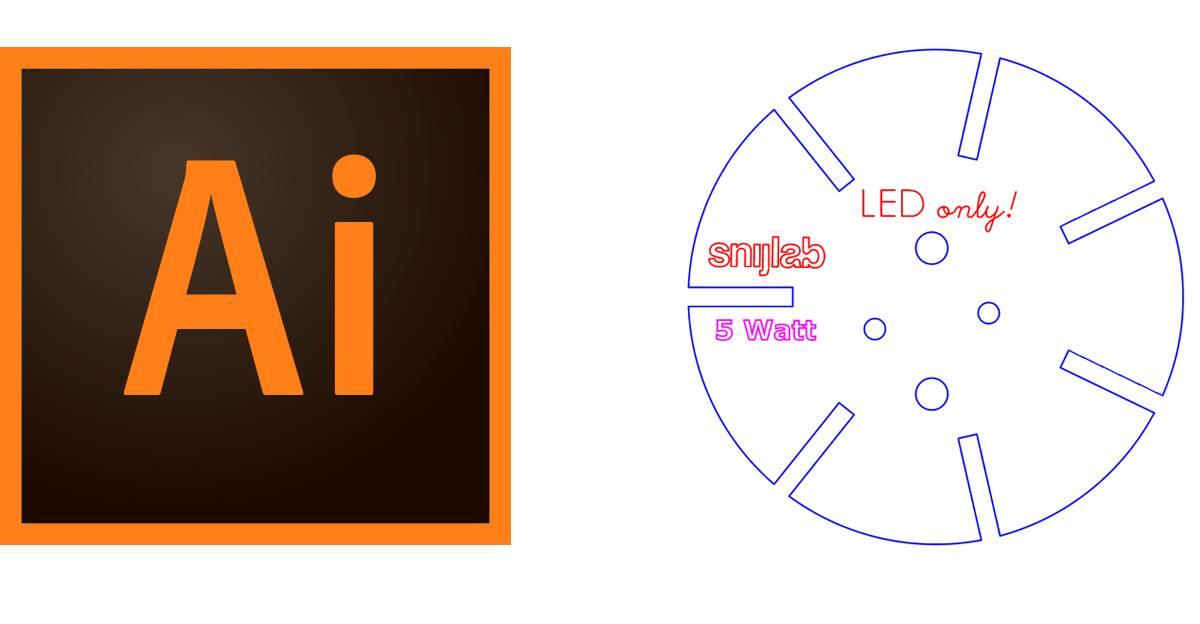
It all starts with the design. This can be a logo, text or drawing, as long as it is a black and white image, convert it into a vector drawing. This can be done with Adobe Illustrator, for example.
Read a tutorial for Laser Cutting with Adobe Illustrator here
Although you can laser cut rubber very accurately, small details can be lost when stamping. Narrow corners can become clogged with ink. Avoid large solid areas, these show all the unevenness in your stamp pad.
Avoid in your design:
- Small details
- Narrow corners
- Large plain surfaces
Step 2: Drawing for laser cutting

For laser cutting, your vector drawing must be modified according to the drawing rules of Cutting Lab. Keep in mind that the white spaces in your design must be plane engravings. Draw a cutting line around the whole.
- Plane engraving magenta (RGB 255, 0, 255)
- Cut line blue (RGB 0, 0, 255)
Step 3: Mirroring

Mirror your design so that the print on paper is correct.
Save your drawing as .ai, .pdf, .dxf or .dwg. Log in to Snijlab and upload your document to your cart. Choose the material Stamp rubber.
Step 4: Create a stamp holder

You can buy a ready-made stamp holder, or you can design your own. Draw a rectangle or circle larger than your design, and put your design on it as engraving.
Save the drawing for your holder in a separate document. Upload it to your cart and choose Poplar plywood 12 mm as your material. As this is thick enough to hold easily.
Step 5: Fastening
Stamp rubber can be attached to the holder with double-sided adhesive film or rubber contact adhesive. If you want to use double-sided adhesive foil from Snijlab, create another document with just the outline of your stamp. Upload this to your cart as well.
Step 6: Ordering
Make sure your drawings are properly loaded into the cart. Order your stamp parts at Snijlab.
Step 7: Make your stamp
Have you received your package? Unpack your parts and make your stamp. Clean the stamp rubber and degrease the back of it. Then attach it to the holder with double-sided adhesive film or rubber contact adhesive.
Step 8: Stamping away!
Your homemade stamp is now ready to use. Have fun stamping!

