Laser cutting with Adobe Illustrator
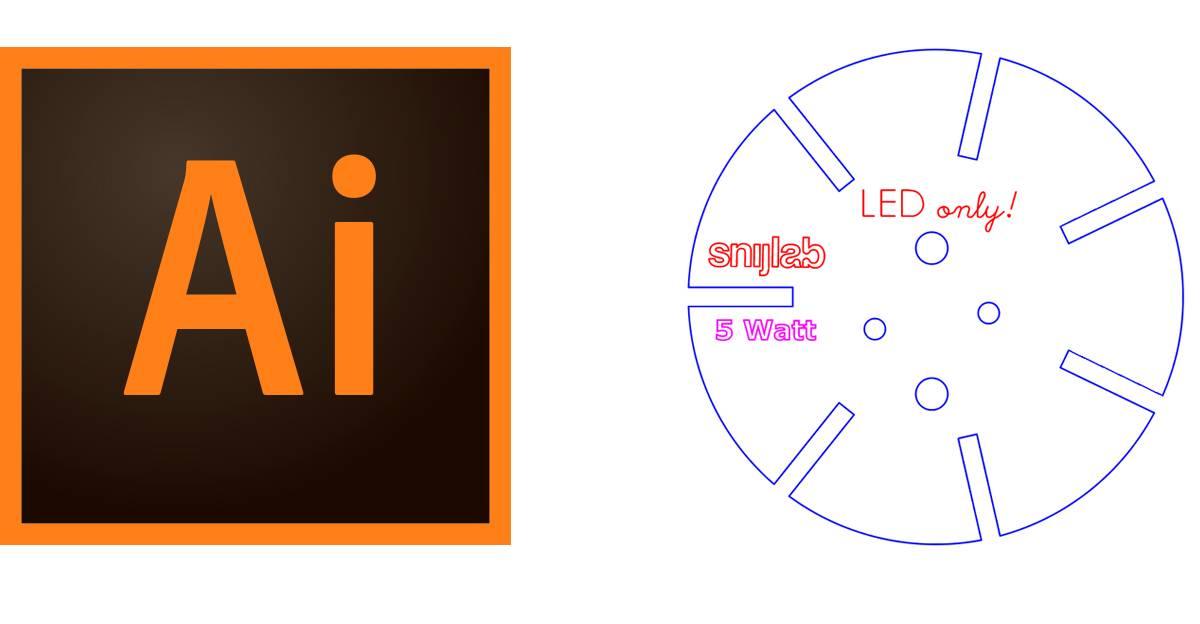
Adobe Illustrator is a vector drawing program used by many people. In this tutorial, we will explain how to create a drawing for laser cutting with Illustrator.
What do you need?
- Basic knowledge of Adobe illustrator
- A design in a vector lines
- Knowledge of our drawing rules
Optional:
What should you pay attention to?
These are the things you need to keep in mind if you want to create a design for laser cutting with Adobe Illustrator:
- RGB is the correct color mode (CMYK is not read correctly by the uploader)
- Maximum size for most materials is 1200 x 600 mm (some materials are smaller)
- Text must be converted to outlines
How to open a new file for laser cutting in Illustrator?
Open Illustrator and create a new file with these settings:
- Unit millimeters
- Maximum size width 1200 mm by height 600 mm
- Color mode RGB
- No more than 1 Artboard

Laser cutting or engraving text
Text must be converted to outlines for cutting or engraving.
- Select the text
- Go to Type
- Choose Create Outlines
Now your text has been converted into vector lines. Set these lines to the correct color according to the drawing rules.
Check the preview in the uploader for correct loading of your drawing.
Drawing rules in brief
Format your drawing according to the rules below so that it will be read correctly by the uploader.
These are the drawing rules in brief:
| Color | Layer name | Layer Type | |
|---|---|---|---|
| Cut | Blue (rgb 0,0,255) | cut | lines, polylines, curves, splines |
| Line engraving | Red (rgb 255,0,0) | line engraving | lines, polylines, curves, splines |
| Area engraving | Magenta (rgb 255,0,255) | area engraving | closed lines, polylines, curves and splines |

