


Do you want to surprise someone with a personal gift? Or are you thinking about selling personalised products in your own shop? Wooden city maps are hugely popular. So how do you design one yourself?
In this blog you’ll learn how to make a city map using laser cutting, from design to material choice. We’ll show you how to draw a map yourself, which materials work best, and how to get your design laser cut at Snijlab.
Why make a wooden city map?

A wooden city map can be a keepsake of a special place. It’s also a great gift for someone who is moving, or a way to immortalise your hometown in a beautiful piece of art. A city map for the wall is a personal, meaningful project, and at the same time an interesting product for creative entrepreneurs.
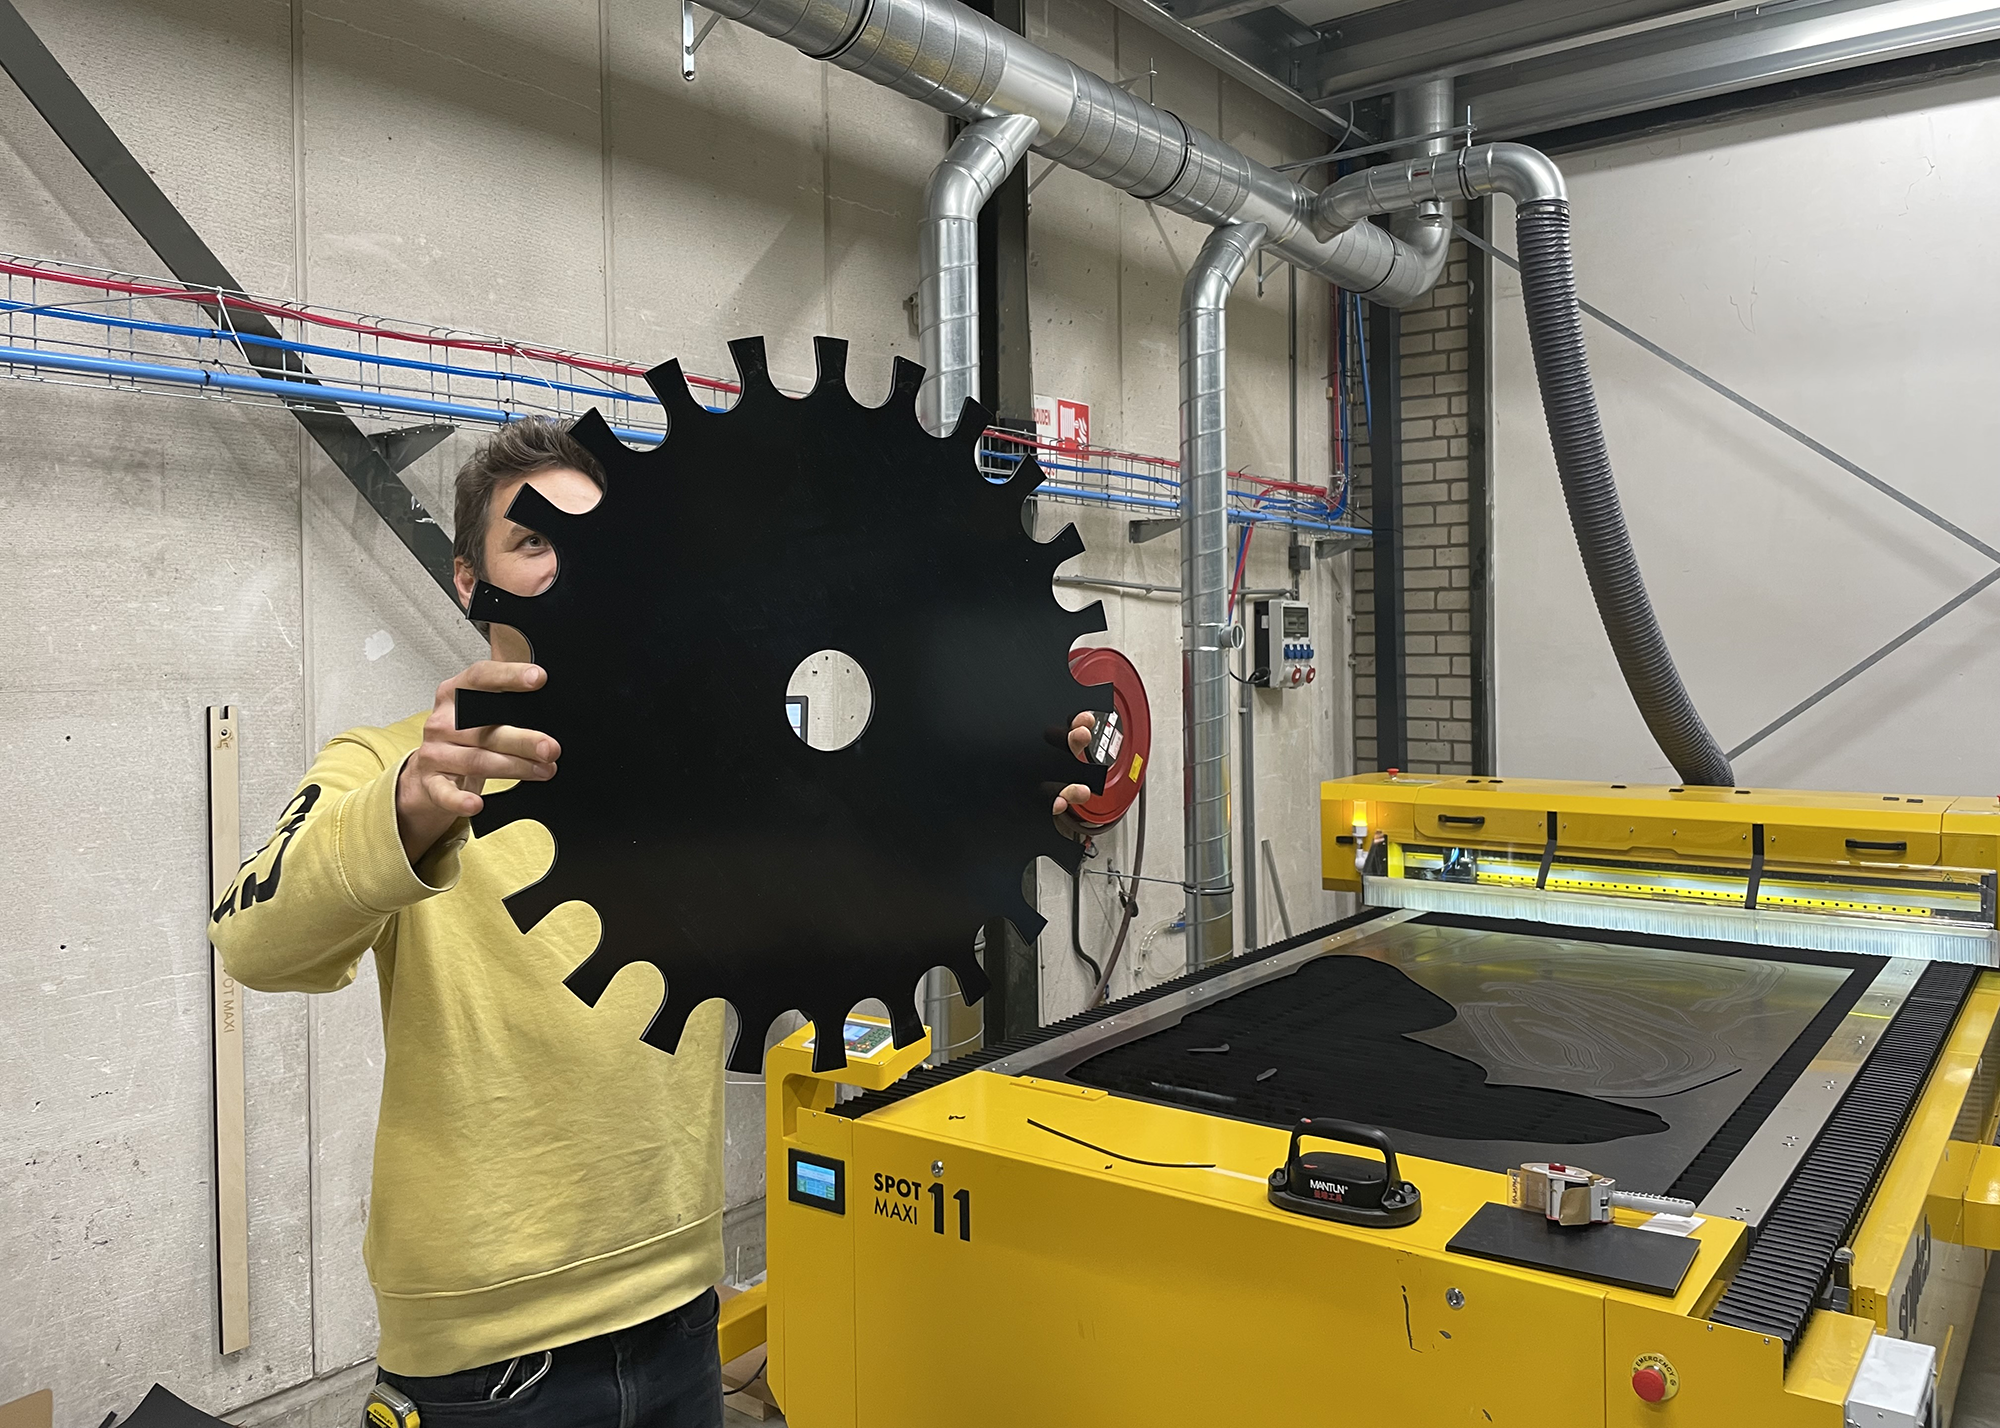
Laser cutting and engraving is the ideal technique for making wooden city maps. The laser cuts or engraves any shape down to the smallest detail. There is a limit to how small you can make details, and we’ll explain that later in this article. It’s also easy to personalise and adjust design drawings. That way you can create a unique gift, or start selling on a small scale. Many makers already use Snijlab as a production backend to have their designs cut.
Whether you’re making something beautiful for yourself or for someone else, a wooden city map to hang on the wall is a timeless and personal gift.
A map of your city or village on the wall
What could be more fun than immortalising your own place of residence with a map to hang up? Anyone who knows the area will recognise the street layout, and before you know it you’ll be talking about what is where.
You can already buy wall maps of most major cities. But wouldn’t it be more fun to make one yourself? We found a handy free tool for that. First, though, here are a few general tips about the design itself.
Tip 1: Choose a recognisable crop. A good city or village map design starts with recognisability. Pick a crop that people will immediately recognise. Don’t zoom in too far, or you’ll lose orientation.
Tip 2: Look at the water. Water features provide the quickest recognition. Canals, rivers and lakes are large shapes and unique to every place. You can often tell which city you’re looking at just by the water. These elements are also a big part of a place’s identity, like the canals of Amsterdam or the River Maas running through Rotterdam.
Tip 3: Include both narrow and wide roads. Streets are the main character of any city map. When designing, make sure there is a visual hierarchy between streets. People often recognise the larger roads best, so make those a bit wider. The difference in width makes the image more interesting and also helps with the structural strength of your map.
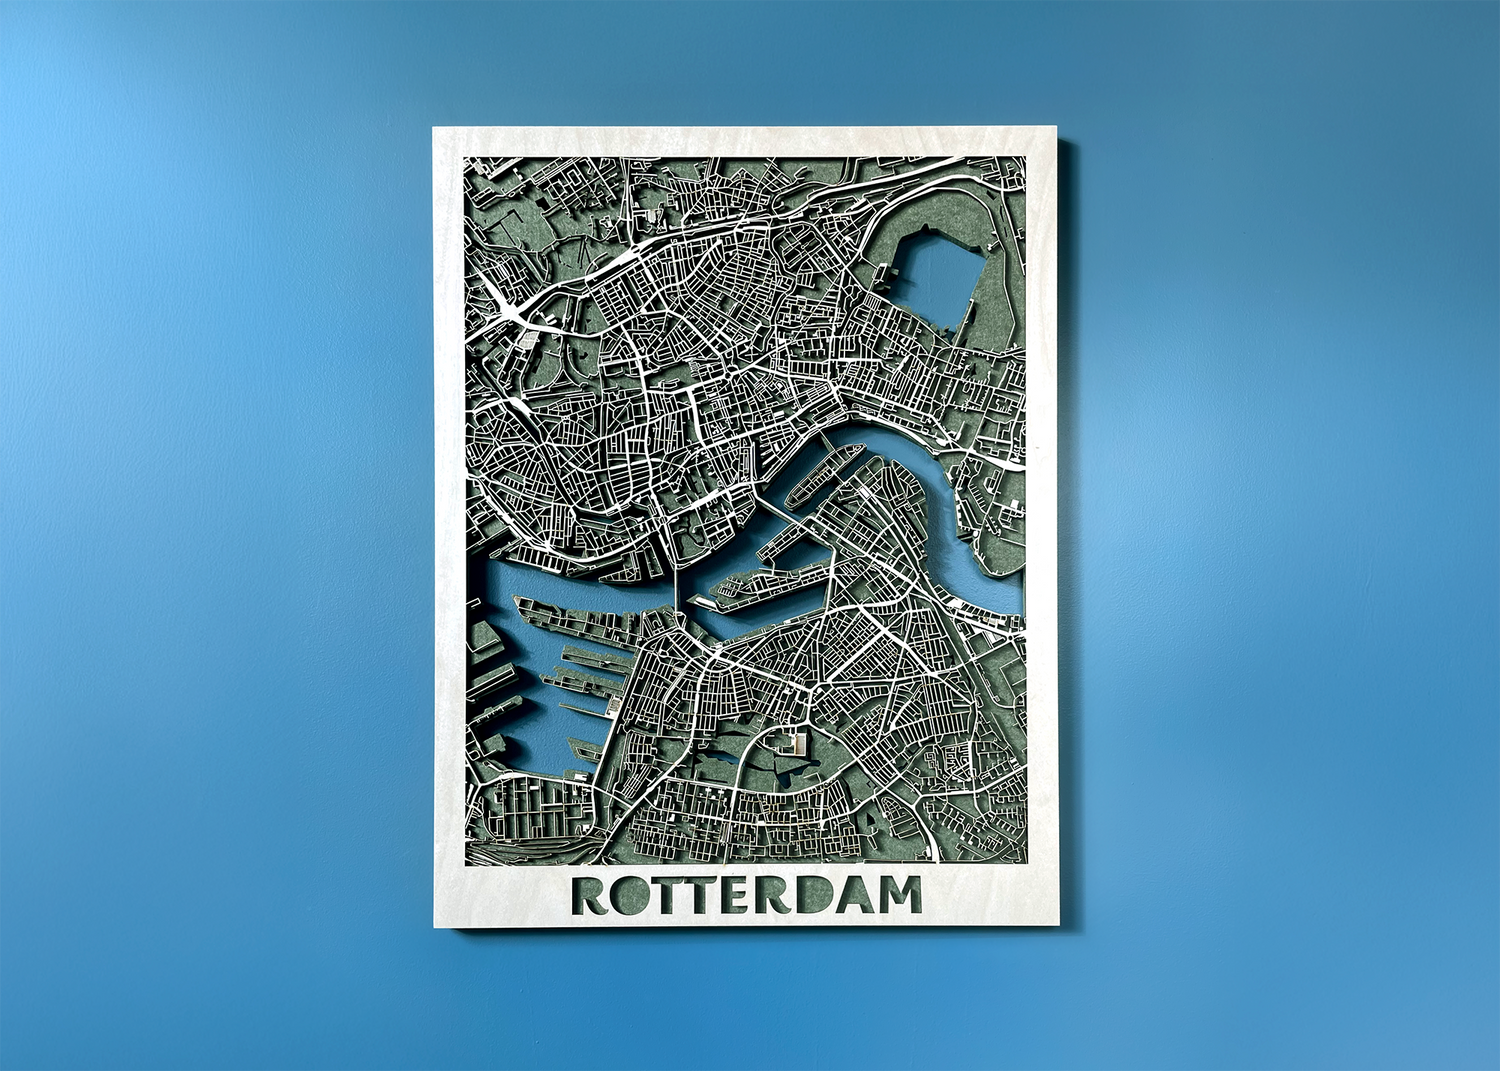
Popular cities for a city map are Rotterdam, Amsterdam, Utrecht and New York, but a small village or your hometown can look just as great as wooden wall decor.
Inspiration: what can you make with city maps?

Laser engraving on a postcard made of feltboard (left) and museum board (right)
You don’t have to hang a city map on the wall. There are countless creative applications. Later in this article we explain step by step how to make a vector drawing of a map. But first, here’s some inspiration. This—and much more—can be made with laser engraving and cutting of maps.
Engrave a city map on a serving board
Engrave a village or city map onto a wooden serving board for a bold, personal gift. Perfect as a housewarming present or thank-you gift.
Have a serving board in mind? Then go straight to Engraving on your own objects.
City map on a coaster
Create a set of coasters with different cities or neighbourhoods. Great for tourists, local shops, or as a personalised gift.
Use bamboo plywood, coloured MDF or PET felt for a modern look. Keep in mind that wood needs to be lacquered to become water-resistant.
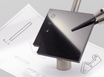
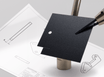
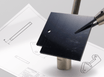
Postcard of your city
A laser-engraved city map as a postcard is an original way to surprise someone.
Use museum board, feltboard or 1 mm birch plywood for a thin but sturdy result. Perfect for small batches or personalised mail.
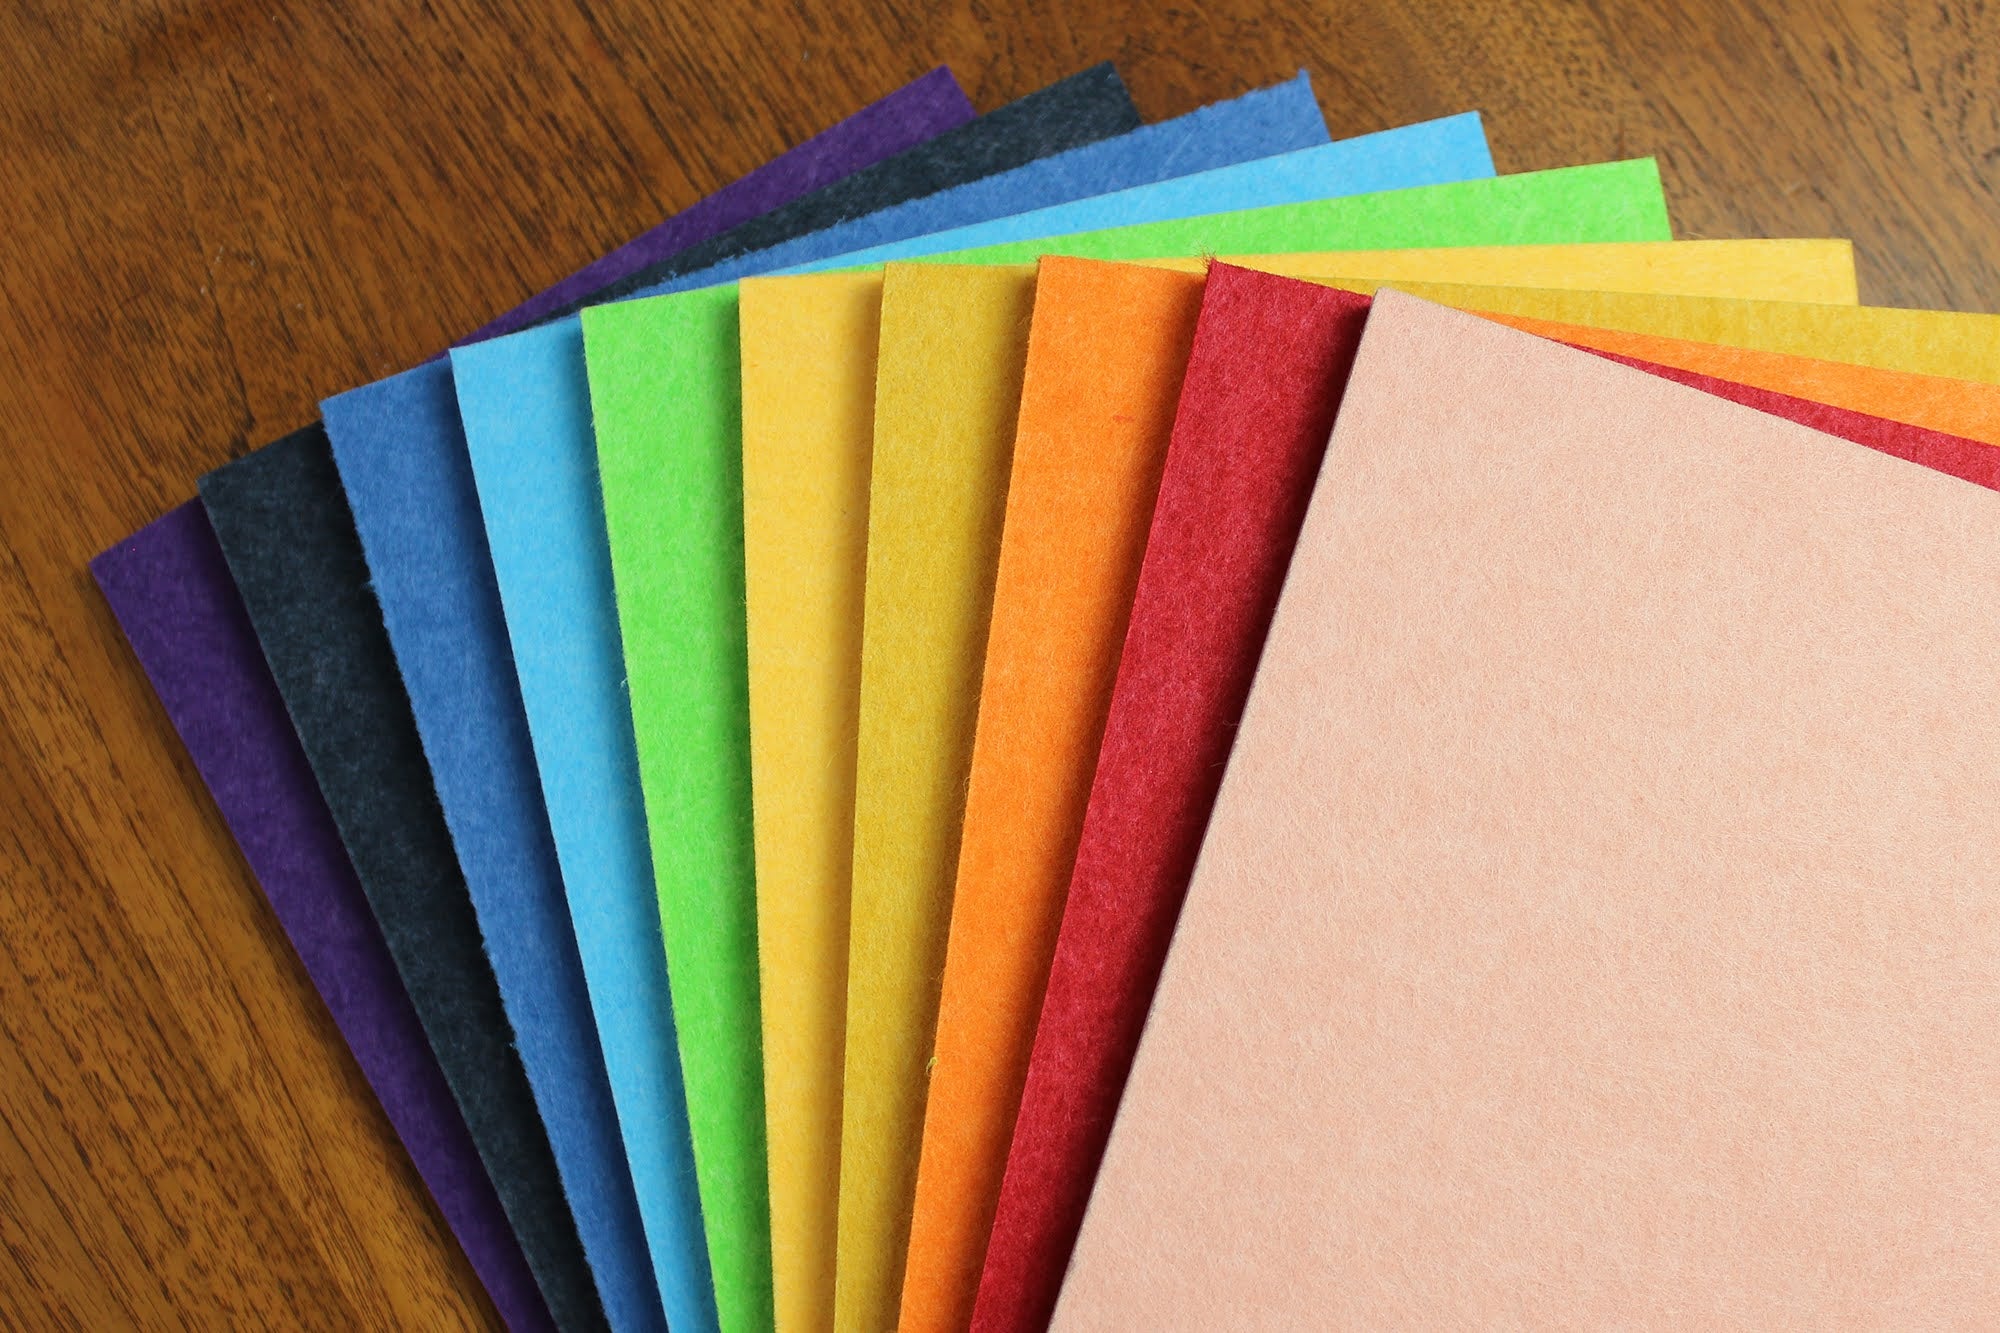
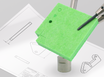
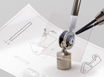
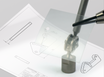
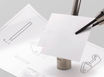
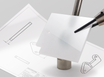
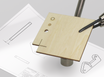
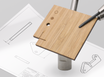
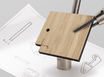
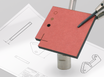
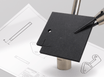
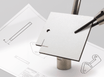
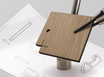
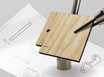
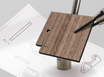
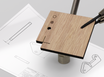
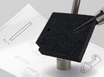
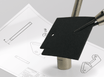
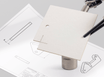
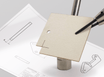
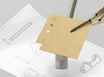
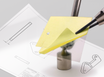
Best materials for a wooden city map

Material tests for city maps
At Snijlab you can choose from more than 50 materials, from wood to plastics and felt.
Below are our favourite materials for city maps:
Material | Properties | Use |
Birch plywood (3 mm) | Strong, lightweight, sharp detail | Standard city maps (30×40 cm) |
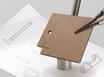
Oak veneered MDF | Premium look, clean cut edge | Modern maps with a Scandinavian feel |
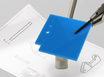
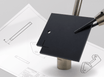
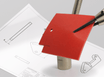
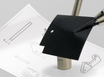
Black or coloured MDF | High contrast, little finishing needed | Abstract or graphic city maps |
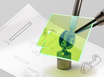
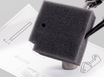
PET felt | Acoustic, lightweight, many colours | Sound-absorbing wall piece |
Mirror acrylic (backplate) | Premium look | Creates depth when combined with wood |
Birch plywood 3 mm is the most popular choice. It’s a high-quality natural material and very strong.
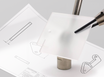
Veneered MDF is available in Oak, Walnut, Ash and Mahogany. It combines the premium look of real wood with the practical advantages of MDF. The laser cut edge turns brown in this material, making it hardly noticeable that it’s a veneered sheet.
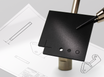
Through-coloured MDF is available in black, yellow, green, blue, red, orange and grey. Black is great for designs that need to look crisp and high-contrast; you won’t see soot marks on the edges. Coloured MDF gives designers lots of creative options. Edges turn brown, and so do engravings.
PET felt is a beautiful way to combine acoustic insulation and design. It comes in many great colours. Line engravings are sharp and clearly visible. Keep in mind that thin parts work less well in PET felt than in other materials. We recommend making streets no narrower than 4 mm.
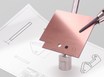
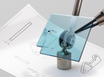
Mirror acrylic is a plastic that looks like glass mirror. It is available in four colours. Anthracite creates a particularly beautiful effect as a backplate behind a map. The reflection adds a premium feel, while the tinted colour keeps it subtle and adds depth to your design. Highly recommended.
Design your city map yourself: step by step
Want to design your city map completely from scratch? You can—and it’s easier than you think.
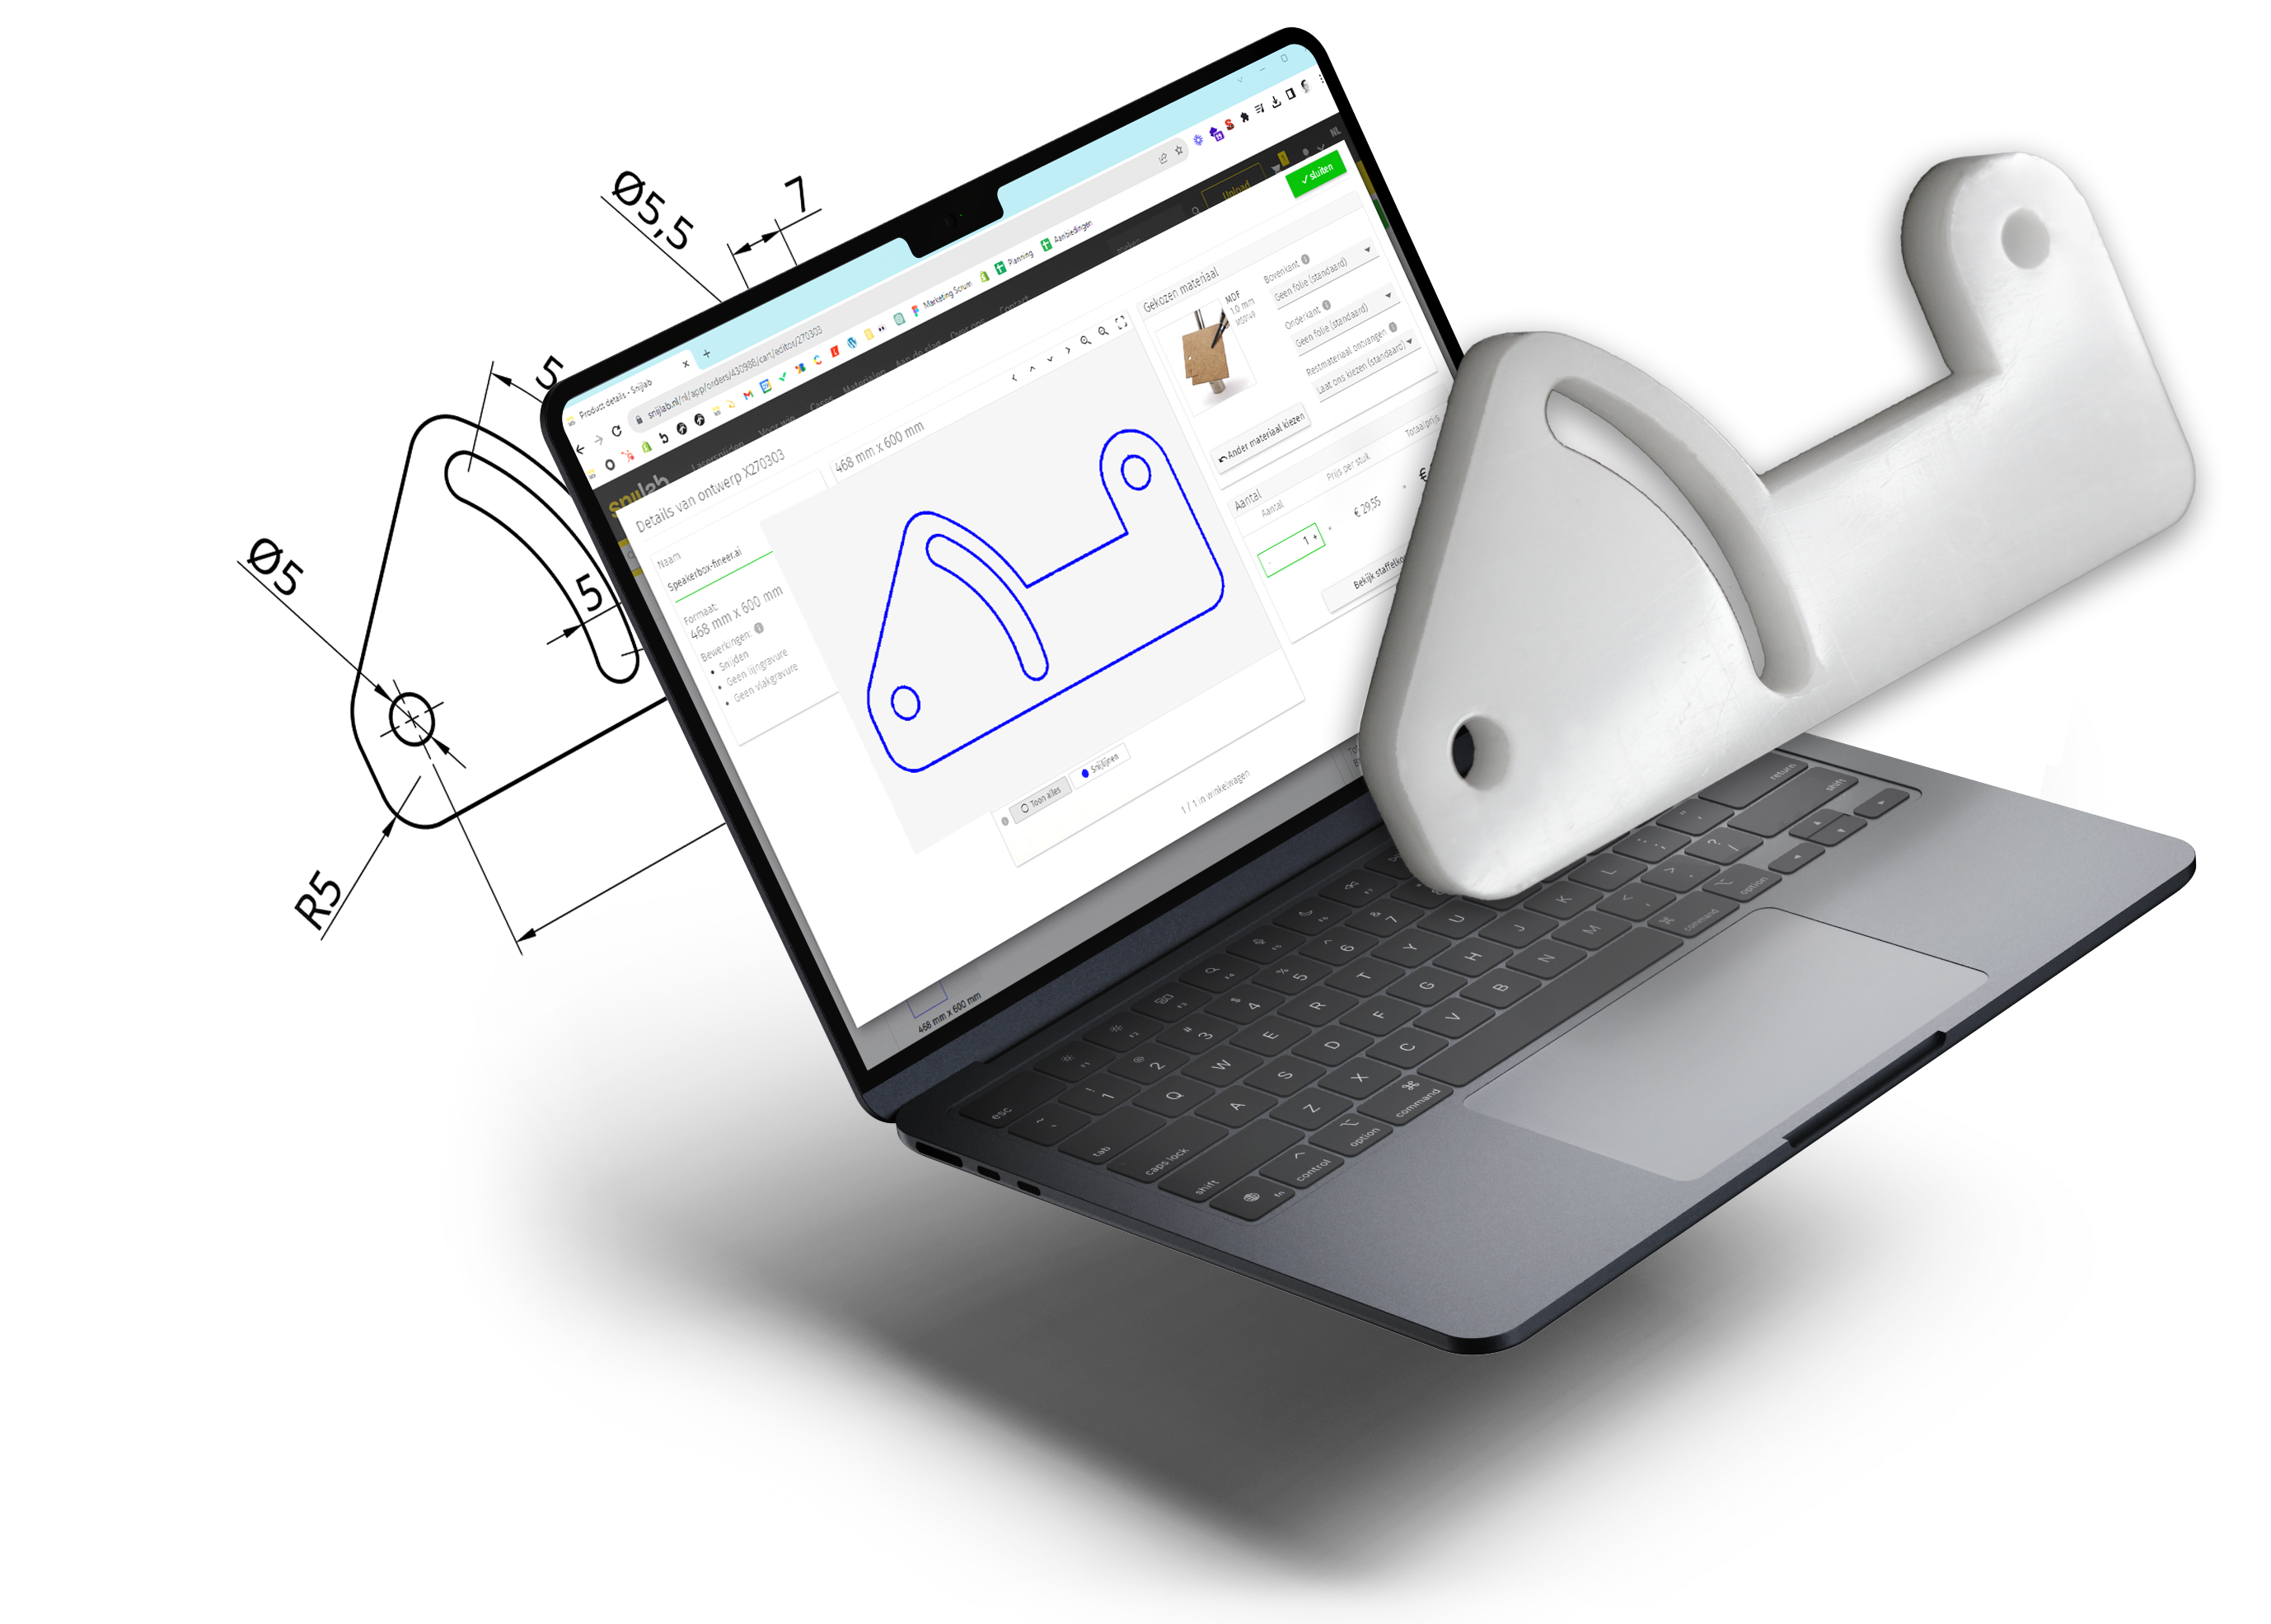
With the free software QGIS, you can turn map data into a vector file suitable for laser cutting.
Step-by-step plan: drawing a city map
Step 1. Choose a recognisable area to cut out. You can do this directly in Google Maps.


Get your city map laser cut at Snijlab: size and lead time
A standard size for city maps is 30 × 40 cm, but at Snijlab you decide the dimensions and shape yourself. Even a hexagon or a cut-out district is possible. The maximum size is 240 × 120 cm, but not all materials are available in that size. Before you start, check the maximum size of the material you want to use.
Snijlab does not work with waiting lists. You choose your own lead time when ordering. In the cart you can see the price differences between lead times.
Choose your lead time
- Rush ordered before 12:00, delivered next day
- Express ordered before 12:00, delivered in 2 business days
- Standard 3 business days
- Budget 12 business days
You can choose standard shipping by post, courier delivery, or pick up at Snijlab.
Selling wooden city maps in your online shop?
Are you an entrepreneur with a great product idea? Snijlab is happy to help make your brand a success.
Are you going to sell your wooden city maps on Etsy or in your own webshop? Then you’ll need a reliable production backend: a company that produces without hassle so you can spend more time designing and selling.
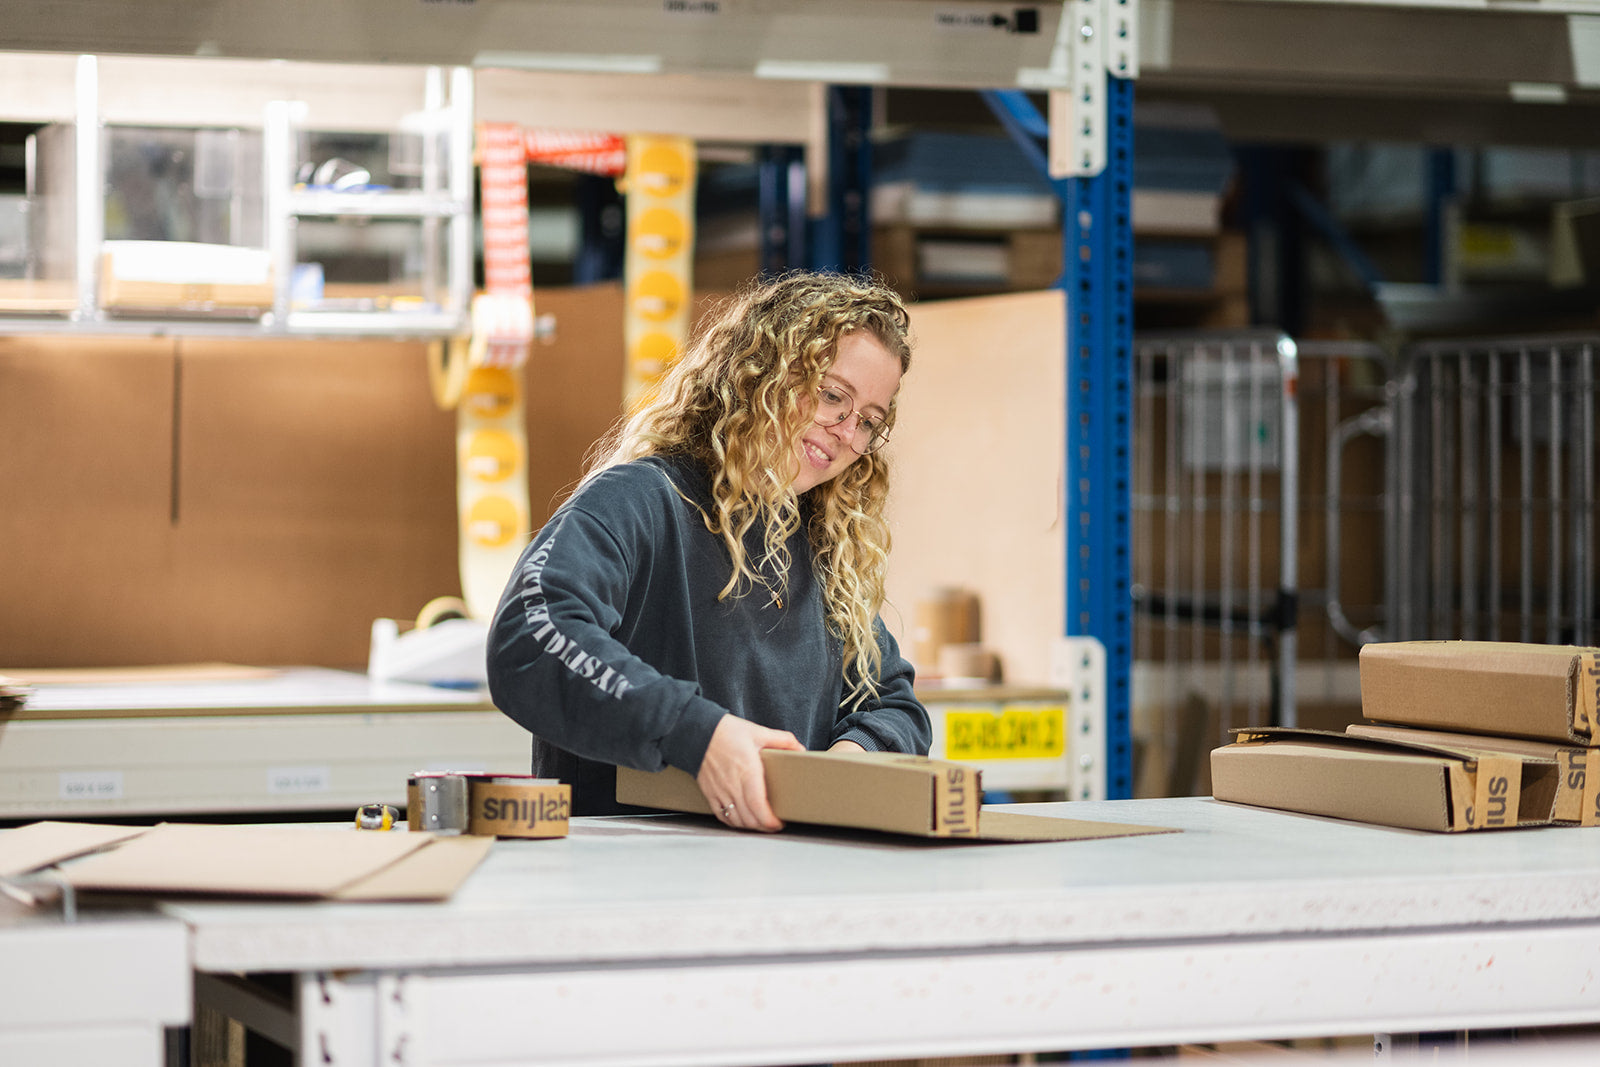
At Snijlab you can order easily and quickly via the uploader. It’s possible to order single pieces and small batches. As your production scales, Snijlab scales with you. We automatically calculate volume discounts, and for large runs we’ll discuss price optimisation.
Get started
Time to get started. Upload your design, choose a material and order your self-designed city map online. Do you still have questions about the ordering process? Take a look at How it works. Want to explore more materials? Go to the materials overview.
