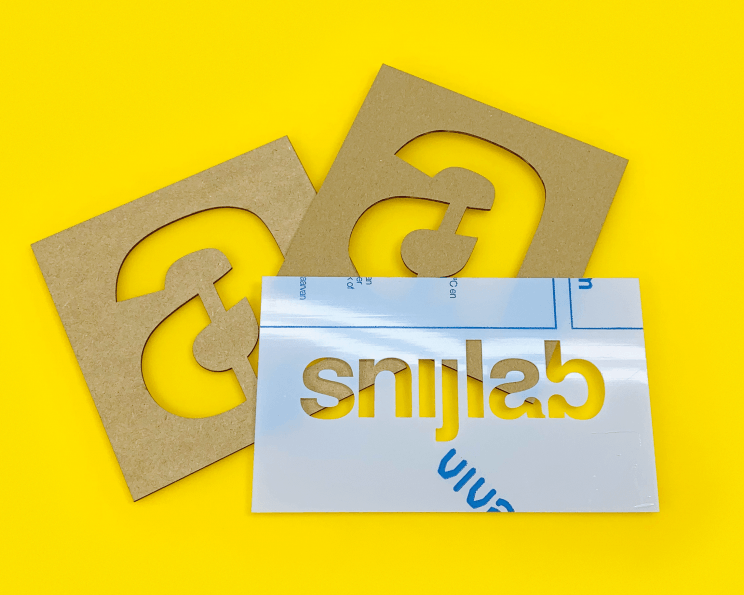
If you want to make a paint stencil or paint stencil, laser cutting is a quick and easy way to do it. The stencil is cut out very neatly and can often be reused. But how do you make a stencil and what material do you choose? Read on for our step-by-step guide.
1. Make a drawing
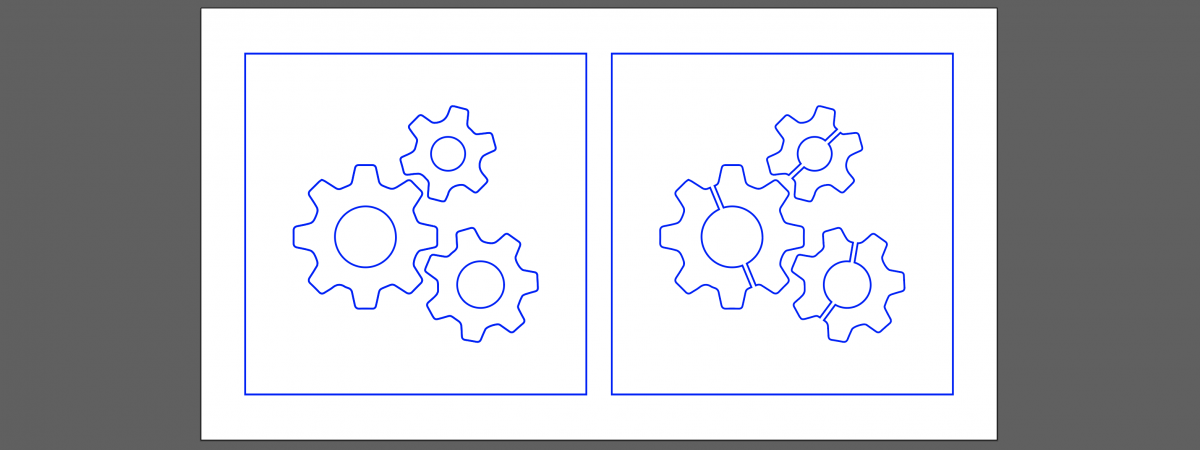

When creating a laser drawing for stencils, note the following points:
- Connect individual parts with "bridges," for text, choose a stencil font
- Convert thickened lines and overlapping shapes to outlines
- Draw a frame around your design, this is the outer edge of your stencil. Take enough space for this, it works fine when using the stencil.
Want a more detailed tutorial on how to create a drawing? Then check out our detailed tutorial.
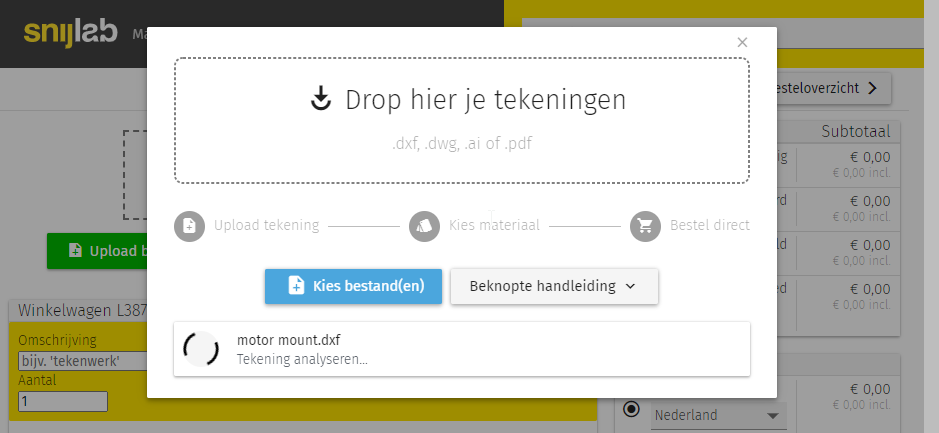
2. Create an account or log in & upload your drawing
3. Choose the material

PETG or polyester is generally the most suitable material for a stencil. Polyester is thin, flexible and impact-resistant. The material is translucent, making it easy to position on the surface. In addition, the material is water-resistant, making it cleanable and often reusable.

Corrugated cardboard is somewhat less robust and is offered as an alternative if a stencil is used only once, for example. The material is slightly more economical and less environmentally damaging than polyester. A disadvantage of corrugated cardboard is that the sheets are somewhat lighter and have a less even surface, which can sometimes cause the paint to get underneath.

MDF is suitable for many applications. MDF is similar to corrugated cardboard in terms of cost. The main difference is that a sheet of MDF is a lot heavier, is not flexible and does not dent as quickly.
4. Order your stencil
Read more about ordering at the drawing rules
