


Want to join two pieces of wood together without screws? This is a laserable wood joint that does make it very easy.
How does it work?
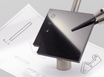
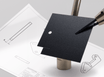
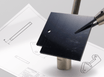
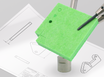
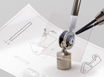
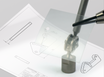
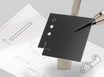
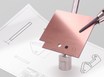
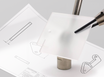
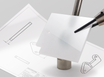
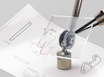
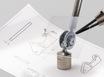
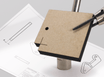
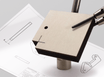
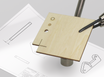
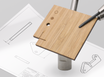
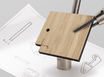
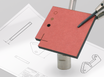
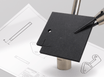
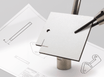
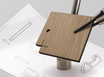
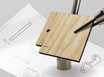
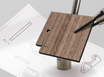
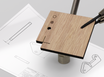
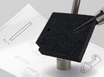
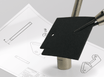
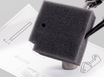
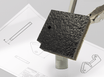
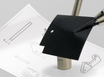
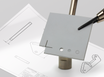
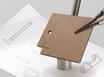
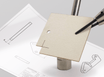
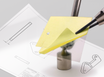
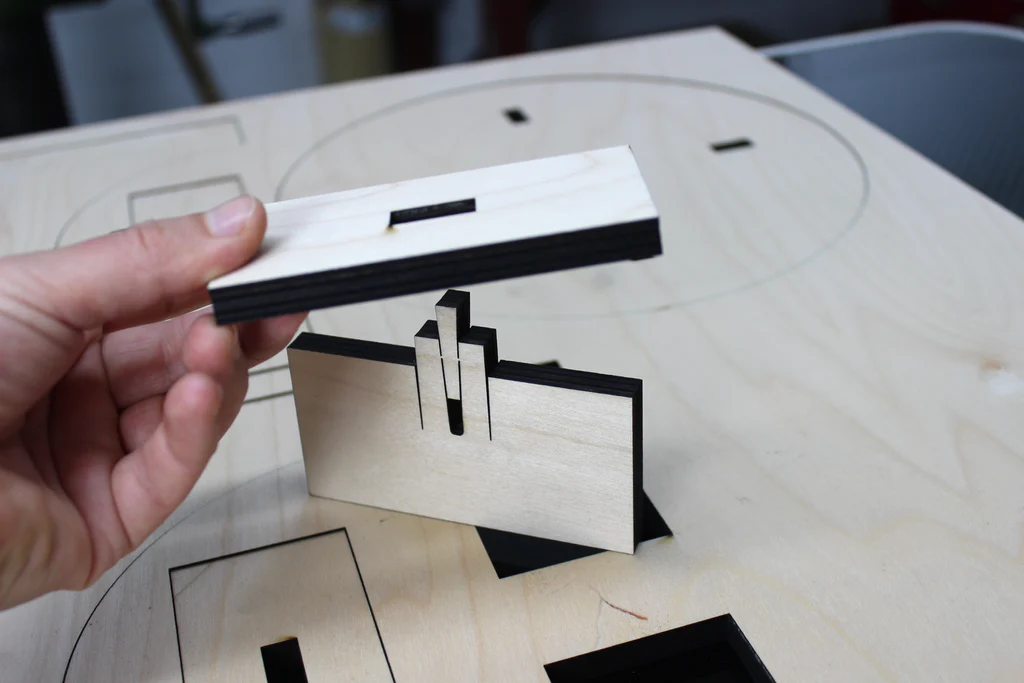
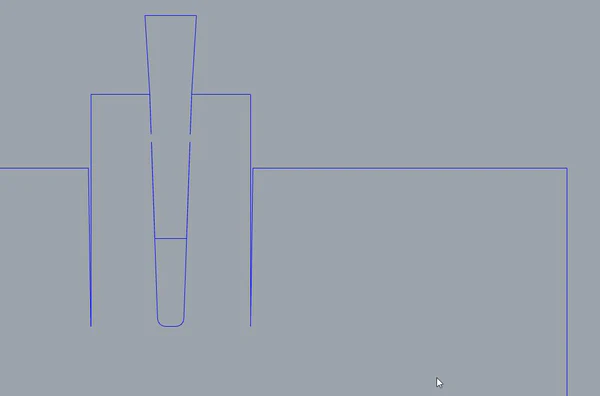
The hammer joint is a type of mortise and tenon joint, which is secured with a wedge. What is unique is that the wedge is integrated into the design. The wedge is lasered out with the rest of the joint, held in place by two tabs (narrow pieces of material). To assemble the joint, you insert the pin through the hole and give the wedge a smack with a hammer. The wedge breaks loose and pushes apart the pin, which clamps into the hole. And voilá, a strong joint.
Advantages
The interesting thing about this joint is how easily it can be put together. With one hammer blow, you're done. And you only have two parts to hold.
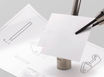
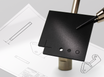
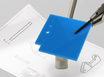
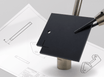
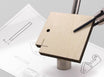
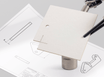
Then there are no protruding parts, which is pleasant to use and looks good. If you want a neat finish for your product, you can design the pen to protrude about 0.2 mm. This top is easily sanded off so that you no longer see any lasered edges either.
A big advantage, of course, is that you can easily get the joint lasered. Once you get the design right (and you can download it below) then replicating it is a piece of cake.
Last but not least, you don't need screws or glue. That saves money and effort. But above all, I think it gives an elegance to have a design in one singular material that you can make with one production step.
Cons
Of course, as with all connection methods, there are drawbacks to consider.
First of all; this is a joint you can't get apart. Once fixed is fixed.
Another consideration is how much material you lose at the expense of the protruding wedges. It may work out that you need more sheet material as a result. If this is a limitation, you can still consider lasering the wedges loose so that you can nest the parts of your design closer together.
Suitable materials
As mentioned earlier, plywood is an excellent choice for this joint. The clamping force is strongest with harder woods such as birch plywood. MDF also works well.
A thickness of 6mm or more is ideal. Thinner boards can be used, but will logically produce somewhat weaker joints. Bamboo is a case in point. Although bamboo is a hard and tough wood, it breaks quickly along the grain. If you decide to use bamboo, pay attention to the grain direction and make sure the clamping force is parallel to the grain and not perpendicular to it. Although HDPE and POM are possible candidates, they are quite smooth materials so the joint will be a bit weaker. For these materials it is better to design a form-fitting version of this hammer joint (see below). Acrylic is a less good choice for this joint. Although you can get hammer joints in acrylic working (see below), it is not as reliable. This is because acrylic is a brittle material and is prone to cracking and fracturing in stressed areas. So you are very likely to break something while hammering in the wedge.
Possible applications
As mentioned, this joint is ideal if you need to make many pieces of something because it is easy to assemble and you save on fasteners.
But you can also use it perfectly well for such things as small tables, cabinets, crates, sculptures and so on.
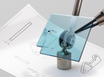
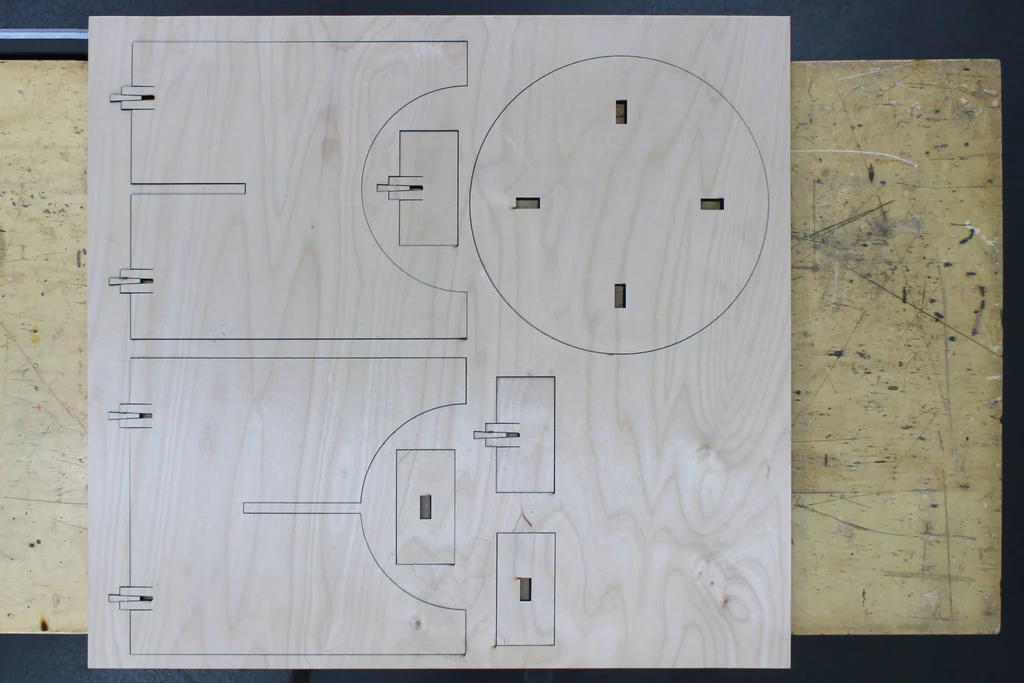
As an example, we designed a small side table. Ideal for putting a plant on it, for example. This design is for 9mm birch plywood. It consists of two legs that you slide together, and a table top which you secure with four hammer joints.
Future improvements
The current hammer joint uses clamping force to hold the plates in place. This is also called a force-locked joint.
For soft materials, smooth materials or materials that can withstand poor tension, you could also make a form-fitting joint. For example, you could make the pin a little longer and add some kind of hooks on both sides. These hooks are pushed outward by the wedge and close around the surface. Such a joint requires little or no force and can still be a reliable connection.
You could also make smaller and larger versions. The hammer joint is now 20mm wide. It can be adjusted to different material thicknesses, but the width remains the same. If you want to adjust the width you will also have to make adjustments to the depth and the flexible parts of the pins to provide the right clamping force.
Downloads
Is this something you could use in your projects? You can! Below are drawings of the joint for different thicknesses, plus a parametric version that you can dimension all by yourself. You'll also find the side table.
The Hammer Joint may be used freely! Here you can find all the drawings:

- Hammer joint for 3mm, 4mm, 5mm, 6mm, 9mm, 10mm and 12mm (2d vector pdf)
- Hammer joint for 6mm (3d step file)
- Hammer joint parametric (link to Onshape model)
The sample design (side table):
Tips for using the hammer joint
It is important that you use the correct version of the hammer joint because the design is different for each thickness of material. Although the drawings below have been extensively tested, you may need to modify the drawings slightly for your specific laser, material or design.
If you want to use the joint in your own design, you will have to paste it in several places in your design. Exactly how you do that depends on your drawing program and experience. A 2D CAD program such as AutoCAD or Rhinoceros3D is ideal for this, but it can also be done perfectly well in other software such as Illustrator, Inkscape or CorelDRAW.
For reference, this is my process for designing something with this connection:
- I make a 3D design of my project in Onshape where I draw simple blocks where I want the connection. Not the actual connection, that is, because that is too much work.
- I use the AutoLayout function to flatten all the parts, and then create an assembly and drawing with all the parts.
- I download the drawing as a pdf and import it intoRhino
- In the hammer joint design in Onshape, I set the thickness of the material I am going to use.
- I download the 2D files from the hammer connection.
- In Rhino, I copy the pen and hole to all the places where it is used.
- Then I export the 2D drawing for laser cutting.
Use the Hammer Connection parametric model in Onshape
Watch a screencast of exporting from Onshape
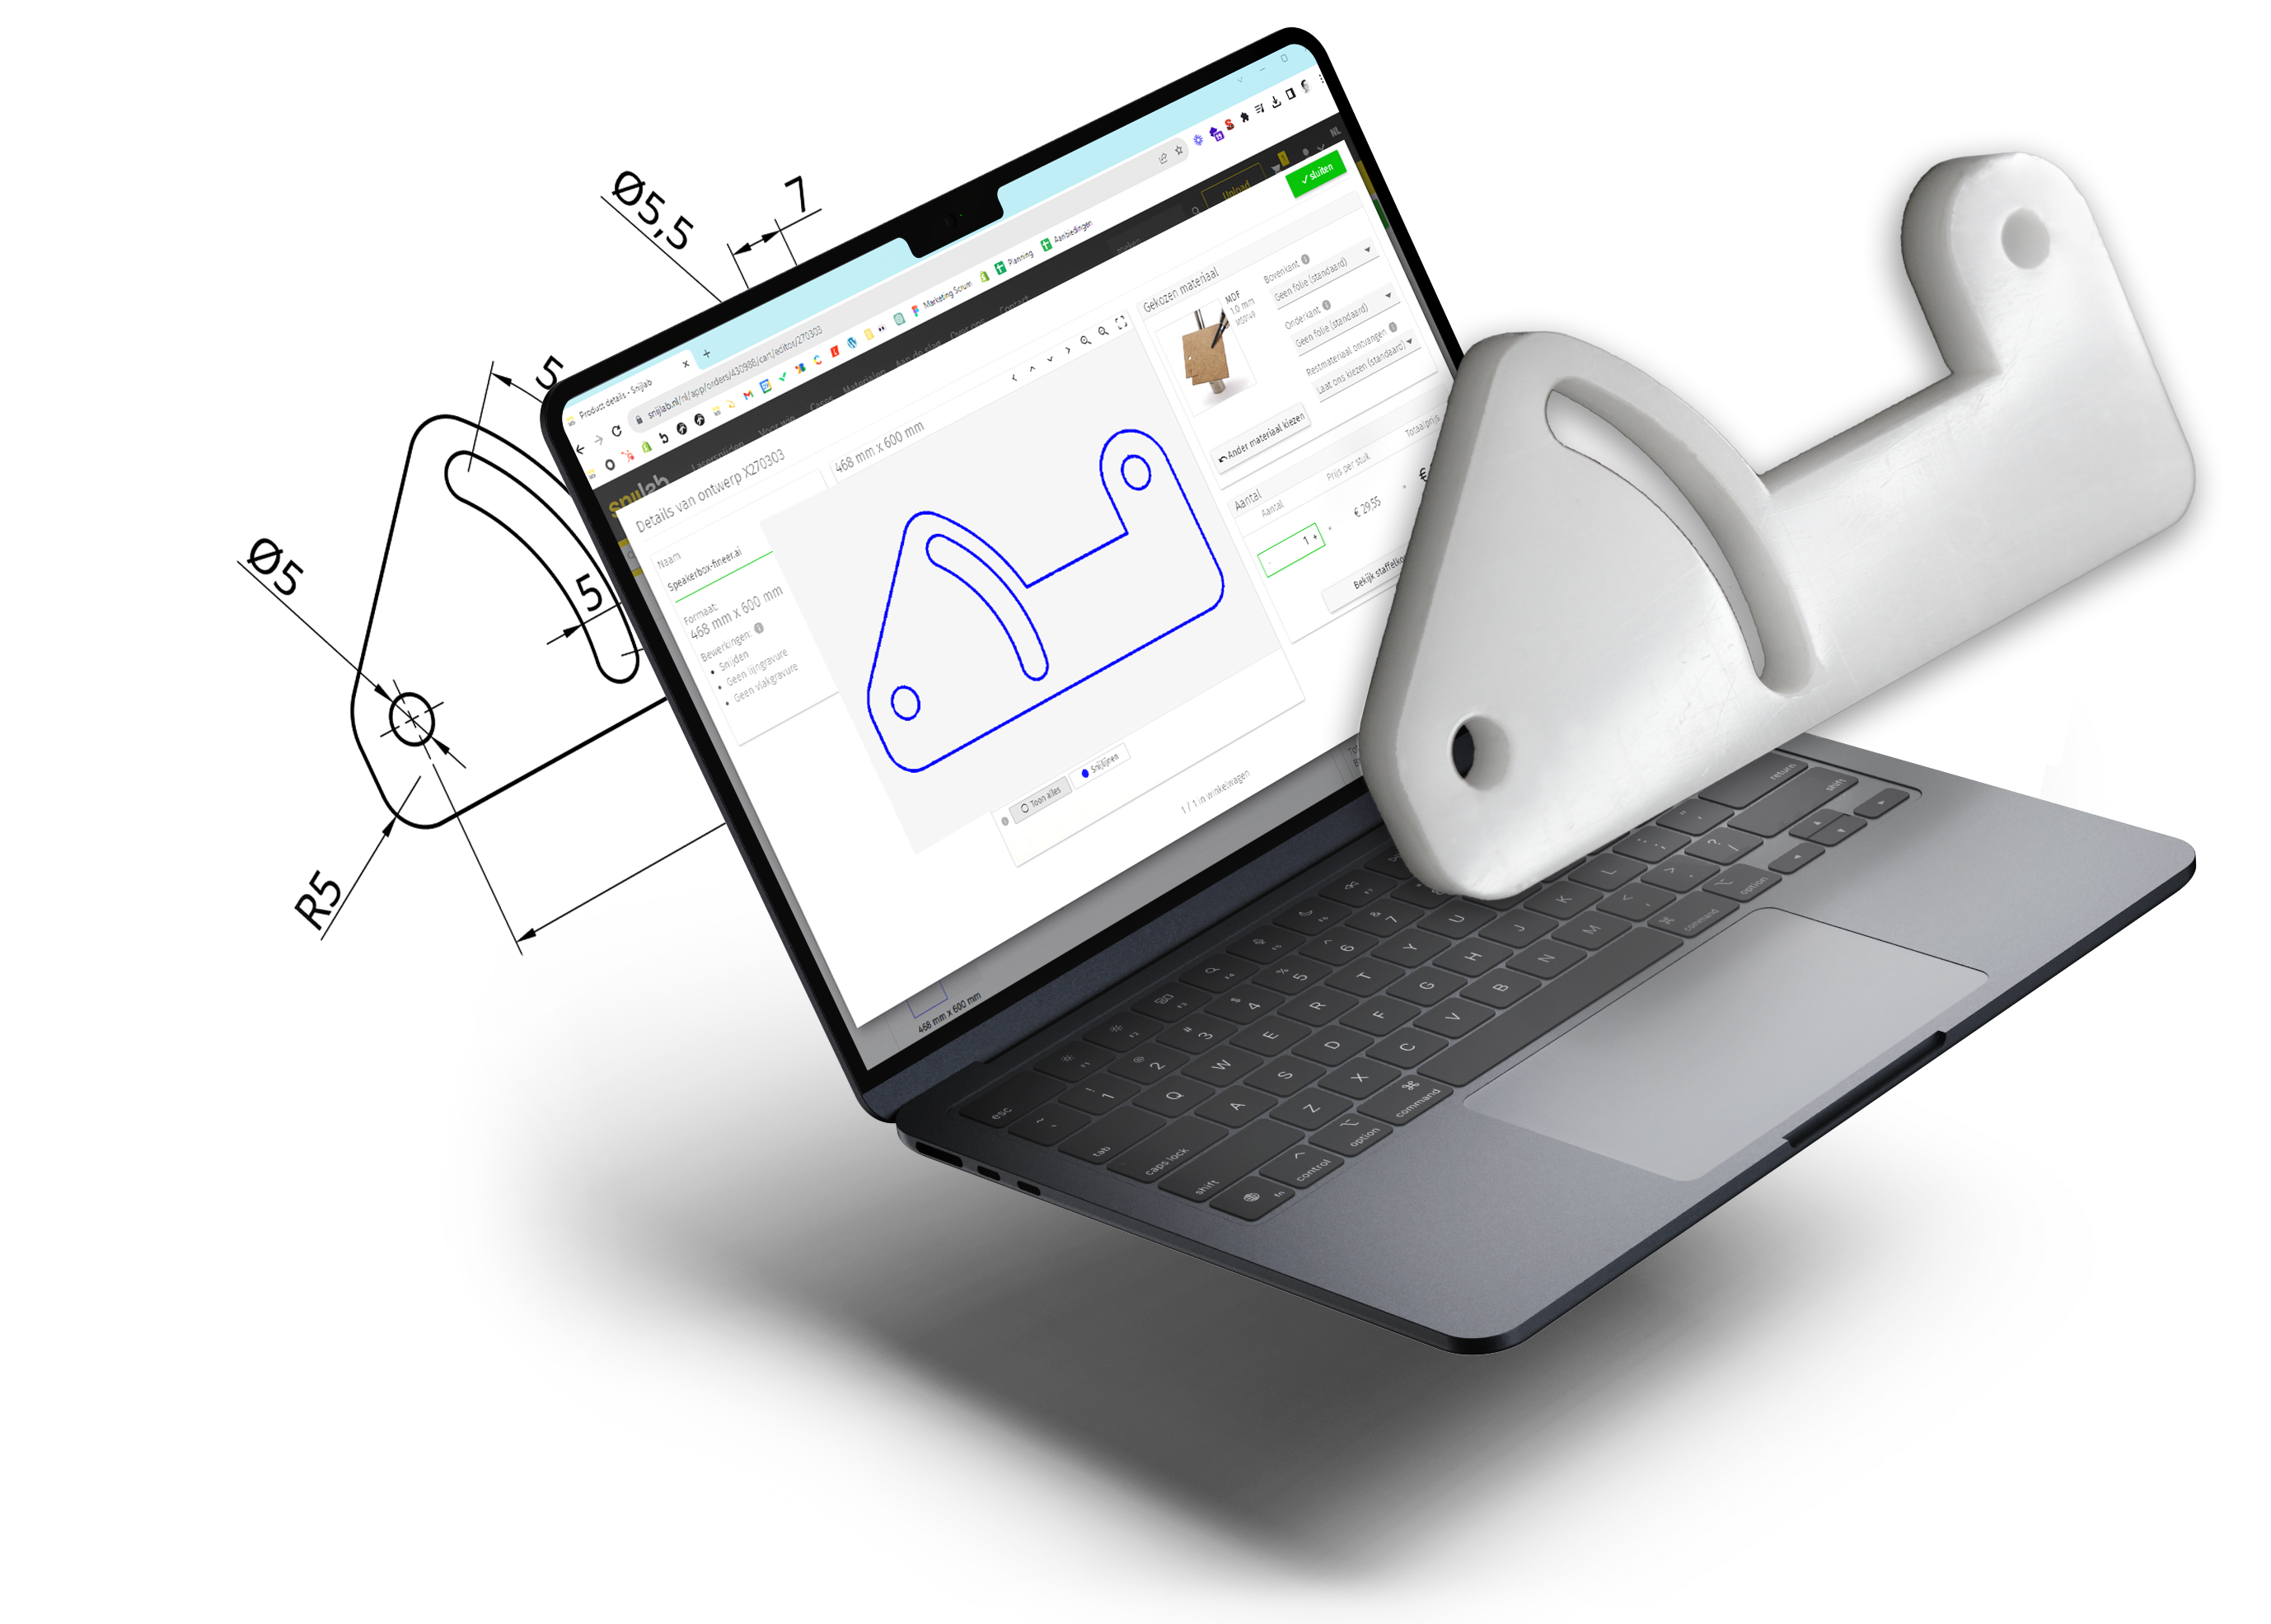
I already mentioned Onshape. This is 3D cad software that runs entirely in your browser, so you don't have to install anything. It is comparable to Fusion360 or SolidWorks, for example. You can use Onshape for free as long as you don't mind your designs being publicly accessible. You do have to create an account to get access. I created a public document using the Hammer connection. You can find it here: Hammer ConnectionOnshape model Click on the link to view it in 3D. If you want to change the settings (parameters) of the model for a different material thickness you need to create an Onshape account. Then you can clone the model so that it is in your own account. Then you can adjust anything you want.
Adjusting the parameters
In the Feature list (left), you see three variables (with the x icon):
- tenon-sheet-thickness
- mortise-sheet-thickness
- laser-core
Double-click it, type in a new value and click the check mark to save. Tip: Have you seen the "do not change" folder? It contains other variables that determine the width of the connection, among other things. Adjust them only if you are willing to do a lot of testing and experimenting, because they greatly affect the flexibility of the pin and the clamping force.
Export to PDF
Once you're satisfied with your settings, you'll probably want to download a 2D drawing to paste into your own design. To export both parts of the hammer joint in one pdf, do the following:
- Click on the "Drawing 1" tab in the bottom bar.
- Click the yellow update button in the menu bar to update the drawing.
- Click on the hamburger menu and choose Print. This will open a new tab with the pdf file, which you can then save.
Export to DXF/DWG
You can also export directly to dxf/dwg.
- Return to the Part studio by clicking on the "fox wedge joint" tab at the bottom of the screen
- Right-click on any of the parts and choose "Export as DXF/DWG....."
- In the popup, choose the desired format and click Export
In conclusion
What are you going to make with the hammer joint? We would love to hear or see it! Disclaimer: Although we have tested the hammer joint extensively, we cannot guarantee that it will work well for you, in your application. This work is intended as inspiration and a starting point for your own designs. Good luck!
