


Create neat wood furniture sans laser aesthetics. In wood laser cutting, finger jointing is very popular. It gives great strength and is easy to draw and assemble. But the dark edges are sometimes a little too noticeable. Below we explain how to easily mill them away.
Getting started
This technique works for all designs with finger joints. The trick is to design the finger joints a little longer and then use an edge router (flush trim bit) to mill them away. This works because the router bit has a travel bearing which follows the side of the object exactly. To keep the router's sole from bumping over the upward pointing fingers, use a small plate of wood that is next to the finger joints.
Material types
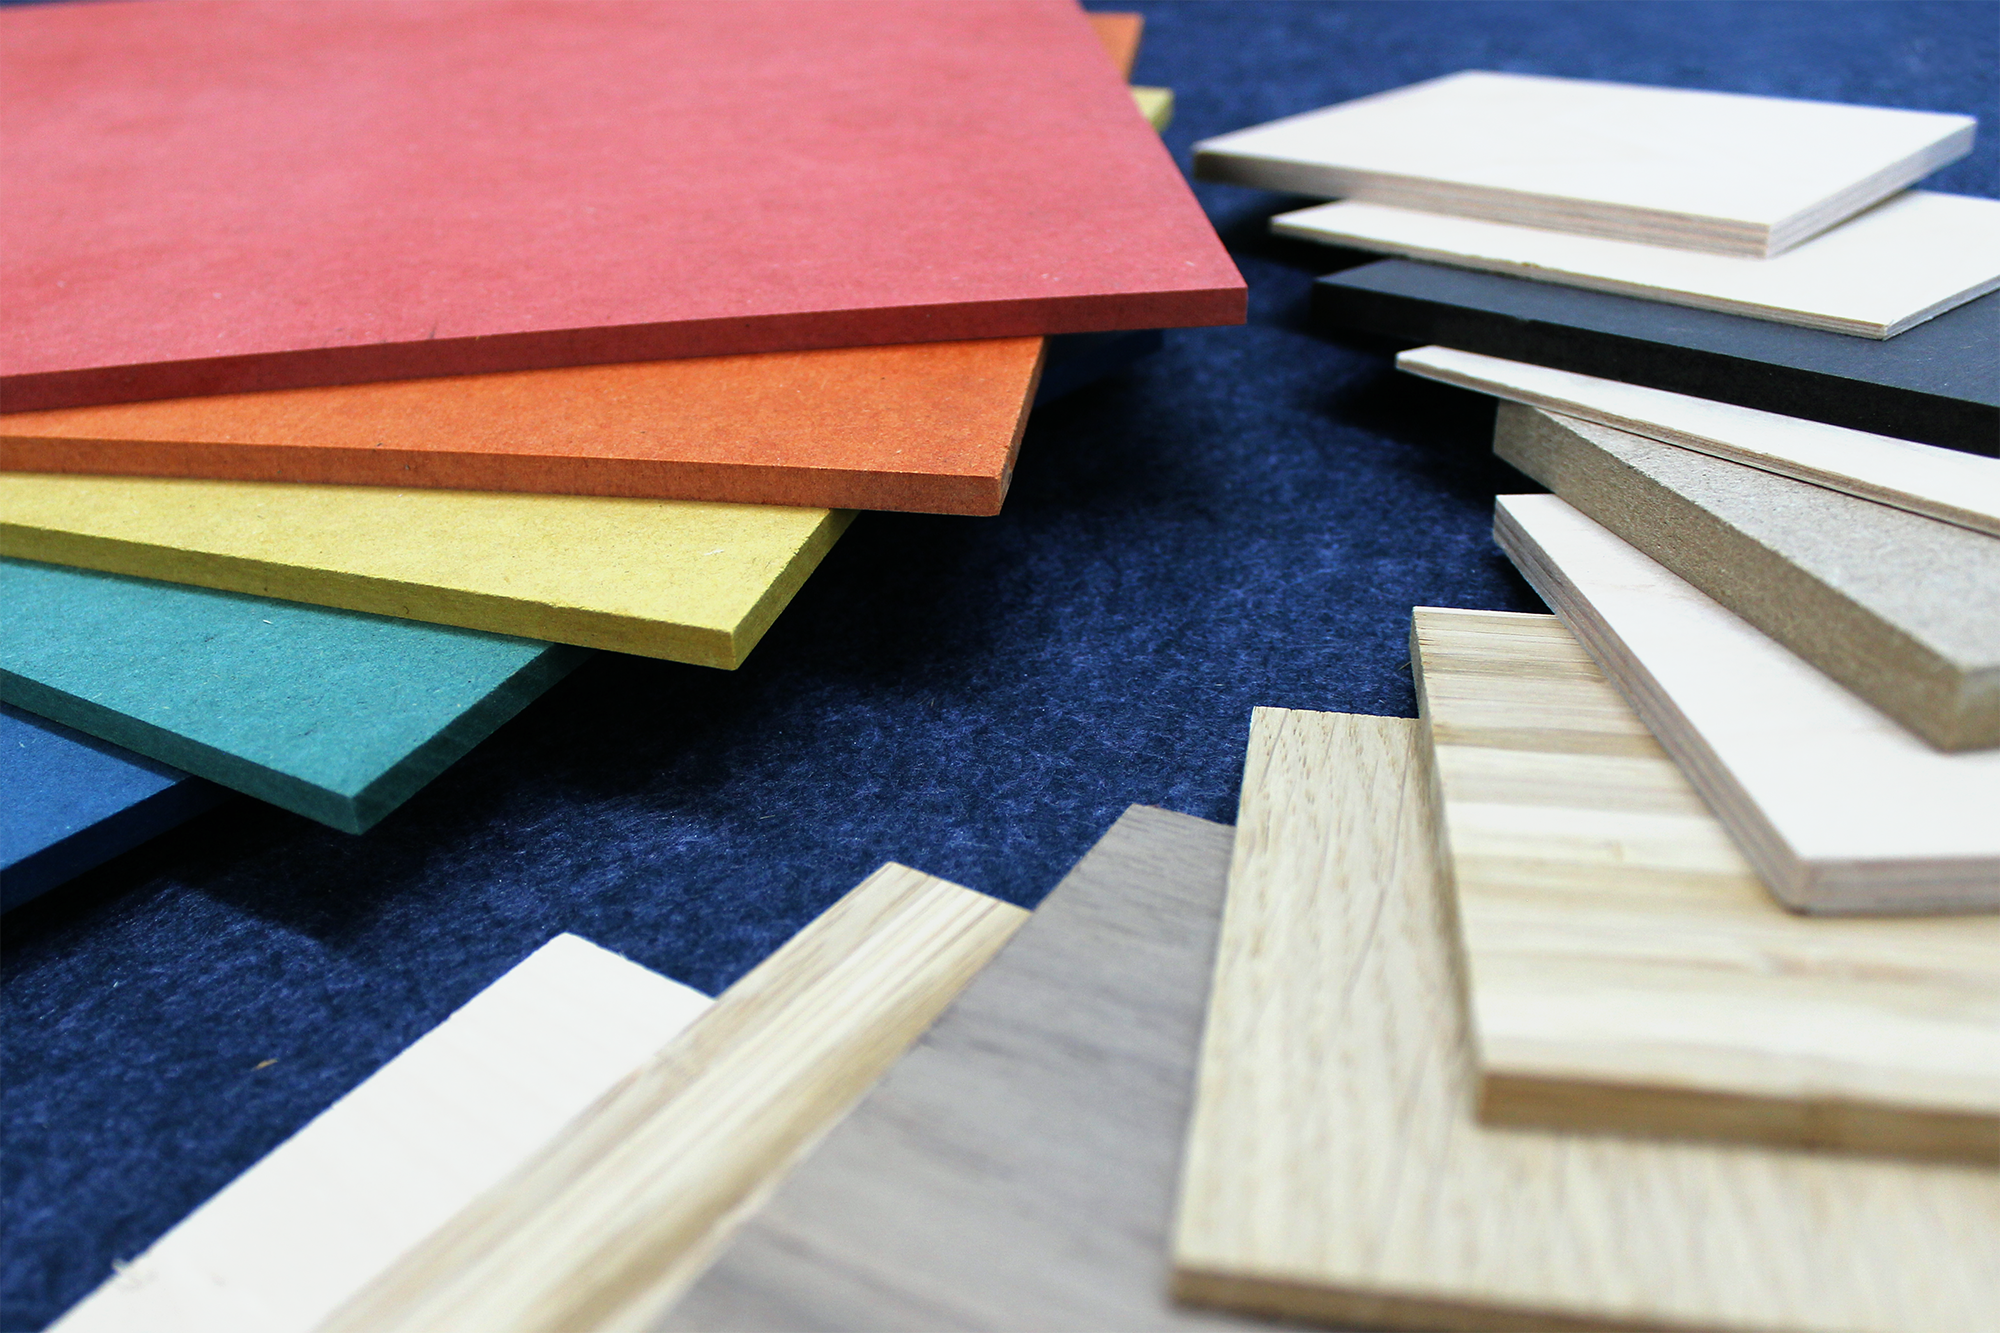
Finger joints can be laser cut in all types of wood. In this example we use 9mm birch plywood, but the technique also works fine in poplar and basswood plywood, as well as MDF.
Supplies
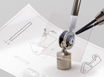
-router
-edge router bit with ball bearing on the end. For example this. Make sure the shank fits your milling machine.
-plank of mdf 3mm thick (or similar thin board)
-optional: 3mm radius router (for the finishing touch)
And, of course, your laser-cut design.
Modifications to your design
To be able to mill away the dark edges, the "fingers" need to stick out a bit. Because the thickness of plates can vary a bit and because you want to have play, 1mm sticking out is a good length.
You can draw finger joints by hand and thus add the extension manually. If you use a generator to make your drawing then there are some tricks.
Makercase does not have its own setting for finger extension. But if you add 1mm to the material thickness and set that you still get a similar result.

Boxes.py does have a setting for finger extension. In the Settings for Finger Joints you can use extra_length. Note that the unit is 'multiples of thickness' and not mm.

In Onshape you can use the LaserJoint script. That has an option 'Pin face offset' that allows you to set the extension.

Check your design well and have your wood laser cutting.
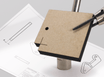
Assemble
After receiving it, you can start gluing. Be sure to use enough glue clamps to make sure there are no gaps.


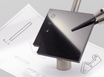
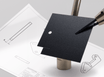
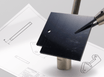
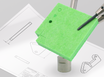
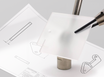
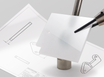
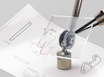
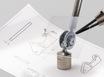
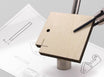
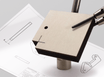
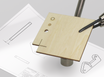
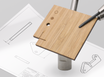
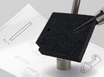
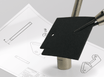
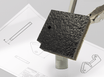
Milling
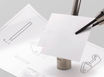
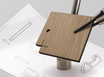
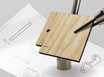
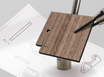
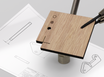
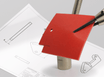
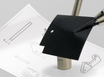
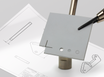
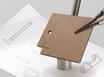
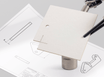
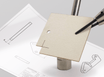
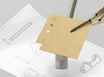
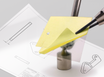
Now the milling can begin. Mount the bit in your router and let it protrude so far that the bearing extends a few millimeters below the fingers.
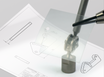
Place the plate on top of your workpiece, next to the protruding fingers from the top. Start your machine and press the router base firmly onto the plate so that the machine remains perpendicular. Now drive the bearing along the entire edge to mill it cleanly. Repeat for all edges.

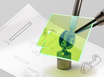
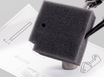
After milling, a small edge will be visible. With sandpaper grain 120 you can easily sand this away so everything looks neat.
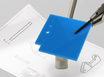
Optional: rounding corners
If you do have a milling machine at hand, you can use a radius router to give the edges a nice rounding. A 3mm radius router gives a subtle result.
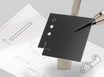
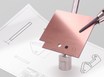
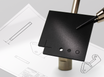
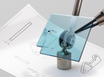
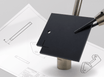
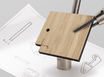
End result
Now you have a sleek piece of furniture or other object without those striking dark edges. This method is a lot less laborious than sanding, although that is also possible. It delivers professional results with minimal effort.
