
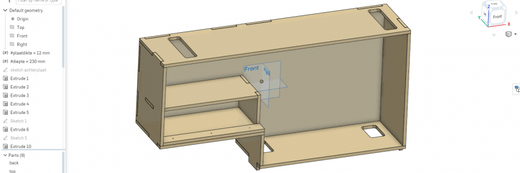
Onshape is CAD software that runs entirely in your browser. You don't need to install anything. It's aimed at technical design and engineering and is functionally similar to SolidWorks and Fusion360. There are paid subscriptions, but if you don't mind your models being publicly accessible, you can use all features for free.
You can laser cut from Onshape in several ways. In this example, we'll laser cut a wooden cabinet.
View the 3D model using this link.
The link to the model in Onshape is read-only. If you create an Onshape account, you can clone and modify the model. For example, you can adjust the variable (sheet thickness). You'll see that all connections scale neatly. The best way to learn how to design in Onshape is through their learning centre.
Below, you'll learn how to export for laser cutting
Method 1: Direct as STEP
The fastest method. Right-click on the 'Part Studio 1' tab (or on an individual part) and choose 'Export', format 'STEP'. Upload the STEP file directly to the uploader; the thickness and contour of each flat part are extracted from the 3D model. This way, your Onshape model remains the single source, and you skip the 2D export step.
Method 2: Part by Part as DXF
Useful if you want to post-process the 2D designs.
- Go to the 'Part Studio 1' tab
- Right-click on the top shelf and click 'Export as DXF\DWG'
- Give the part a name (optional), choose 'DXF', 'Release 14', 'Download', and click Export.
- Follow these steps for all parts you want to laser cut.
The DXFs are directly usable for Snijlab. Drag them into the uploader & choose the correct material to order.


Method 3: Drawings
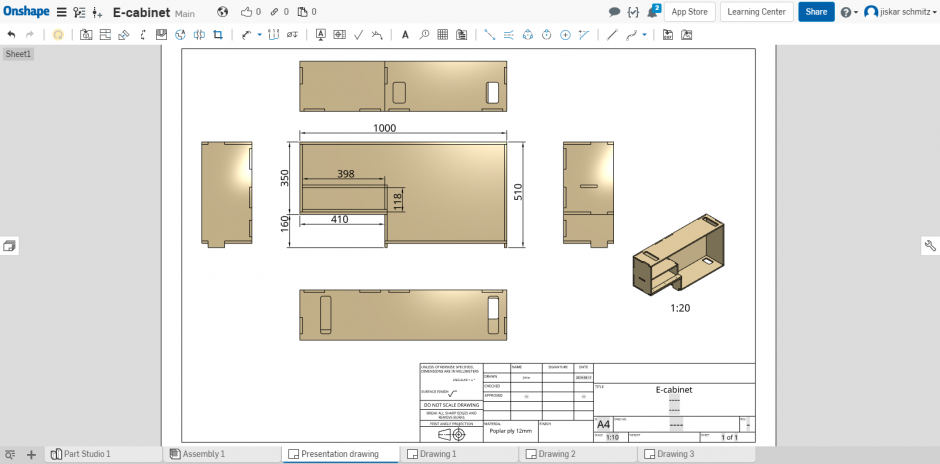
This involves a bit more work initially but results in nested designs that are potentially cheaper to cut. Furthermore, the nests are dynamic: if you adjust something in your model, all nested designs update accordingly.
- In the public documents, search for 'Snijlab drawing template'. Open the document and click 'Make a copy'. The template is now in your own library.
- Open the document you want to laser cut, click the plus icon bottom-left, and choose 'Create Drawing'
- Now you can choose a template. Filter by 'Created by me'. The template from step 1 will now appear.
- Choose the 'Snijlab drawing template.dwt' template and click 'Ok'. The new Drawing will now open.
- Click 'Insert View', select a part, and add it to the Drawing. Make sure you choose the correct view (top or side). Add multiple parts until the design is full.
- If you have more parts than can fit on one sheet, repeat steps 2-4 to create another Drawing. (Note: do NOT create extra Sheets within one Drawing; instead, create multiple Drawings)
- Click on the menu and 'Print' to export the drawing to a vector PDF.
The PDFs are directly suitable for Snijlab. Drag them into the uploader and choose the correct material to order.
If you now make an adjustment to your model, you'll see a yellow update button appear in your Drawings.
Click on it to apply the changes from your model to your Drawing.


Conclusion
CAD design allows you to create complex projects correctly the first time. Designing in 3D takes some time, but you almost always recoup that time by encountering and solving problems early on, before incurring costs.
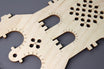
The cabinet below is laser cut from 12 mm poplar plywood. The corner joints are glued and stapled.
Onshape is one of many options if you're looking for CAD software, and definitely worth considering.