Inkscape is a free and open source vector-editing program. It is available for Windows, Linux and OSX. By default, Inkscape uses the .svg file format but can also work fine with other formats such as .dxf. Inkscape is:
- Easy to learn
- Free
- Suitable for graphic work and simple technical work
Getting started
Create a new file in Inkscape.
- Make sure that all the tessellations ('Fills') are set to 'No paint'.
- Use colors according to the drawing rules; blue for cutting & red for line engraving.
Text objects
Text must be converted to lines (paths, or 'paths') before it can be cut or engraved.
- Select the text and go to: Menu > Path > Object to Path.
- Note That the tessellation ('Fill') is off & that the outside lines ('stroke paint') have a color.
Cutting or engraving
The distinction between to cut and to engrave is made (when uploading as .pdf) based on colors:
- Blue objects are cut.
- Red objects are engraved superficially.
- Gray objects are ignored (e.g. useful to use the material dimension as a frame)
NOTES: when instead of as .pdf as .dxf it is also important which layers the objects are in.
See the drawing rules.
Save as .pdf
File > Save As > "Portable Document Format (.pdf)"
In the popup window, choose the option: 'export area is drawing' and PDF version 1.5
Save as .dxf (alternative)
In some cases, not all objects are saved cleanly in the PDF. As an alternative, you can then save as a .dxf file.
Note that for .dxf files it is necessary to place the objects in the correct layers.
File > Save As > Desktop Cutting Plotter (.dxf)
Set the option 'use LWPOLYLINE type of line output' on.
Upload
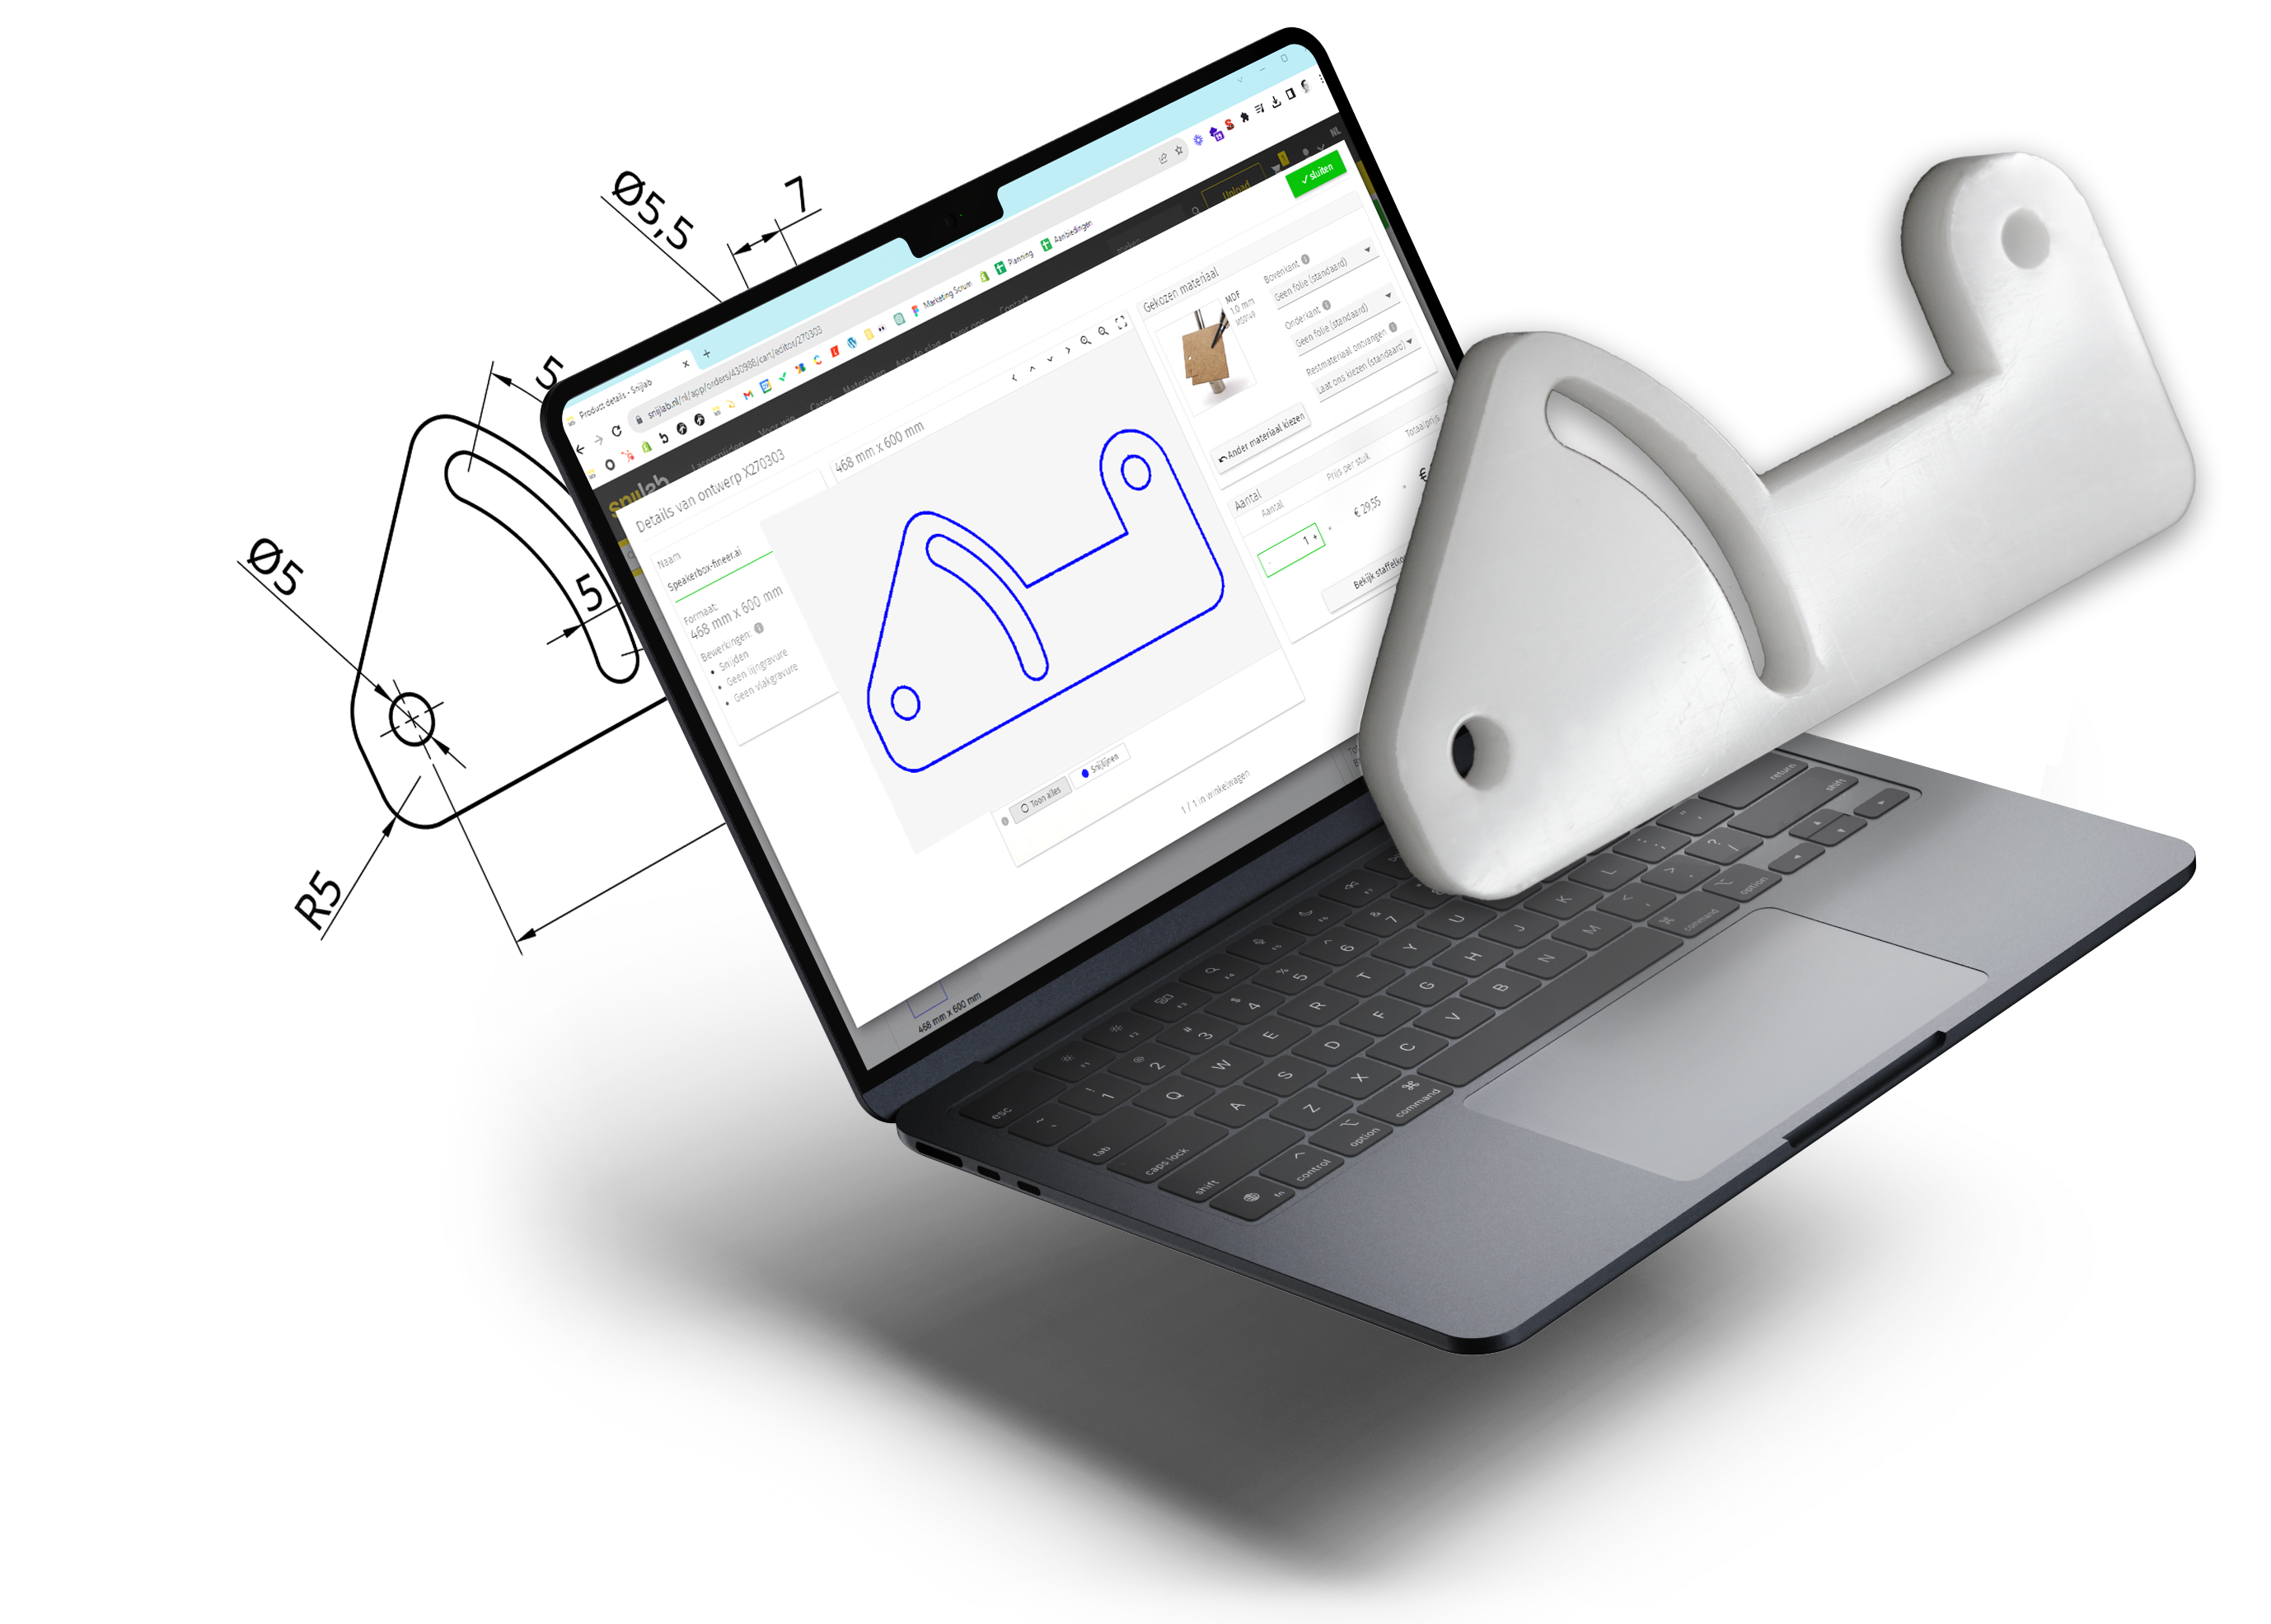
on our website and drag your file(s) into the upload field. Check carefully if:
- the dimensions are correct.
- the colors of the preview match the intended edits.
- Blue = completely cut through.
- Red = line / vector engraving.
- Gray = no editing / layer to be ignored.


