

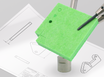


A decorative hybrid between nature and technology, and moreover a fun project: Create your own laser-cut leaf. Below is a brief tutorial.
What do you need?
- An image of the vein structure of a leaf. Ideally, find a beautiful leaf yourself and scan it (a well-lit photo also works), or you can find a suitable image on the internet.
- Adobe Illustrator.
- Optional: A CAD program such as AutoCAD, Rhinoceros, LibreCAD, or DraftSight.
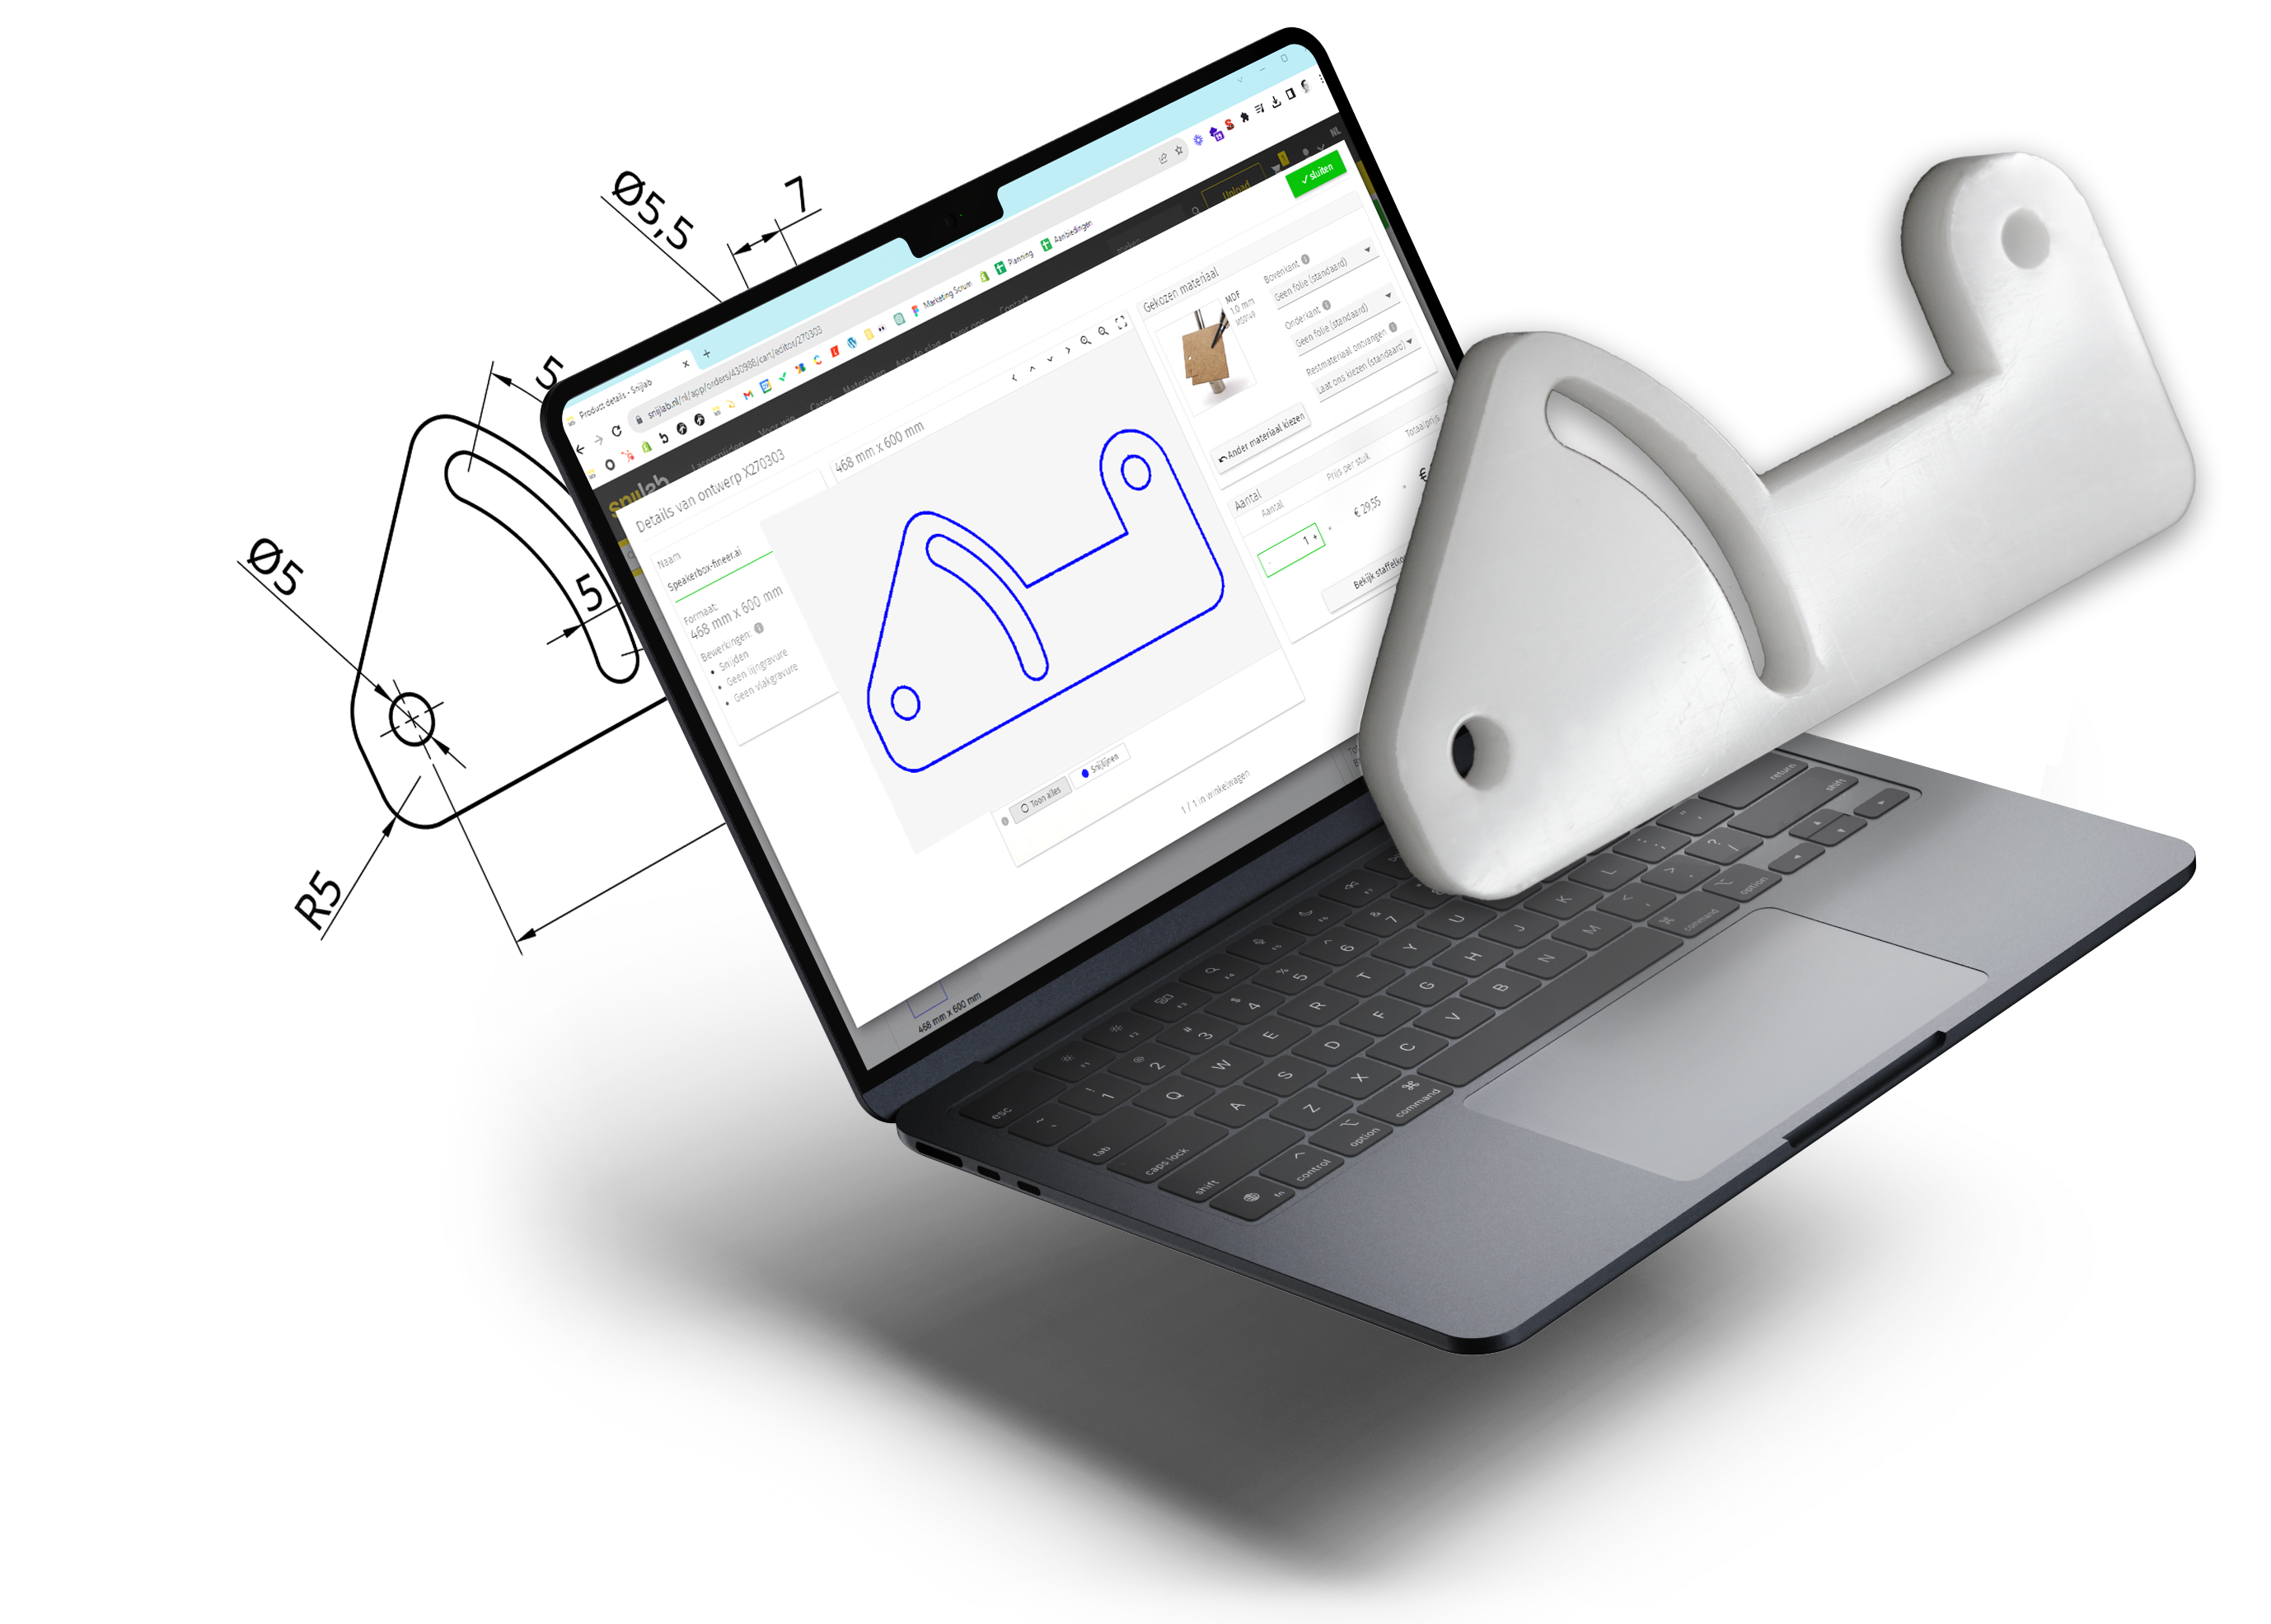
- A Snijlab account.

This is the scan of the sheet. For the next steps, it is important that the contrast is as high as possible, and that the resolution is sufficient to see the smallest veins. I opened the photo in photoshop, increased the contrast and saved the file again.

Now open the file in Illustrator. At this point it is still a bitmap file, which is why you can see the pixels. Select the picture and click on 'Image Trace'.

The Image Trace function allows you to convert a bitmap (pixels) into vectors (lines). You can adjust the settings to get the best possible result. In this case, I set the Threshold a little lower. Every time you change the settings, Illustrator creates a new preview. With large files like this, that can take a while!

If the result is to your liking you can close the window and click 'Expand'. The bitmap is now gone and what you see on your screen are vectors.
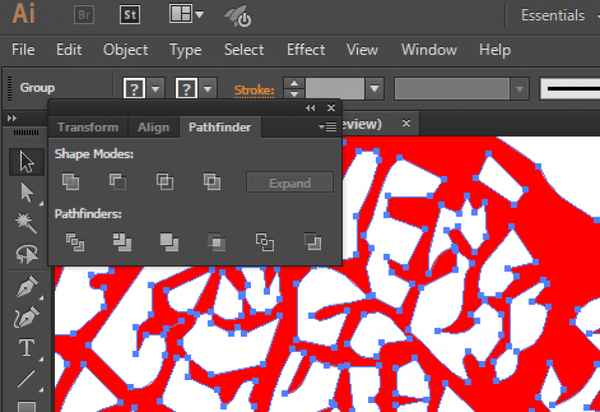
To turn all the individual planes into one, use the 'Pathfinder' tool. Select everything and click 'unite'.

At this point I continue in Rhinoceros. You can also do the last steps in Illustrator, but I like to do a final check in a CAD program. Save the file (as .ai or .dxf) and open it again in Rhino.
In my opinion, the outside line was a bit too close to the cut-outs. Using the Offset tool, you can move the line out a few millimeters to get a solid edge.
With the command 'SelDup' you can check that there are no double lines in your drawing. Optionally, you can use the CurveBoolean or the Make2D tool to remove unnecessary lines.
Finally, you can set the dimensions to your liking with the Scale command. I make the blade about 600mm wide so that the smallest grain is still at least 0.5mm. Anything thinner than that becomes too fragile.

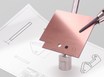
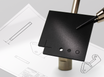
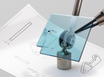
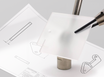
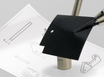
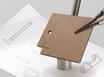
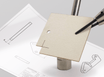
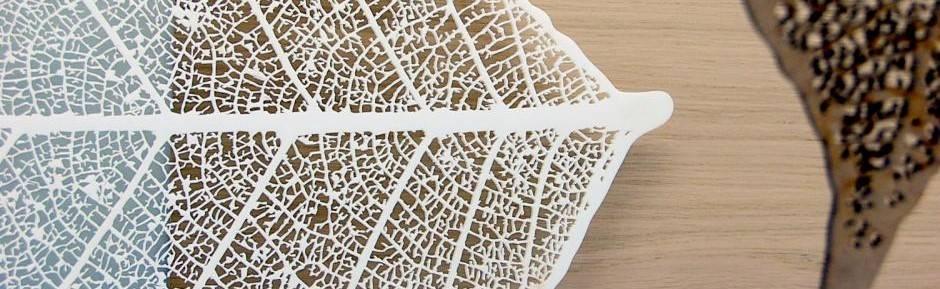
Above: the final drawing is a neat drawing, ready for laser cutting! You can save the file at this stage as .dxf and upload it to your account on Snijlab.
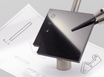
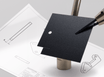
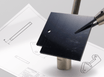
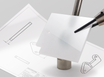
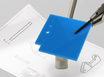
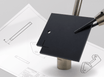
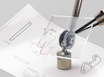
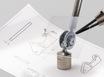
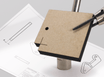
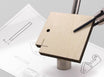
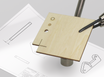
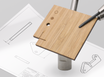
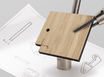
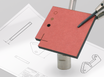
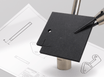
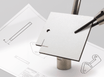
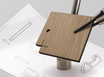
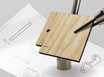
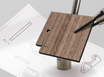
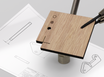
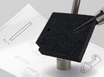
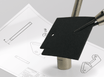
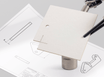
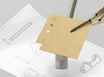
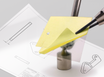
And below: the final result: the top cut in matte white acrylic and in 2mm MDF.

