
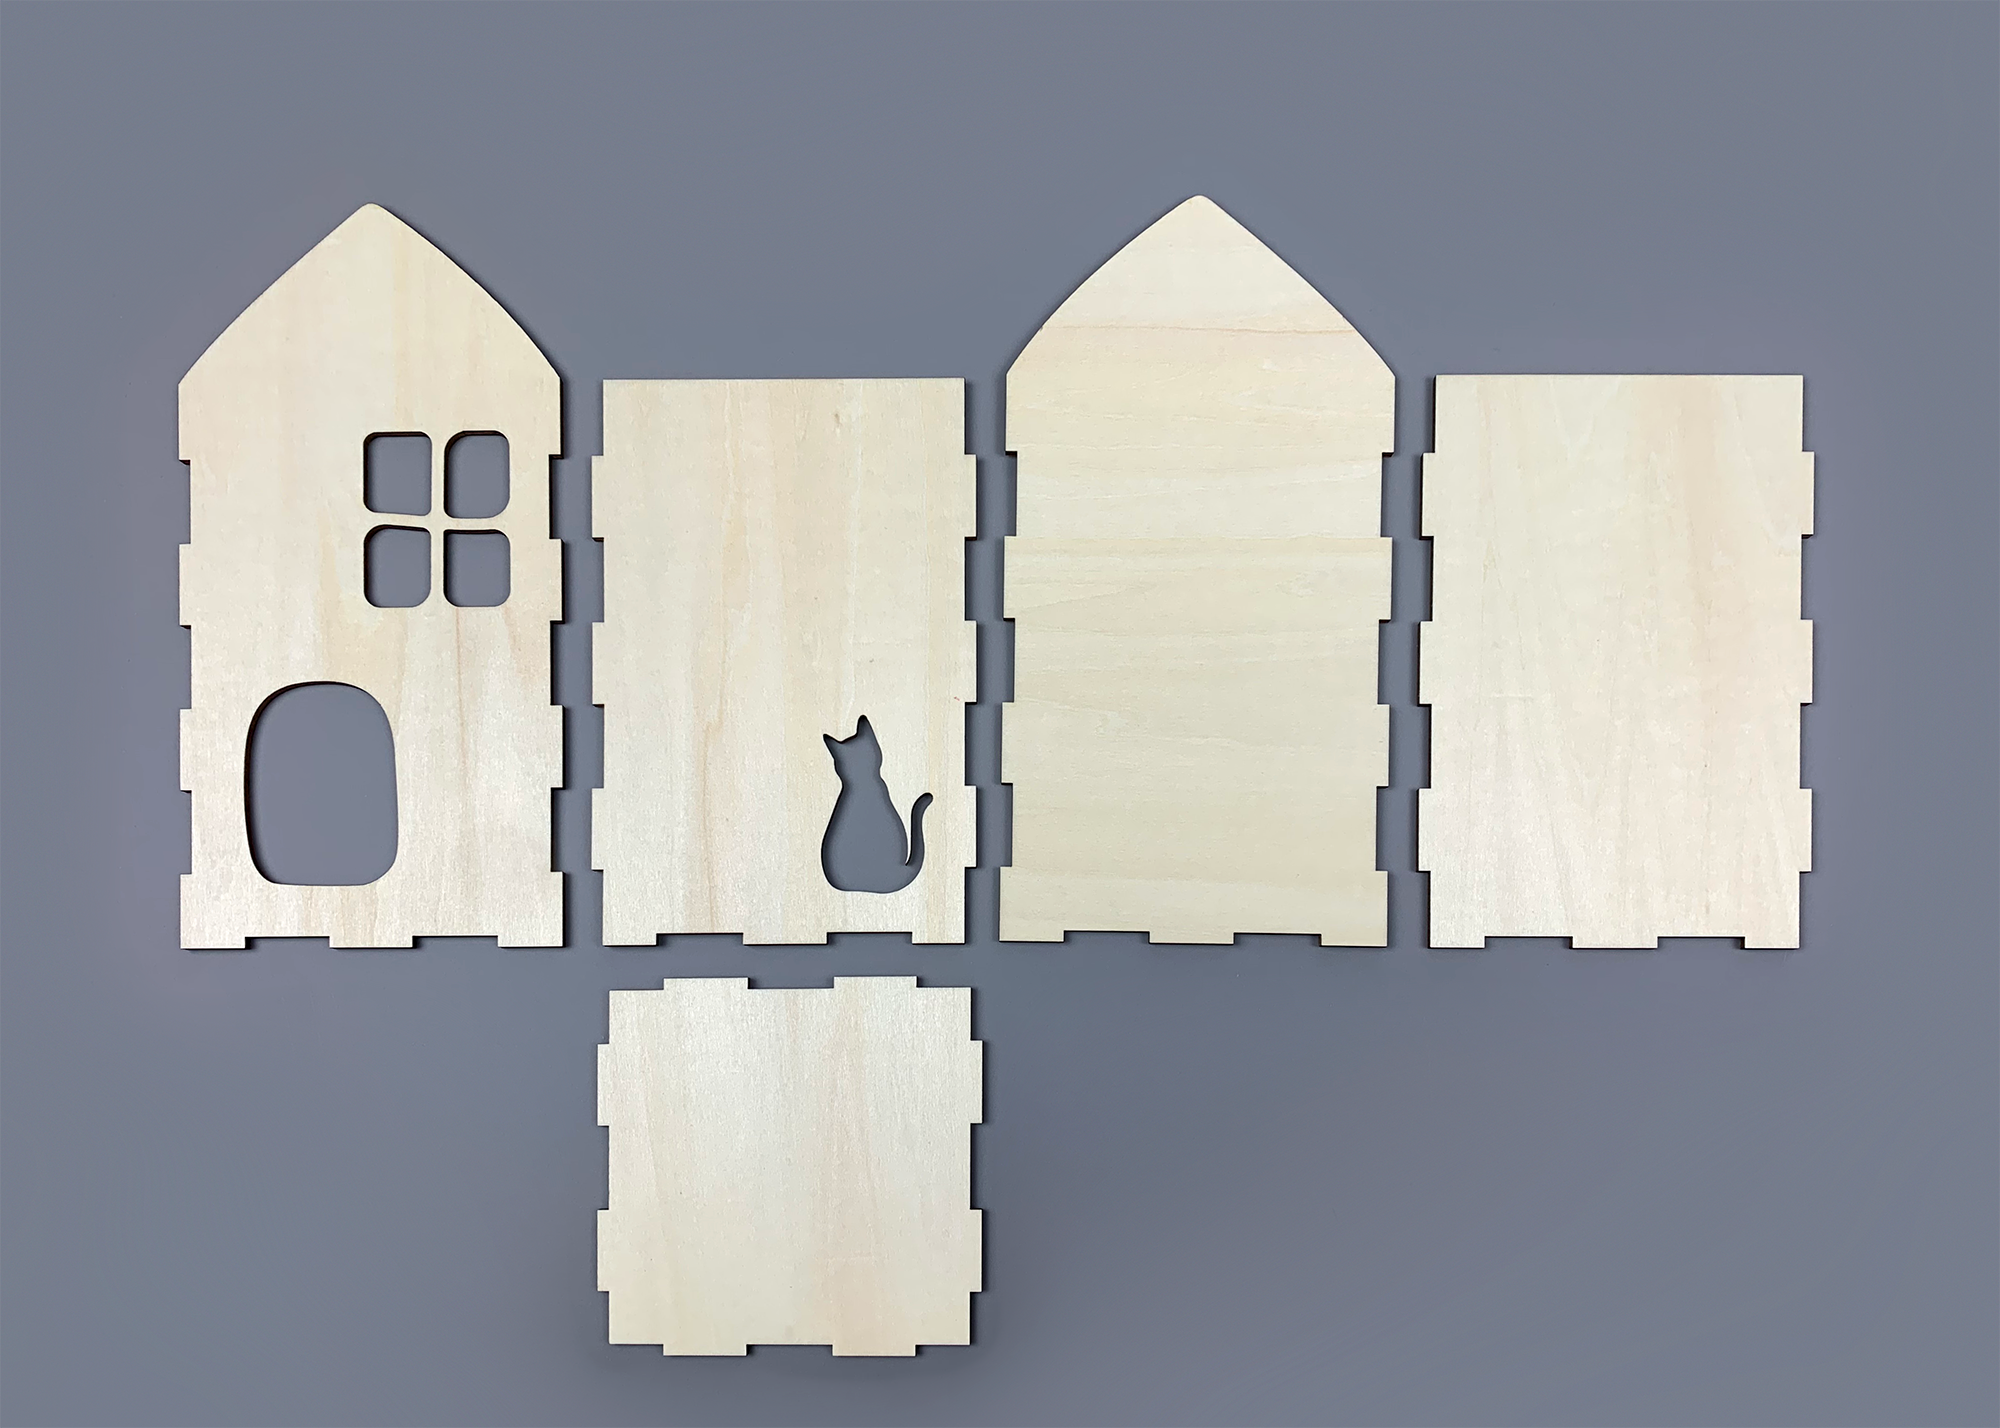
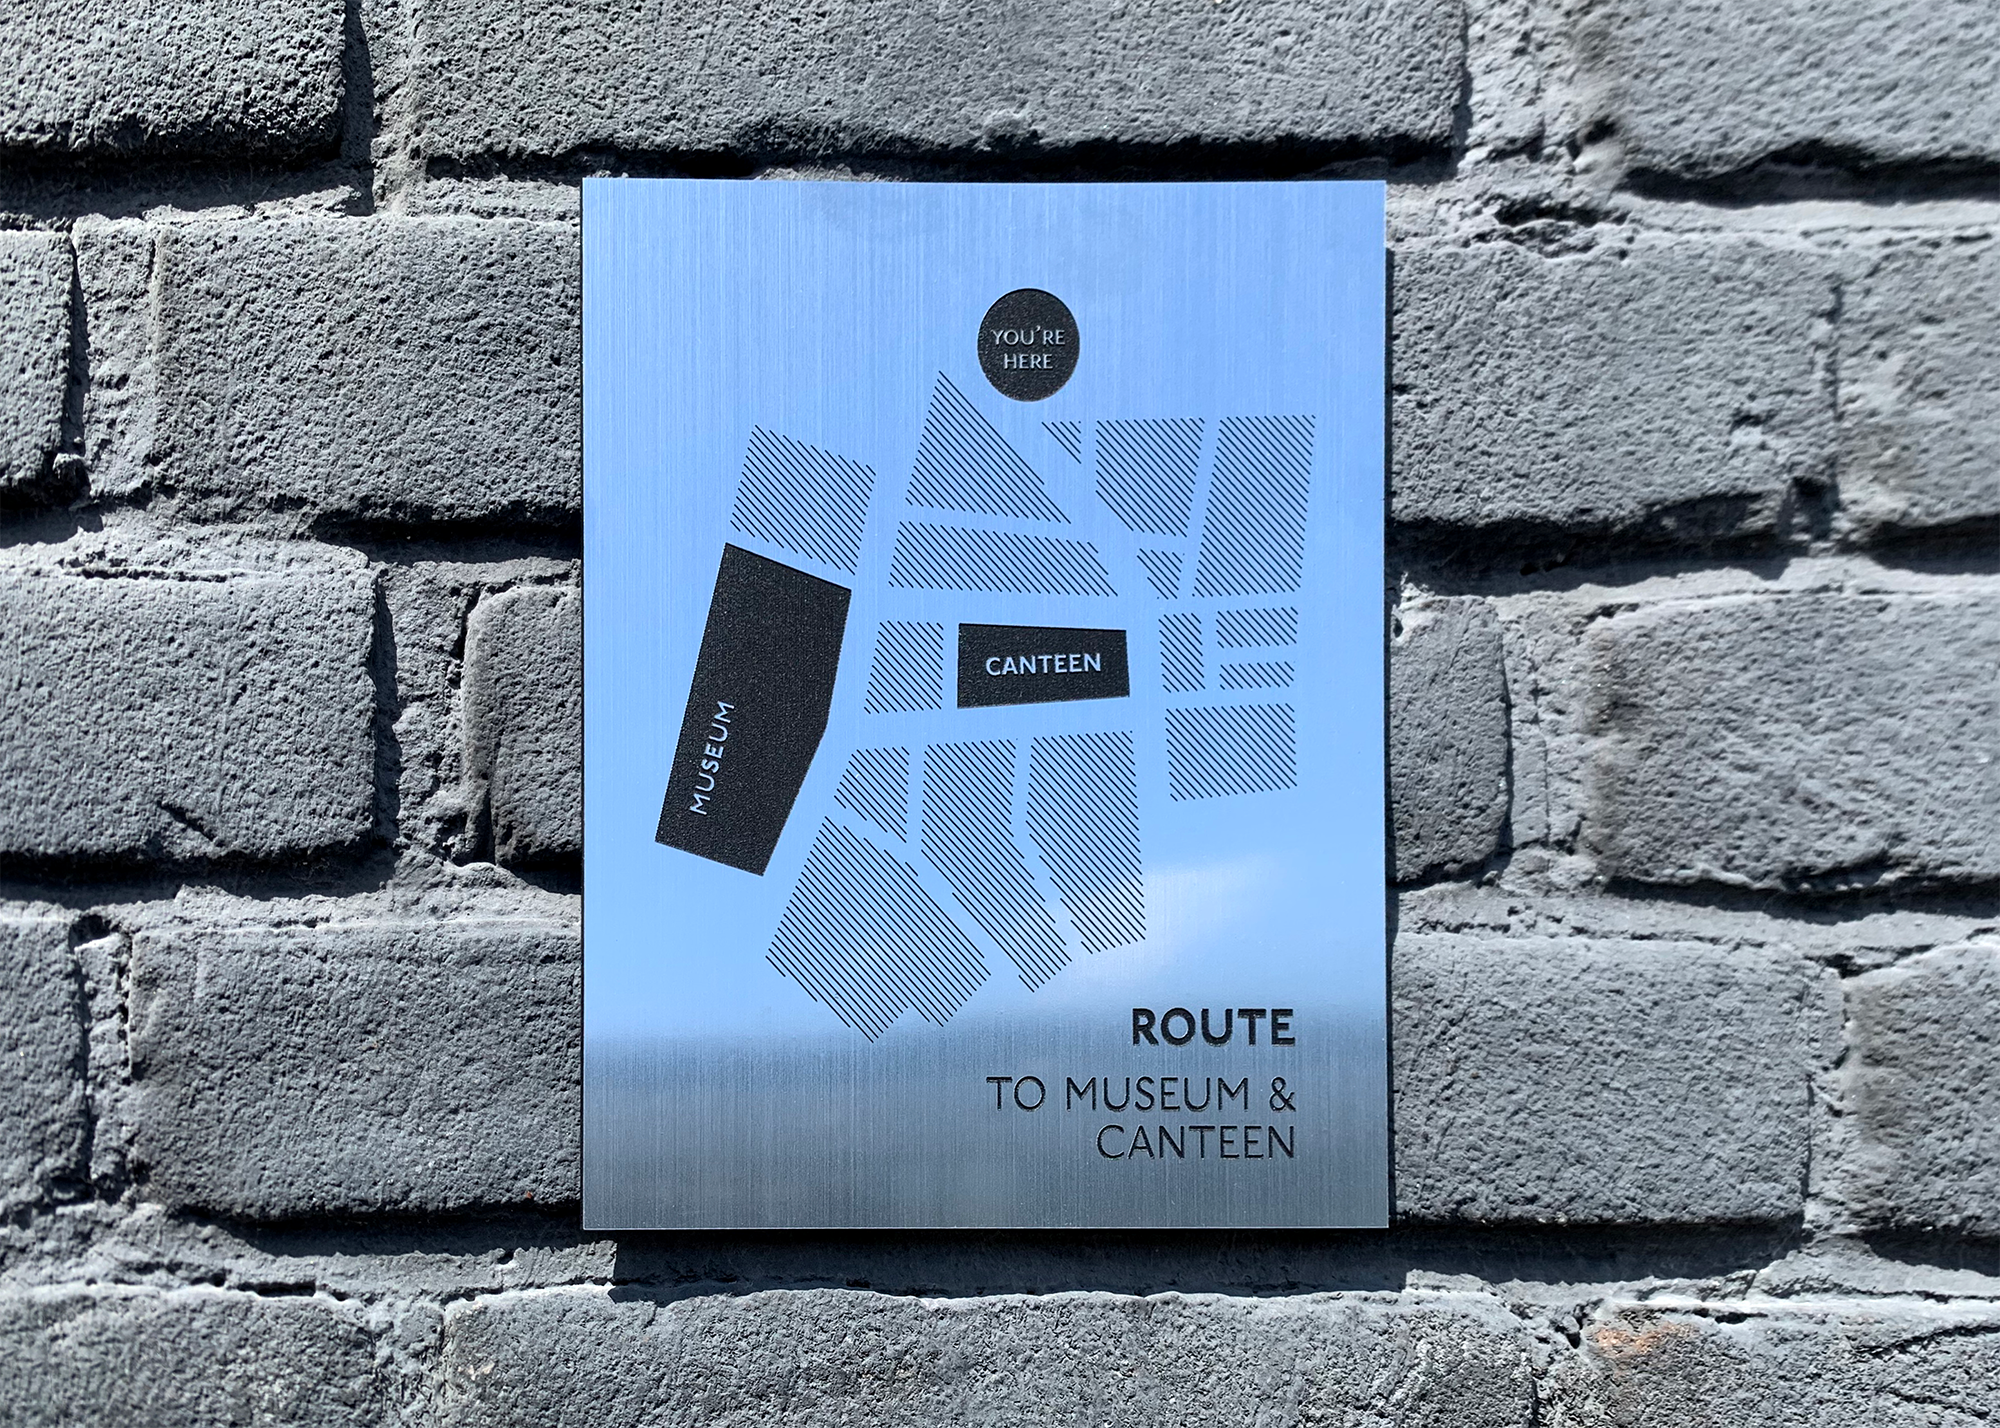


In addition to objects laser cutting , it is also possible to engrave lines or surfaces. This technique is often used to indicate part numbers, illustrations, texts and floor plans or textures in models. By filling in the engraving with ink, you can create greater contrast, or simply color in all the lines. Filling in will be explained step by step in this tutorial.


Getting Started
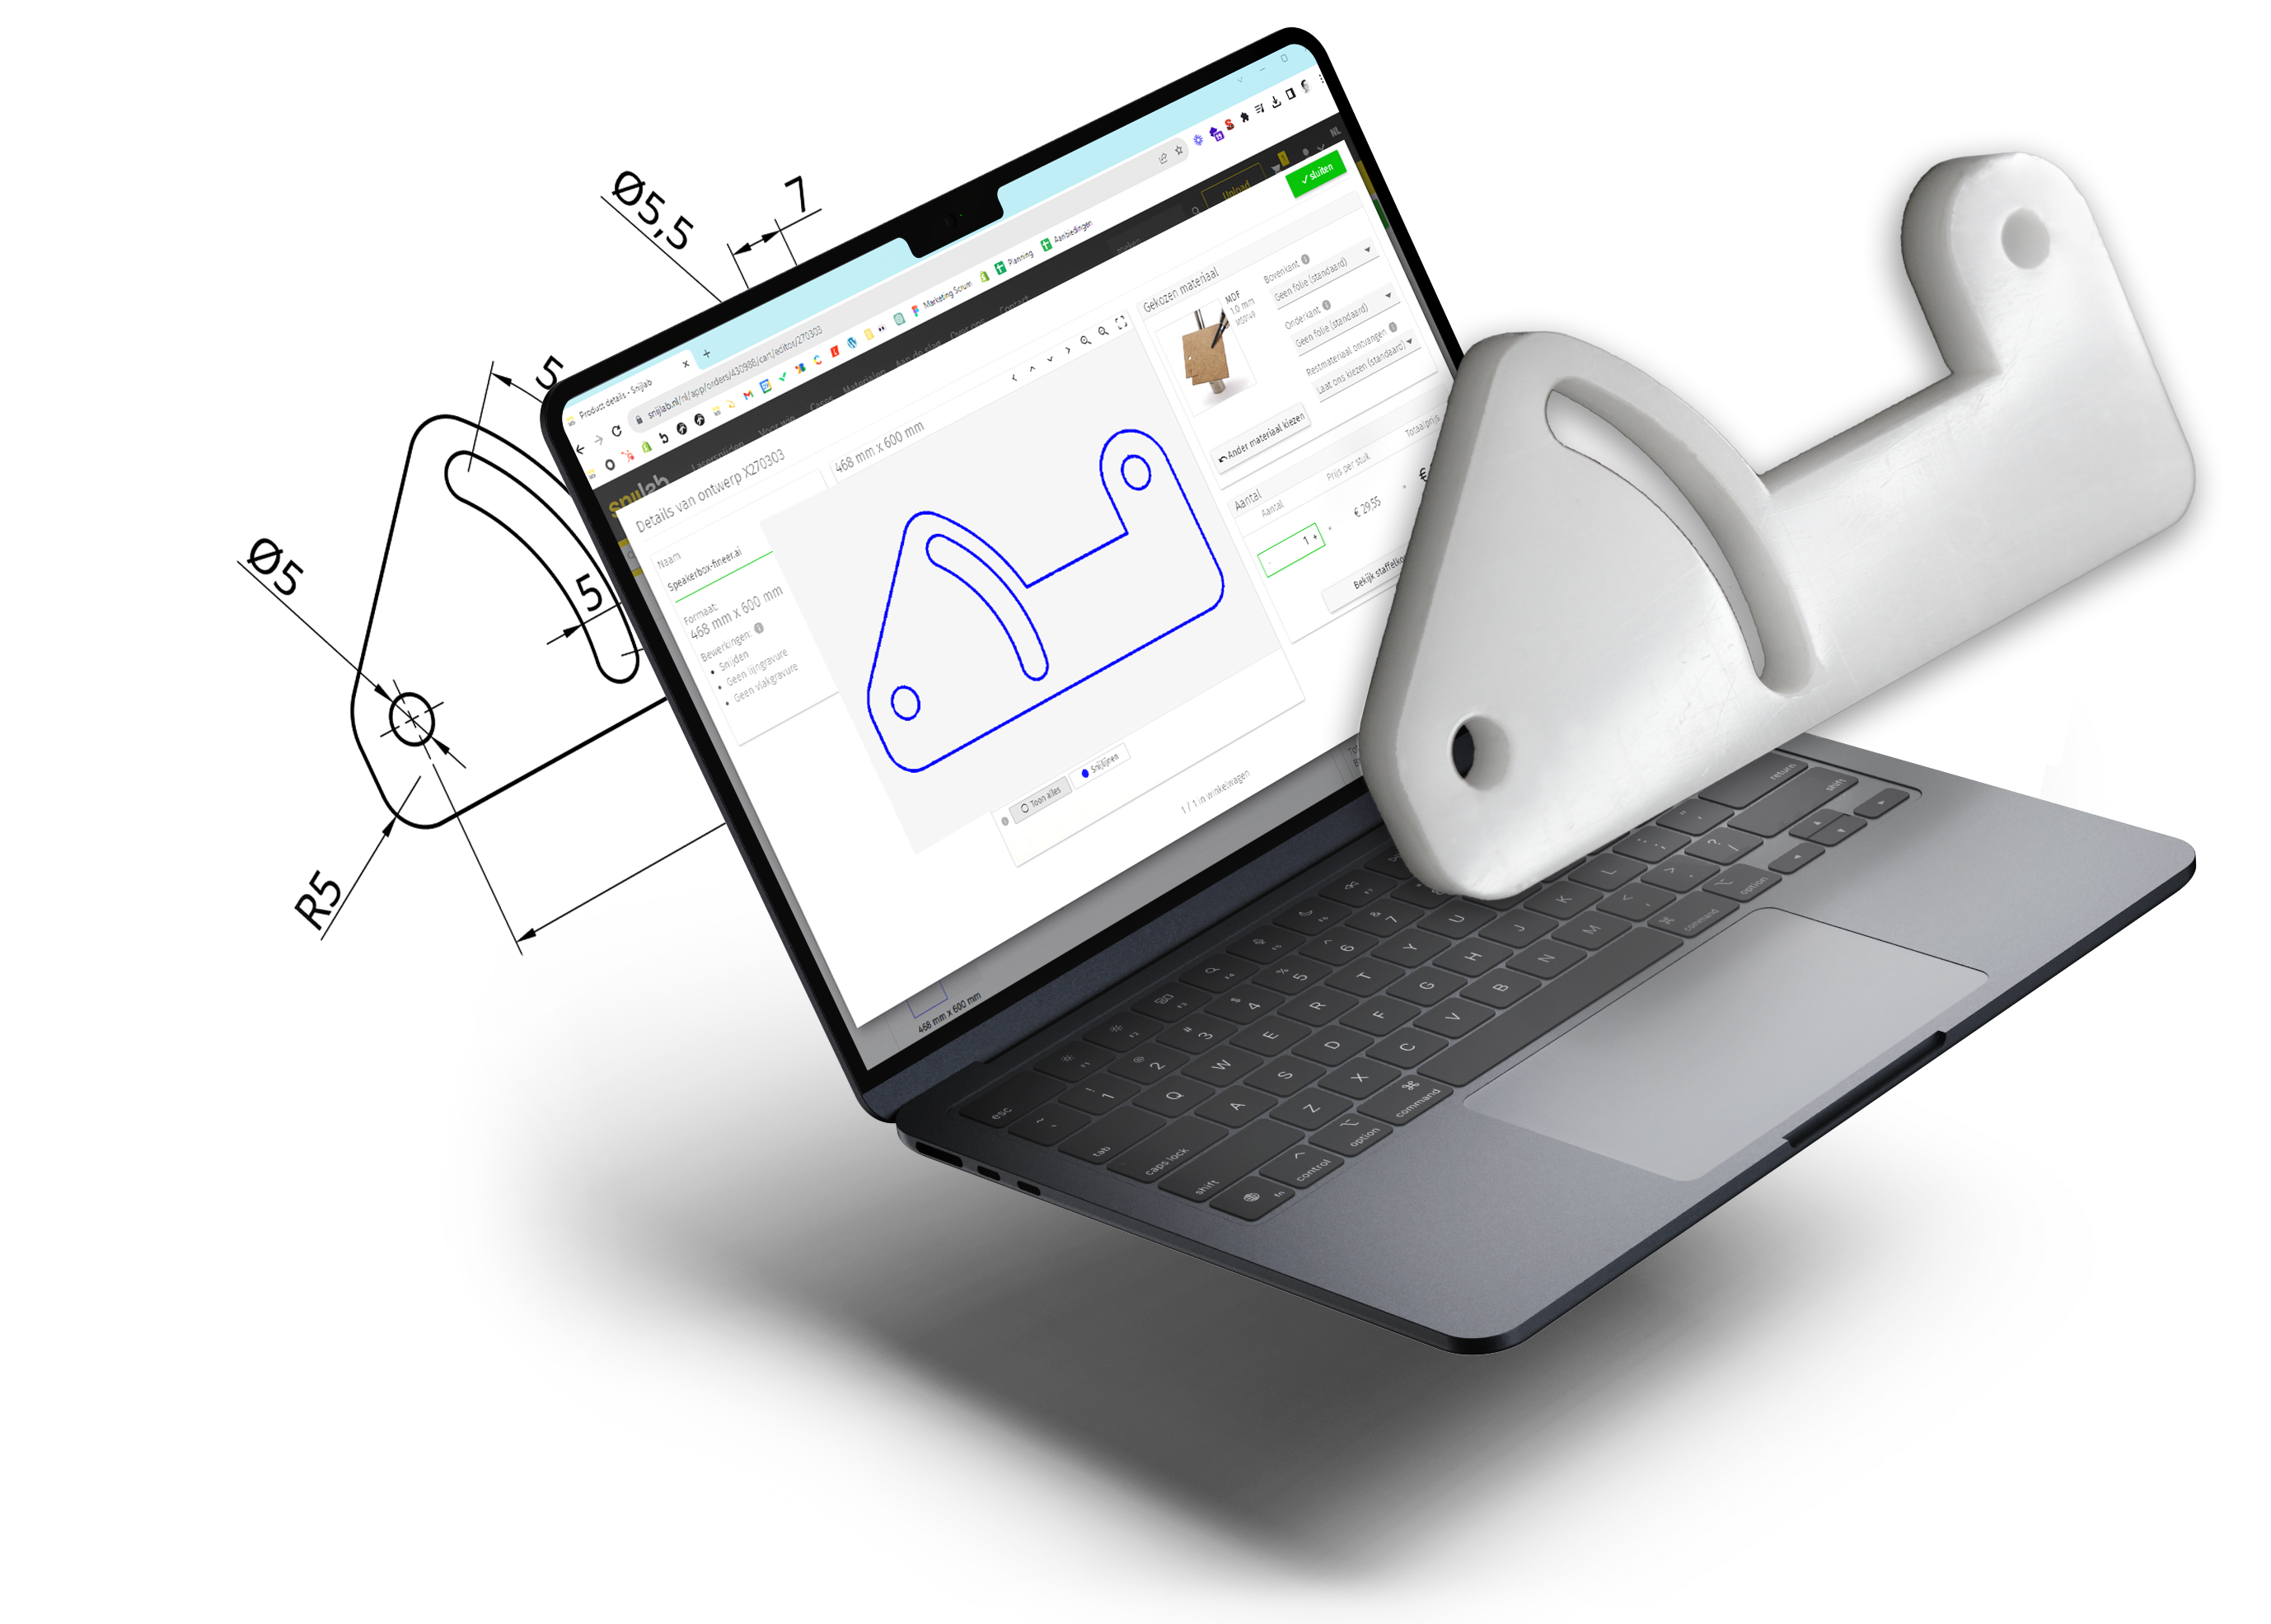
There are two different types of engraving: line engraving and plane engraving. Both can be completed using this technique. Examples and a detailed explanation of what engraving is can be found here.
To get an engraving done, you must first make sure that the cutting drawing is properly prepared. Line engravings are simply indicated in the drawing as lines with the appropriate color and layer. For conventions, see our drawing rules. Texts are special objects in most drawing programs and must first be converted to lines via 'create outlines' or 'explode'. There are also several 'single line fonts' such as 'Machine Tool Gothic' that are specially intended for line engraving.
Some points to pay extra attention to when drawing with engravings:
Stroke: use thin lines (0.2mm or hairline).
No fills: remove plane fills (fills) and hatches. For plane engravings, draw the outline of the plane you want engraved. Make sure that the outlines close.
Explode text: create outlines (strokes) of text (command 'explode' in CAD programs and 'create outlines' in illustrator).
The color of the objects themselves (illustrator), and the layer name that the objects are in (rhino, autocad etc.) determine the final edit.
Supplies coloring acrylic:
- acrylic with engraving
- edding 750 paint marker
- acetone
- mirco-fiber cloth
Supplies coloring solid surface:
- solid surface with engraving
- edding 750 paint marker
- sandpaper grain 400
- sander or sanding block
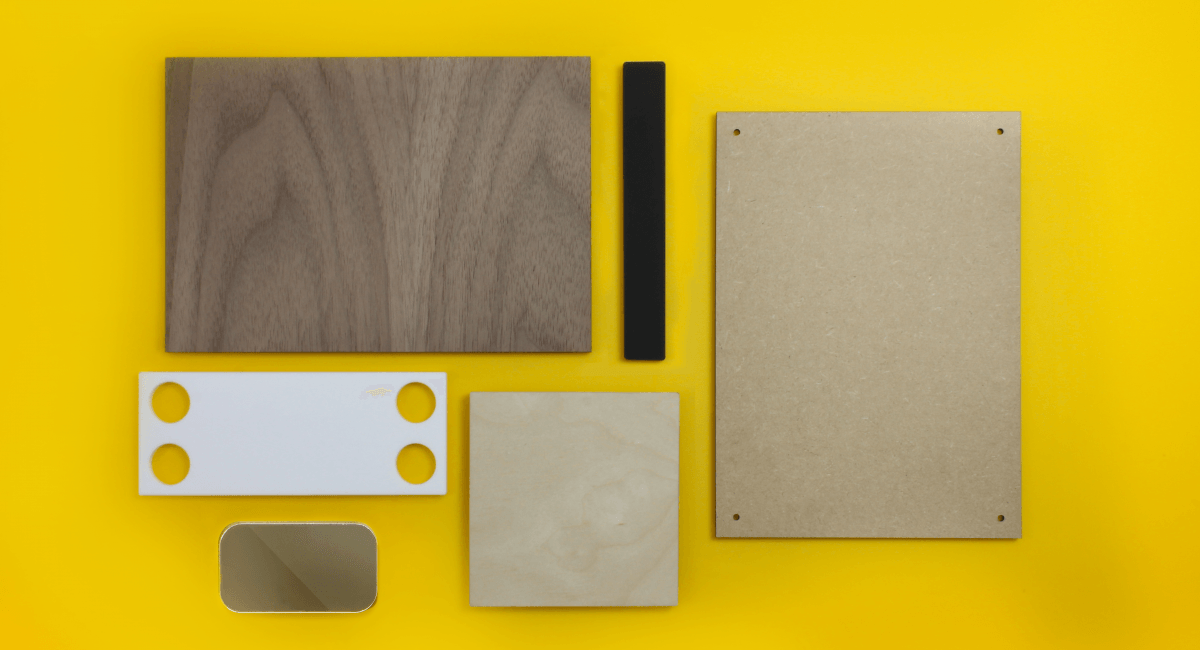
Material Types
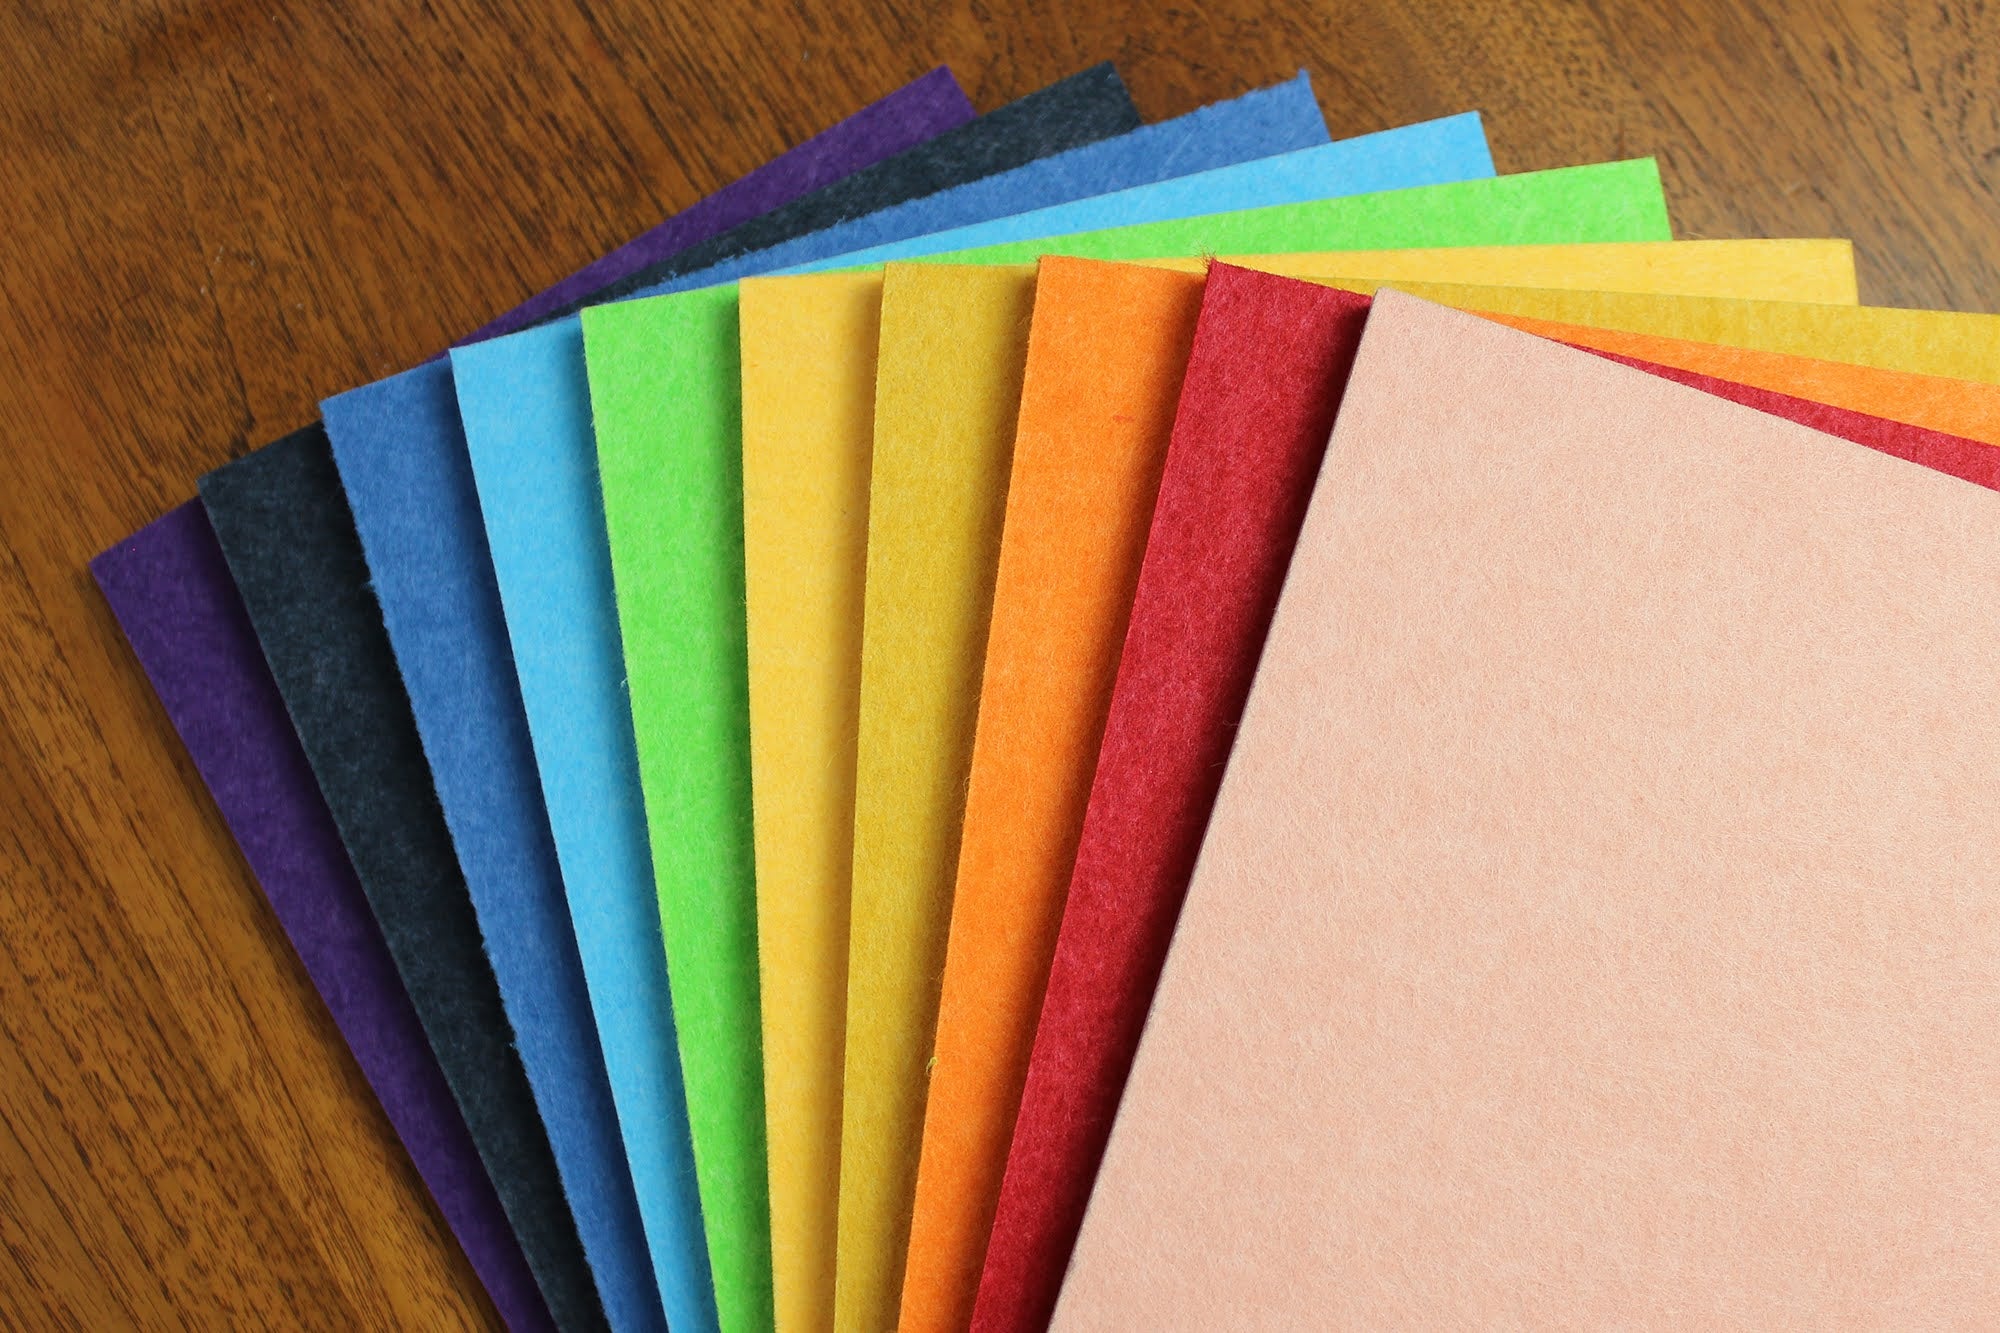
The material you choose determines by large in what the final product will look like. For filling in with paint markers, plastics are the most suitable. The best results are achieved with acrylic or solid surface.
The following materials were used for this tutorial:
- acrylic black
- acrylic white
- solid surface white
- acrylic translucent matte colorless
- acrylic transparent colorless

Enter
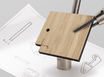
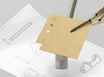
After receiving your cutting, most plastics still contain protective film. Remove these before you get started.
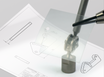
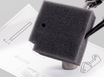
Make sure the engraving is dust-free by rubbing the surface with a microfiber cloth.
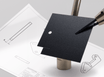
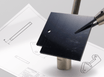
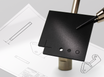
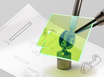
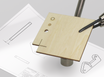
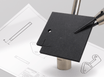
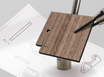
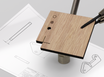
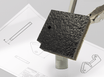
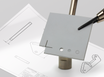
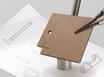
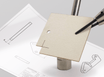
color the engraving all the way in with paint marker, making sure it gets to the bottom of the lines. Don't be afraid to color outside the lines, anything beside them will be removed later.
When using acrylic, let the paint marker dry for at least 10 minutes. If you are working with solid surface let it dry for at least 30 minutes.


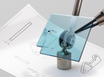
Acrylic cleaning
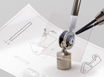
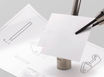
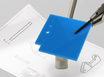
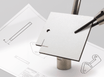
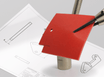
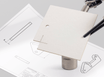
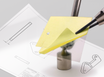
Moisten part of the microfiber cloth with acetone. Rub the surface of the acrylic with this to remove the excess paint-marker. When all the excess paint-marker is wiped away, a light colored haze often remains on the acrylic. You can remove this by repeating the process with a clean piece of cloth that you also moisten with acetone.
If the engraving is not sufficiently colored you can fill it in again with paint-marker and clean it with acetone after ten minutes. It is better to apply several thin layers than 1 very thick layer.
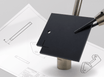
Note: acrylic matte black cannot be cleaned with acetone!
The use of matte black acrylic is not recommended for filling in engravings.


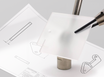
Cleaning solid surface
Check that the paint marker on the solid surface is completely dry. If it is not, the dust created during sanding will stick.
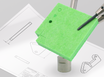
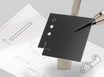
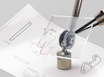
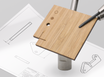
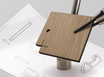
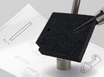
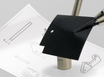
Evenly sand the entire surface with the engraving. When doing this, make sure that you sand flat and do not go too deep so that the engraving is not sanded away locally. This can be done by machine, but manual sanding also works well.
Remove the sanding dust by spraying the surface clean with compressed air. If you are unable to spray it clean with compressed air, you can also rub it clean with a clean microfiber cloth.


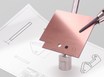
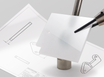
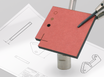
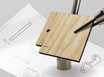
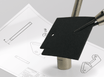
Final result
Filling in the engraving is now complete. Edding 750 paint-marker is water-resistant and needs no further finishing. In addition to white, black and red, many other colors of paint markers are available.


